Create an Advance Invoice Plan
In RamBase, a Sales Invoice (CIN) for payment in advance is created in an application called Advance Invoice Plans (CIP), and the CIN is marked as a CIPINVOICE. A forwarded Sales Order (COA), status greater then 1, forms the basis for an Advance Invoice Plan creation.
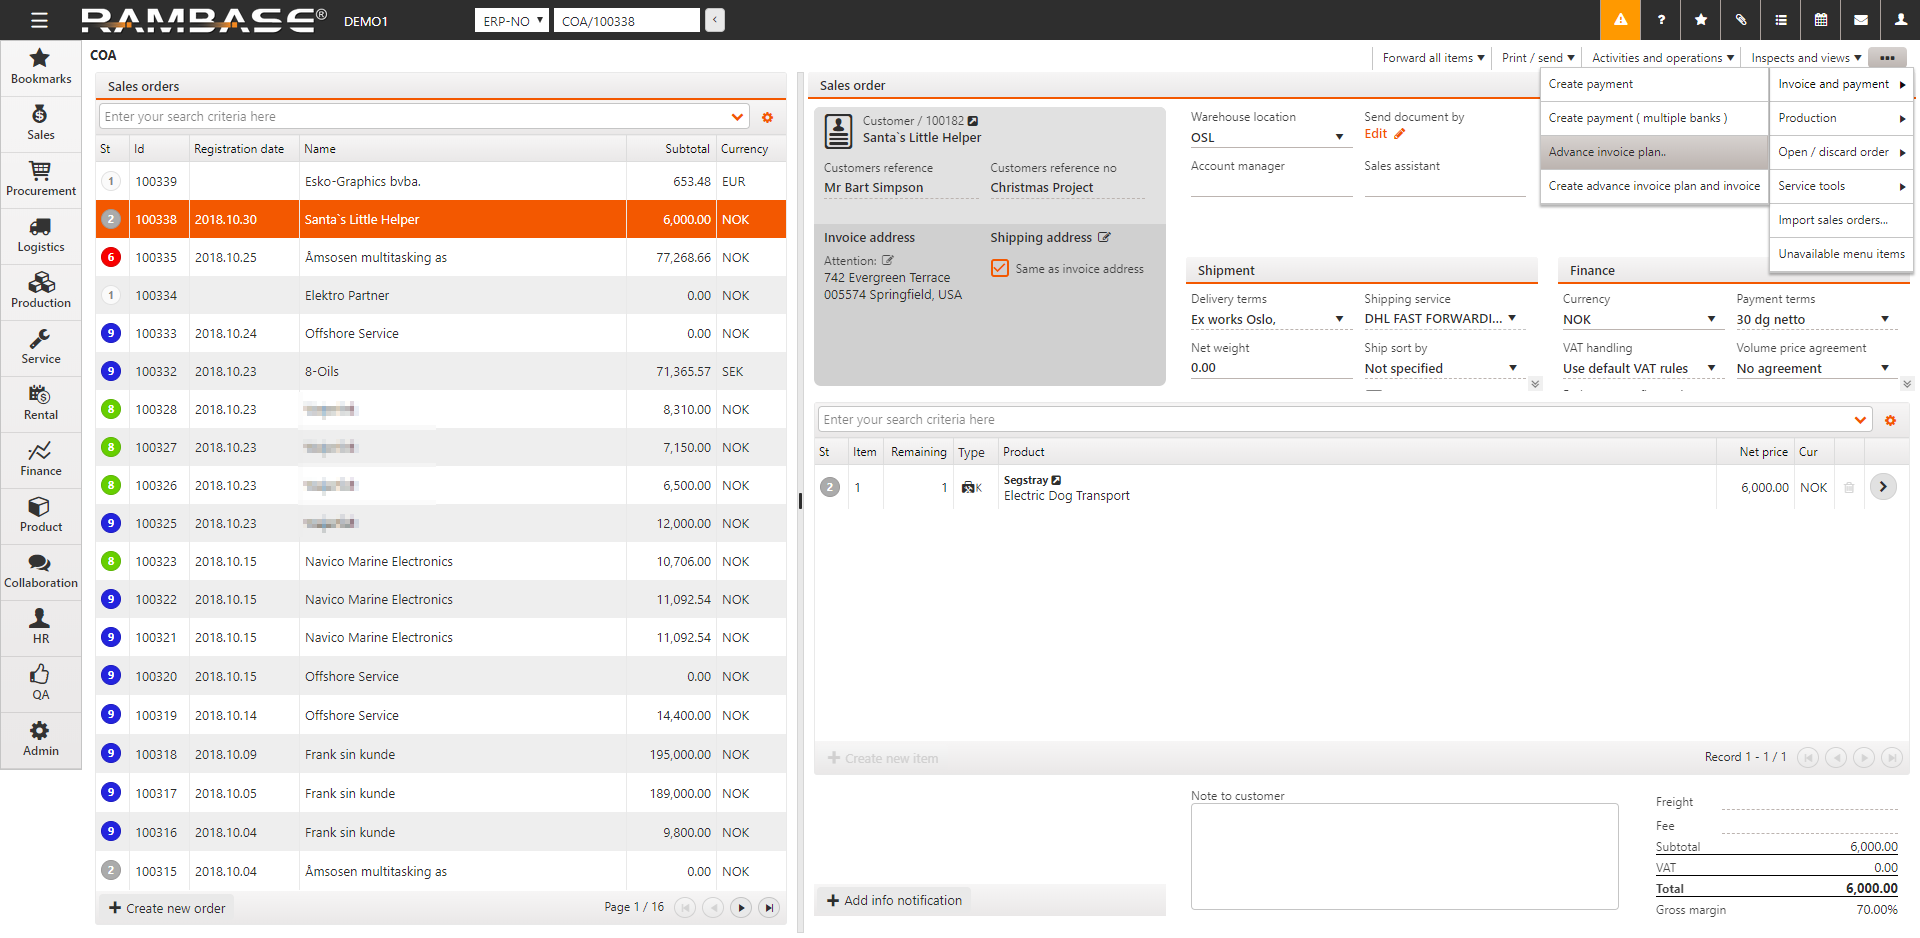
To open the Sales Order (COA) application, find Sales in the RamBase menu and then Order Handling. Click Sales orders to enter the COA application.
Highlight the specific COA.
In the context menu, choose the Advance invoice plan.. option to enter the Advance Invoice Plan for Sales Order window.
Click on the Add invoice plan element icon in the lower left corner to open the Advance Invoice Plan Element popup.
Use the calender icon to set the invoice date in the Invoice Date field.
The Intern field can be used to set an internal message about the Advance Invoice Plan (CIP)
The Remark field can be used to set a message that will be visible for the customer on the Sales Invoice (CIN).
Click on the Select sales order items for invoice plan icon.
In the popup, select the item(s) for the Advance Invoice Plan Element in the Select column.
A specific amount, or a percentage share of each COA item can be transferred to the invoice plan. Alter the Amount,XXX or Pct field according to the wanted pre-invoiced amount in the This invoice plan element column.
Press ESC twice to go back to the Advance Invoice Plan for Sales Order window.
Click on the Register Invoice Plan Element icon on each line to register the CIP (Status 4) and make it ready to be invoiced.
The CIP document can be edited as long as no invoice has been produced from this document.
Repeat step 4-12 for as many Advance Invoice Plan Element as necessary.
Create a Sales Invoice (CIN) for the Advance Invoice Plan (CIP)
Start from a registered Advance Invoice Plan document (CIP) set to status 4.
Click on the Create invoice for invoice plan element icon in the Invoice column.
A Sales Invoice (CIN), flagged with Invoice Plan is created. It is still editable (status 1).
To inspect the invoice, click on the Sales Invoice link (CIN/xxxxxx) in the Invoice column.
Press F12 and choose the option Register Sales Invoice to issue the invoice.
Based on the system setup you might need to select the recipient(s) in the Document Send Alternatives popup.
Click the Forward button.
The invoice is issued (Status 4), and the related CIP document will be closed (Status 9).