Create payment documents manually
Sometimes you have to pay an invoice manually in the online bank. After the payment has been made, you have to register the payment in RamBase to make a Payment (PAY), and then confirm it afterwards.
Register already performed payments
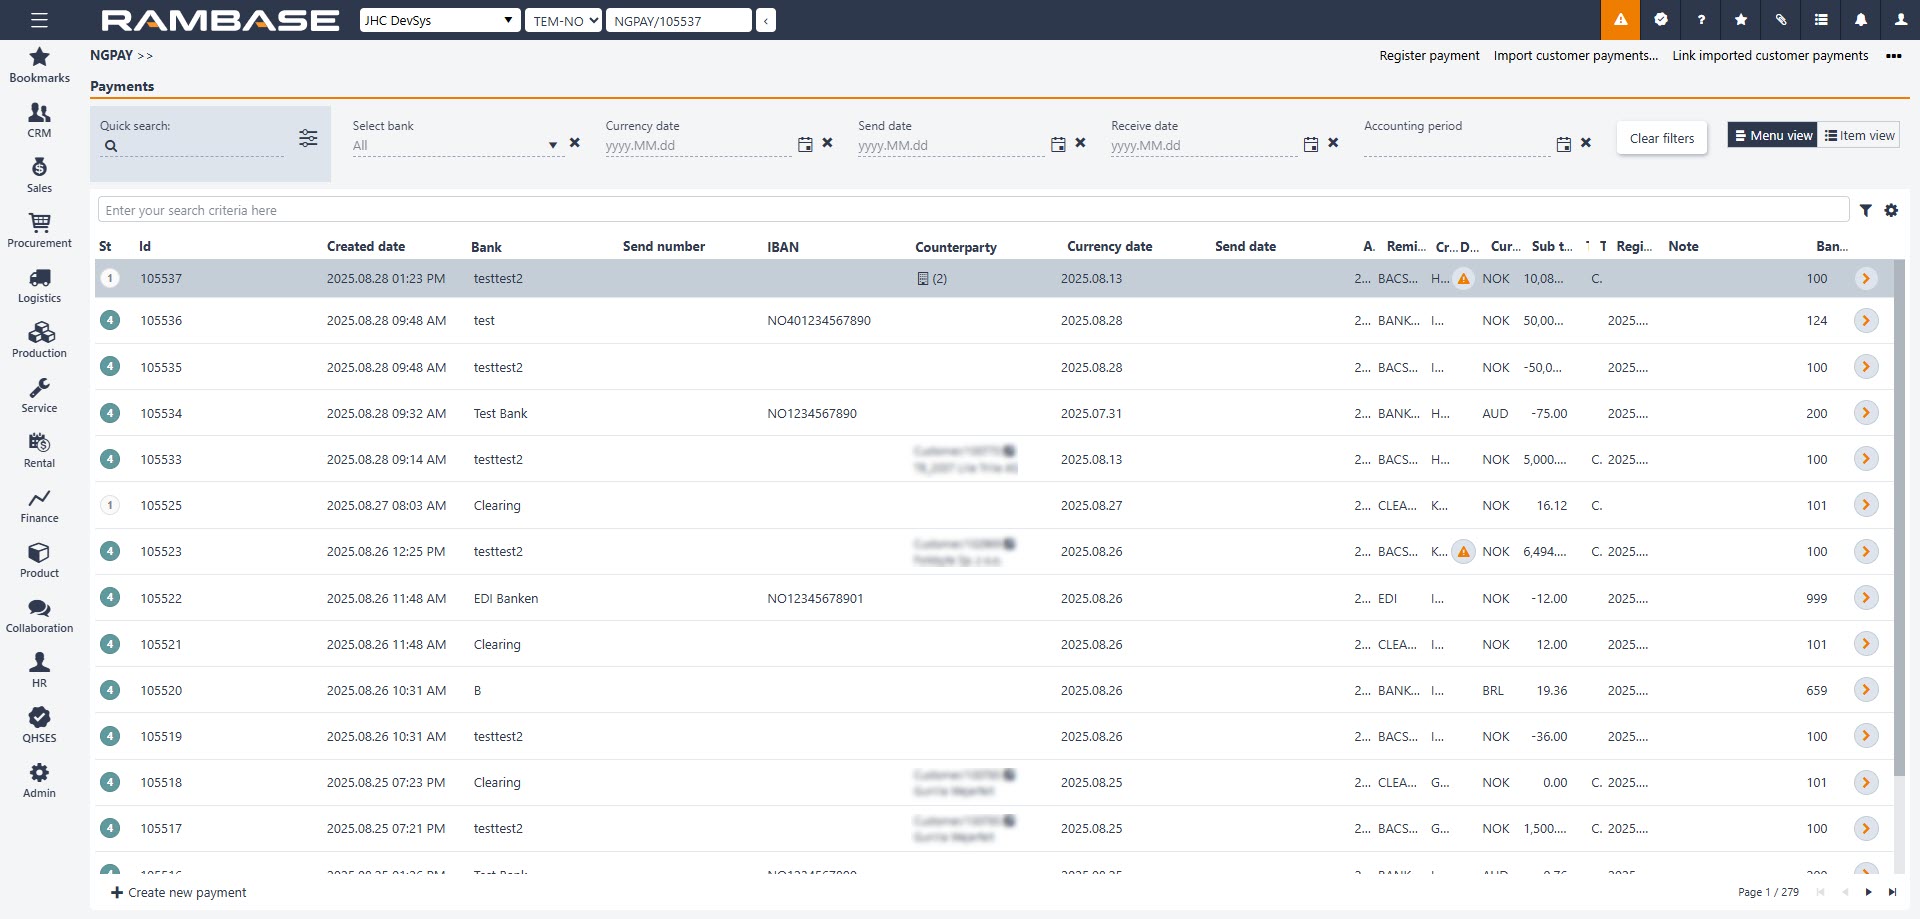
Start in the Payment (PAY) application.

Click the Create new payment button on the lower left side of the page.
Select the specific bank account in the Bank drop down menu.
Set the correct currency date in the Currency date field.
Remittance handling: How you remit payments depends on the type of agreement you have with your bank. The setup defines this process, and in most cases you will not need to enter anything manually here.
Select the correct kind of payment from the Payment type drop down menu.
Click Create.
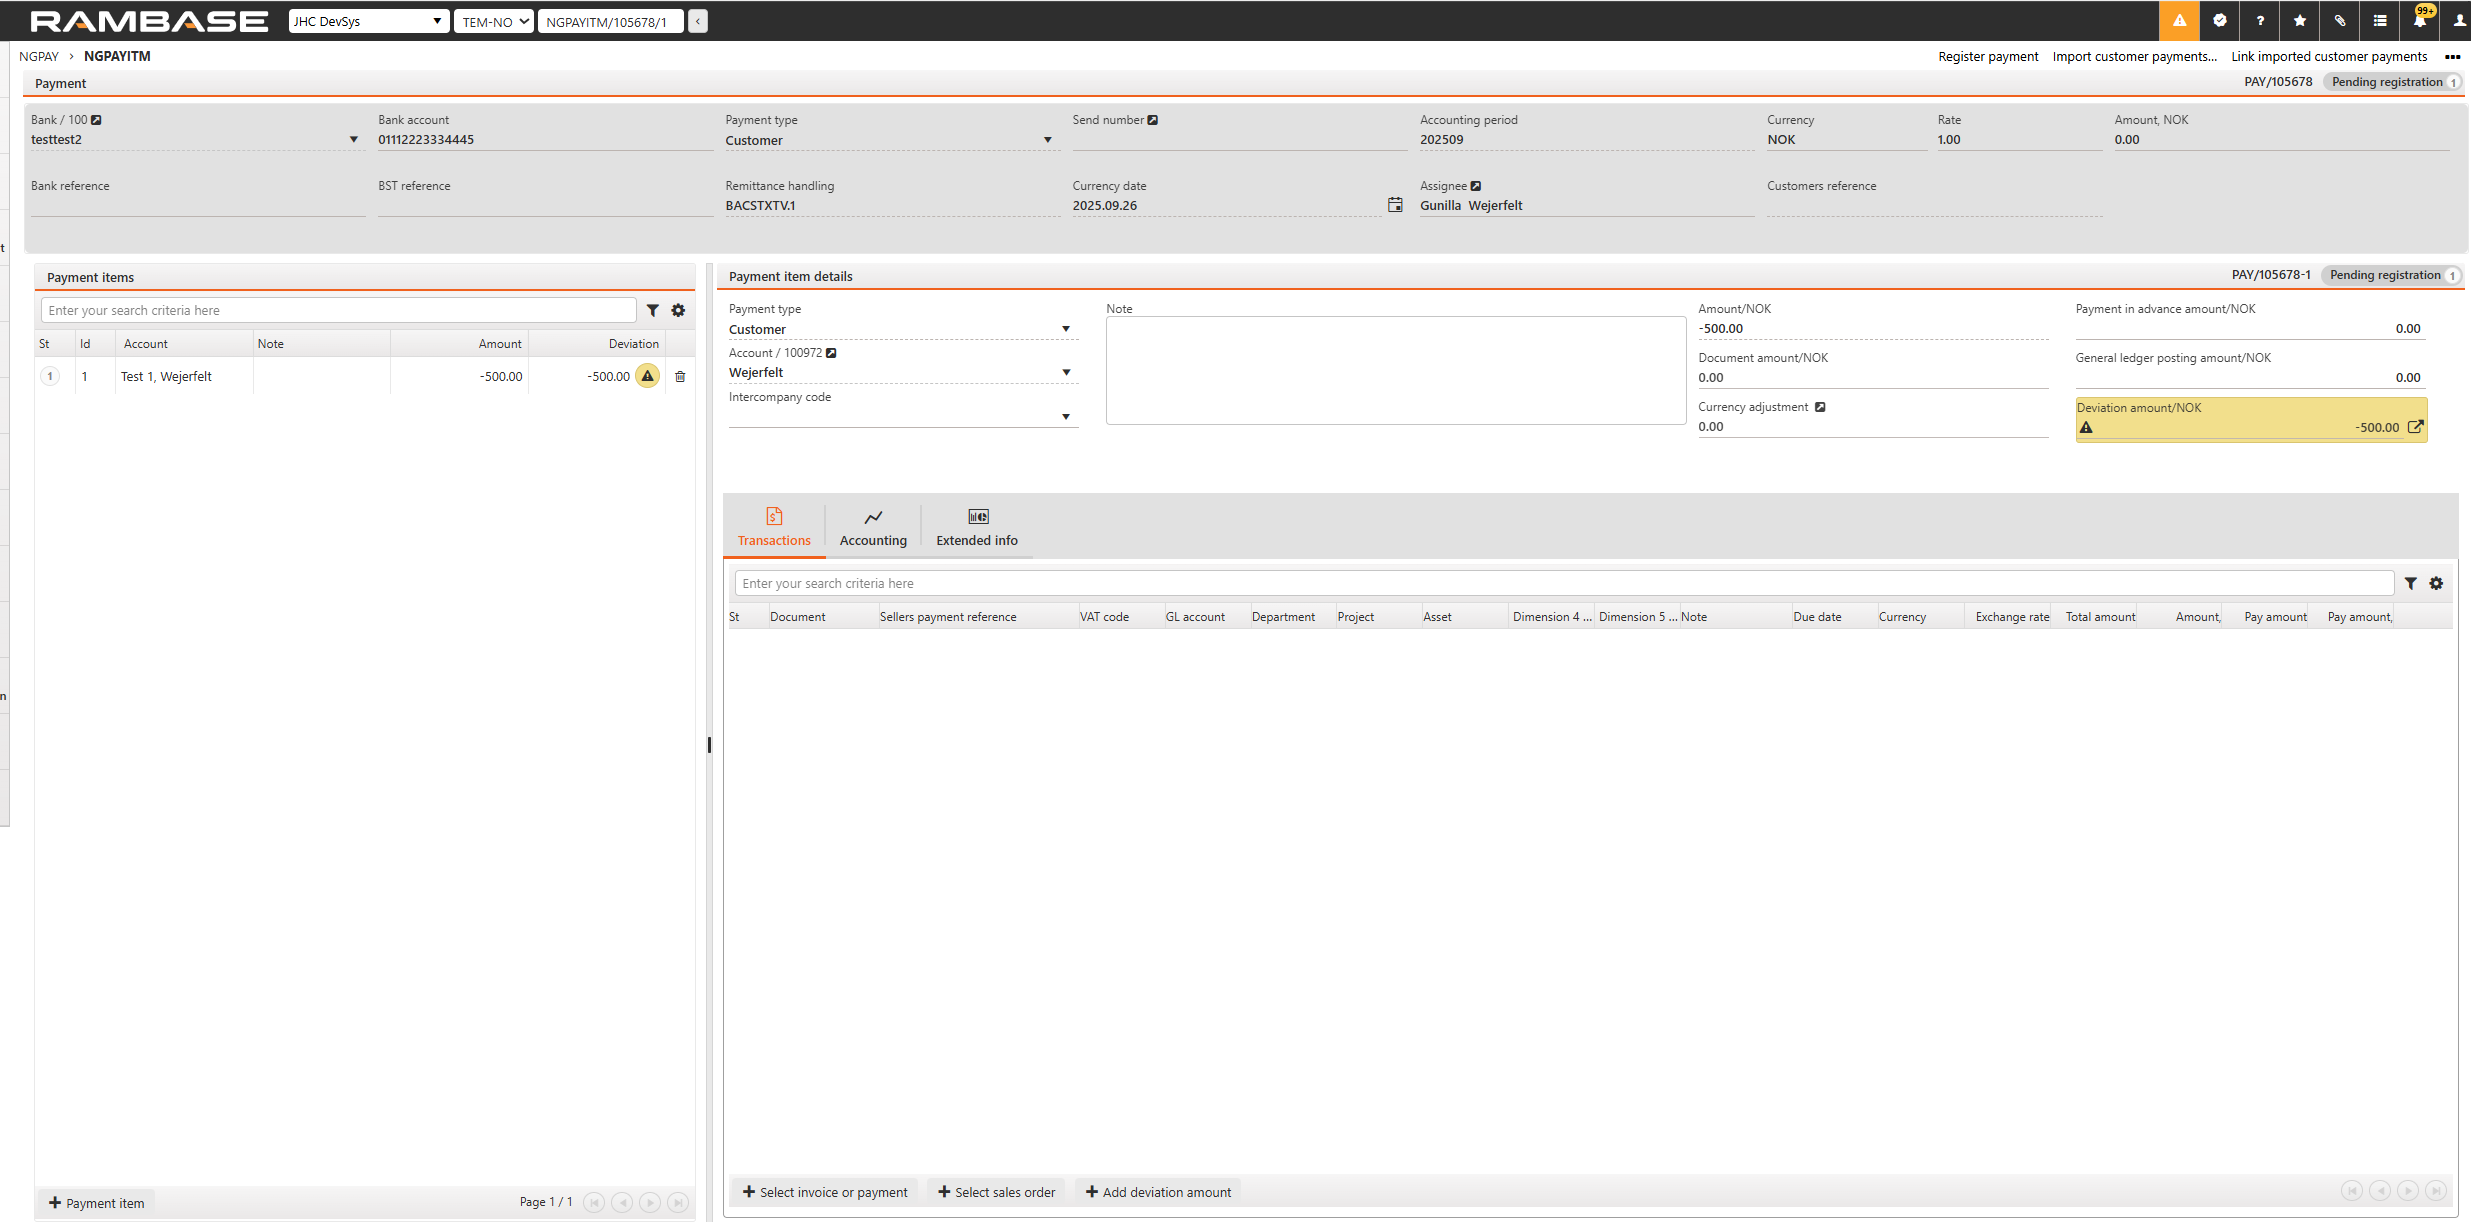
Click on the Payment item button to create a payment item. Add relevant supplier or customer to the item.
In the Amount field, enter the payment amount using a minus sign (–) to mark it as an outgoing payment. The Amount field may be left blank to allow for the selection of invoices or credit notes later in the process at the pay item level. In some cases, manual payments are made for specific invoices or credit notes.
Click Create.

Before proceeding to step 12, users should select the invoice or payment. This action is necessary to ensure the system processes the correct transaction. If, after selecting the invoice or payment, there is still an amount displayed in the Deviation Amount field, then the user should proceed to step 12.
Click on the arrow next to the Deviation amount settle the transaction to post the full amount to the general ledger. A popup window will appear.
Choose Unallocated amount or GL account transactions to book the deviation amount to the subledger or the general ledger.
If you choose GL account transactions then: Select any account from the general ledger. The list highlights the most commonly used accounts as a suggested reference. If you choose Unallocated amount edit the amount if necessary and fill inn as much information as needed in the other fields. We recommend some text in the description field.
Click the Save button.
Click the Register payment in the context menu. The manual payment for the connected invoice/credit note is now registered and confirmed.