Output Settings (OOS)
The OOS application is used to control the outputs from various applications in RamBase, and to specify the default outputs for a new customer or supplier.
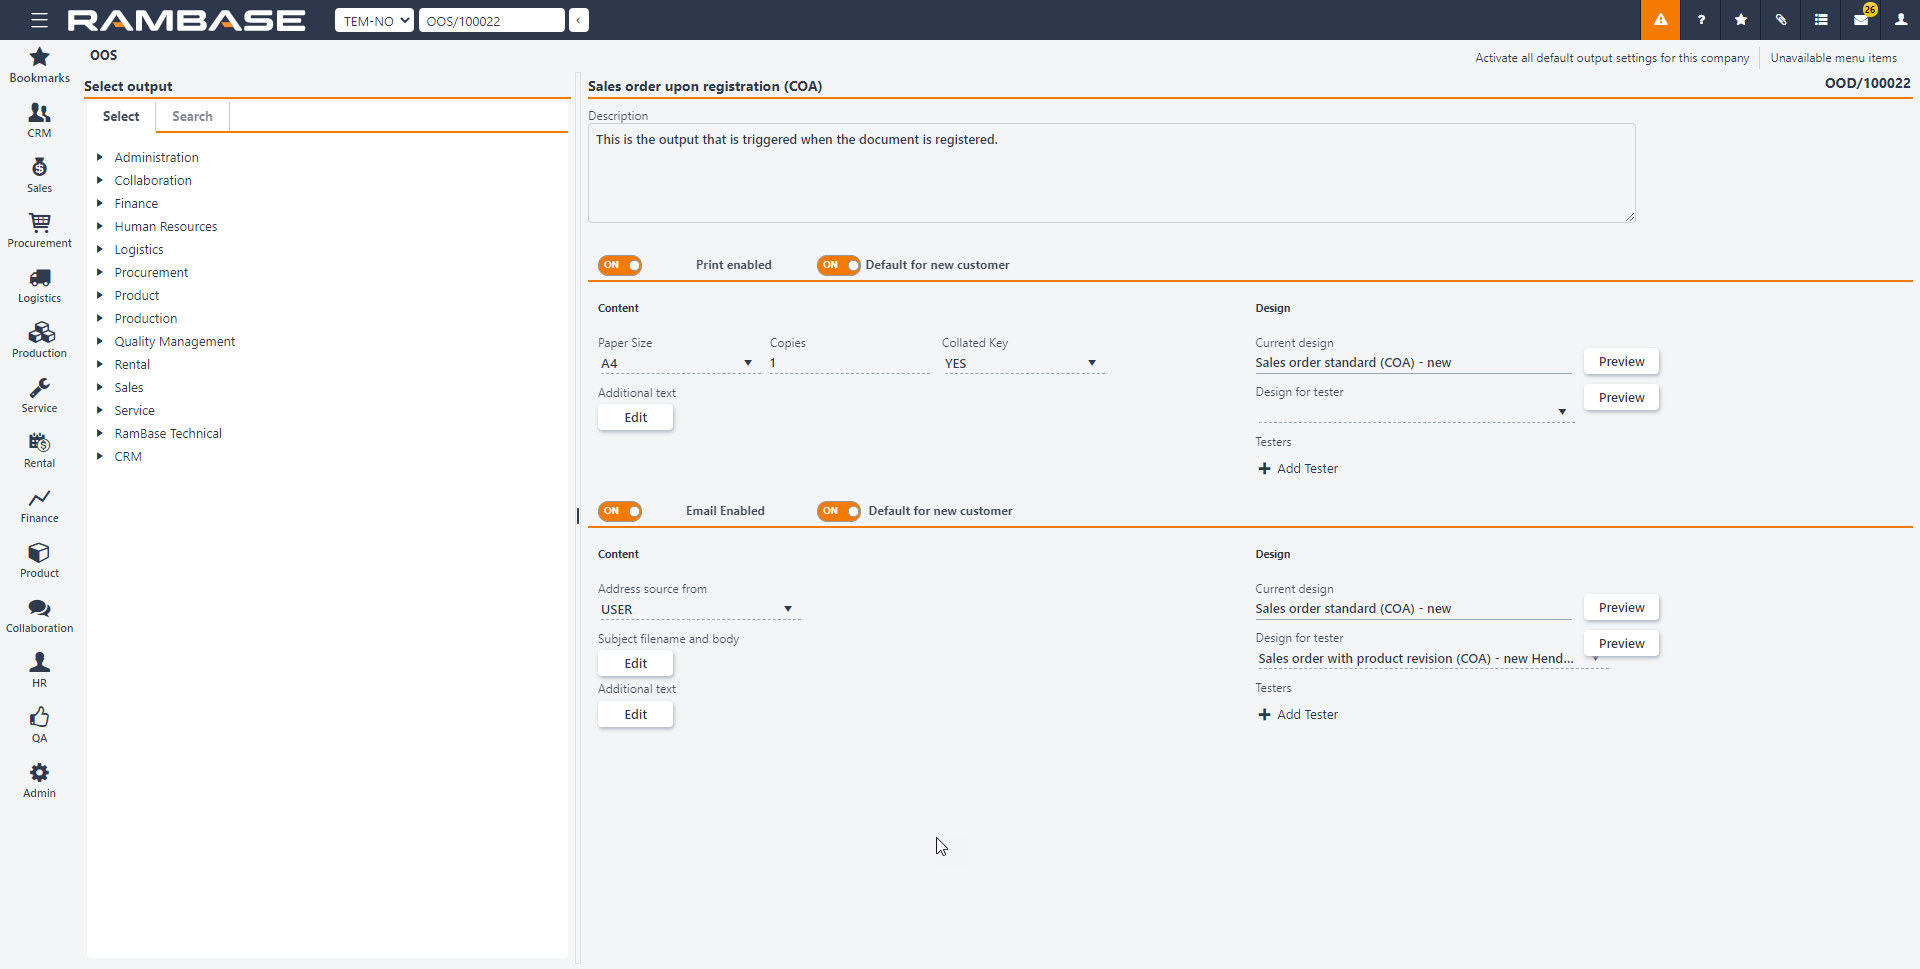
The left pane contains two tabs. Select gives all the different outputs, categorized by modules, applications and functions. You can select the necessary outputs here.
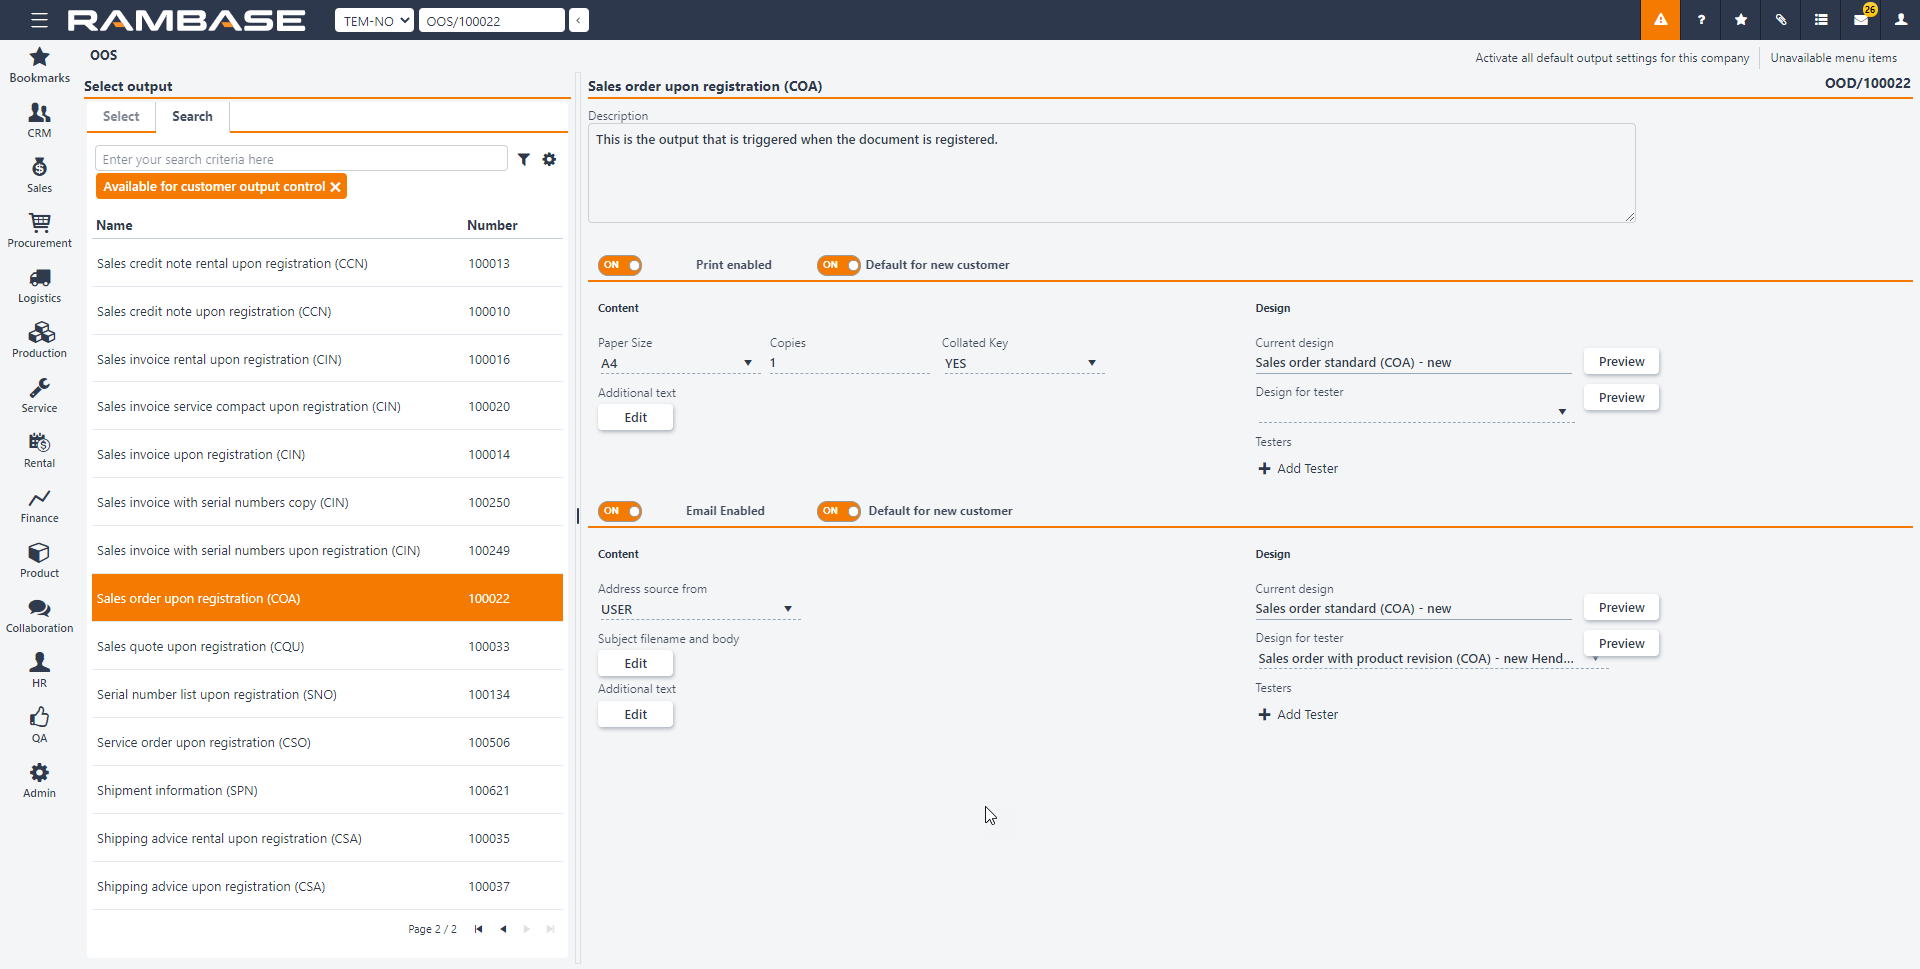
Search contains a search field at the top. Use the search field to find the necessary outputs. The search results can be filtered by selecting  . To view the documents that are available for customer output control, select Available for customer output control. The left pane now displays documents that you can select, to be the documents included by default when you create a new customer.
The description of the output is given at the top right side, and settings for print and email are given below.
Select Print enabled if you require output through print.
Select a document in the left pane and enable the Default for new customer slider.
If you require output through email, select Email enabled.
Select the necessary document in the left pane and enable Default for new customer.
The selected documents are added by default to every new customer and output according to the selected output channels, print, email, or both.
You can enable the Print output functionality by using the slider. The various settings related to printing are given below.
Content
Paper Size - Select the necessary paper size from the list.
Copies - Enter the necessary number of copies.
Collated Key - Select YES to collate the printed outputs or NO to not collate.
Additional text - Opens a popup where you can enter additional text to add to the output. You can add text in several languages.
Design
Current design - This field shows which design is used. Select Preview to see a quick preview of the output design.
Design for tester - Select the necessary design from the list.
Testers - Select the necessary tester from the list.
You can enable the Email output functionality by using the slider and specify the following settings for email.
Content
Address source from - This field indicates from where the address is retrieved from.
Subject file name and body - This button opens a popup where you can edit the subject file name and body for the output.
Additional text - Opens a popup where you can enter additional text to add to the output. You can add text in several languages.
Design
Current design - This field shows which design is used. Select Preview to see a quick preview of the output design.
Design for tester - Select the necessary design from the list.
Testers - Select the necessary tester from the list.
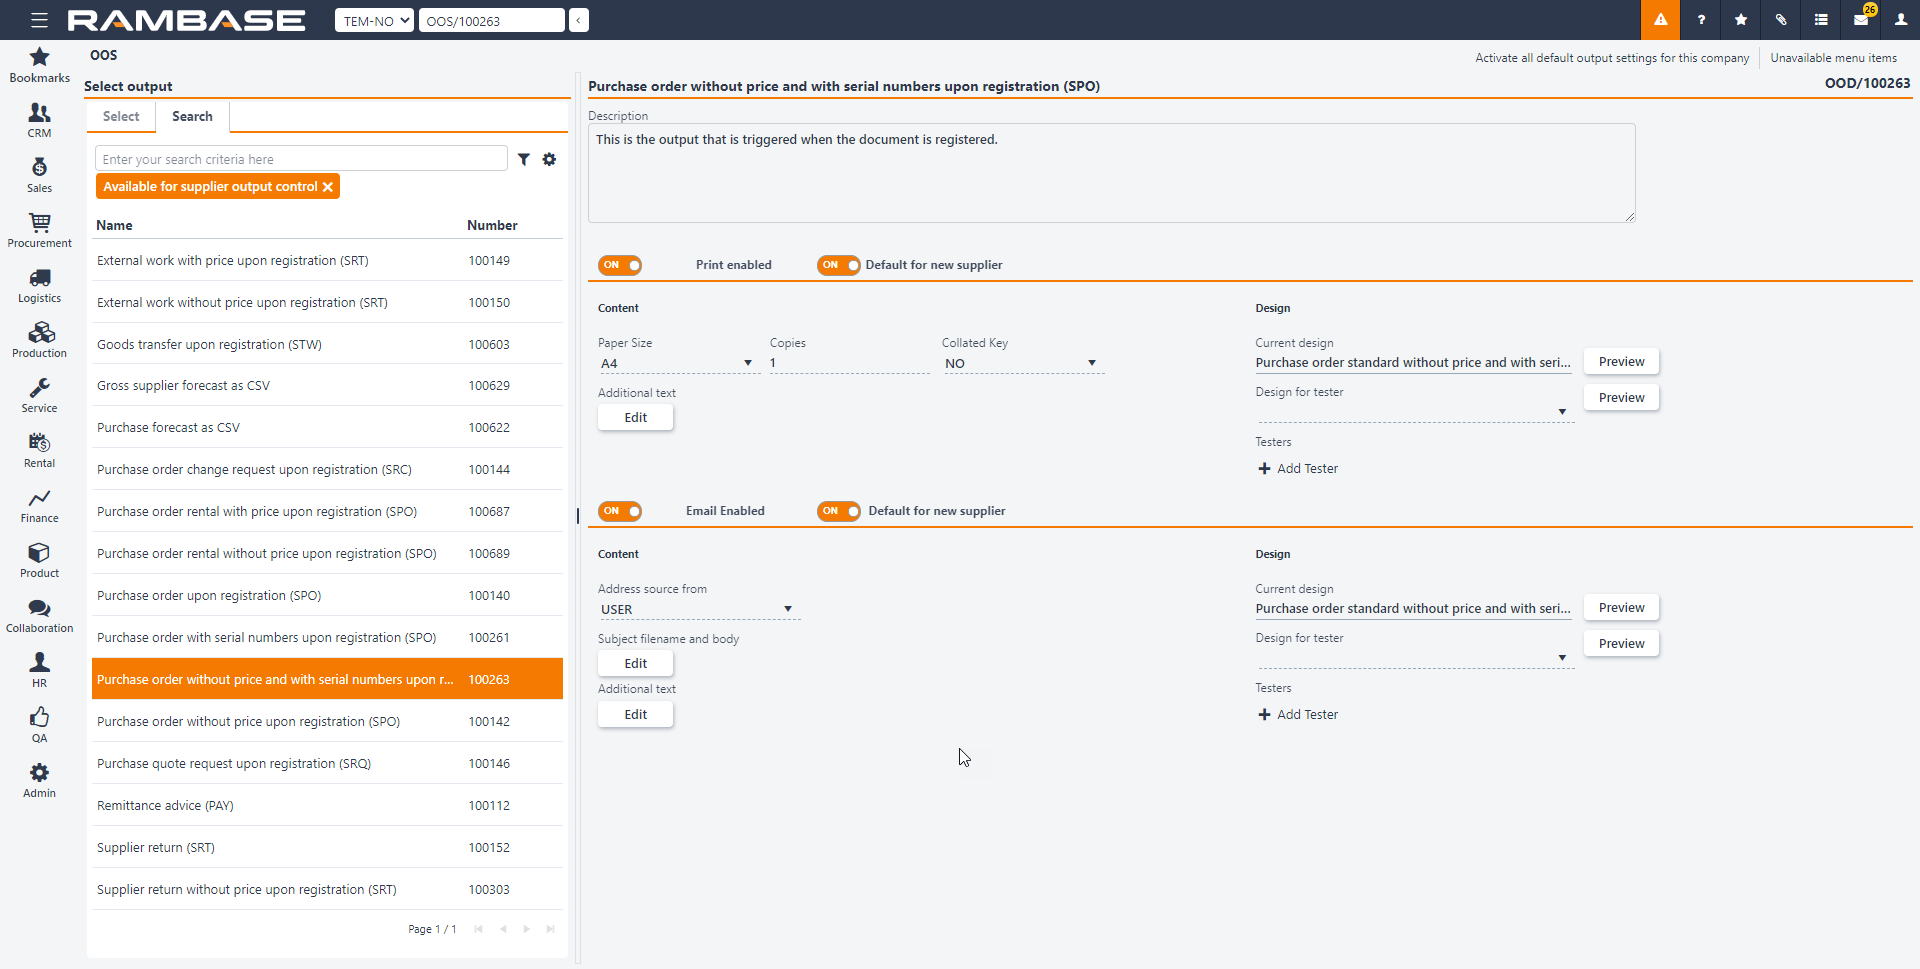
To view the documents that are available for supplier output control, select and select Available for supplier output control.
Select Print enabled if you require output through print.
Select a document in the left pane and enable the Default for new supplier slider.
If you require output through email, select Email enabled.
Select the necessary document in the left pane and enable Default for new supplier.
Specify the settings for Content and Design in Print and Email as given above.