Create a Sales Quote (CQU)
There are two methods of creating a Sales Quote (CQU), either from scratch or transferring a Sales Quote Request (CRQ) to a quote.
Create a new Sales Quote
To open the Sales Quote (CQU) application, find Sales in the RamBase menu and then Quoting. Click Sales quotes to enter the CQU application.
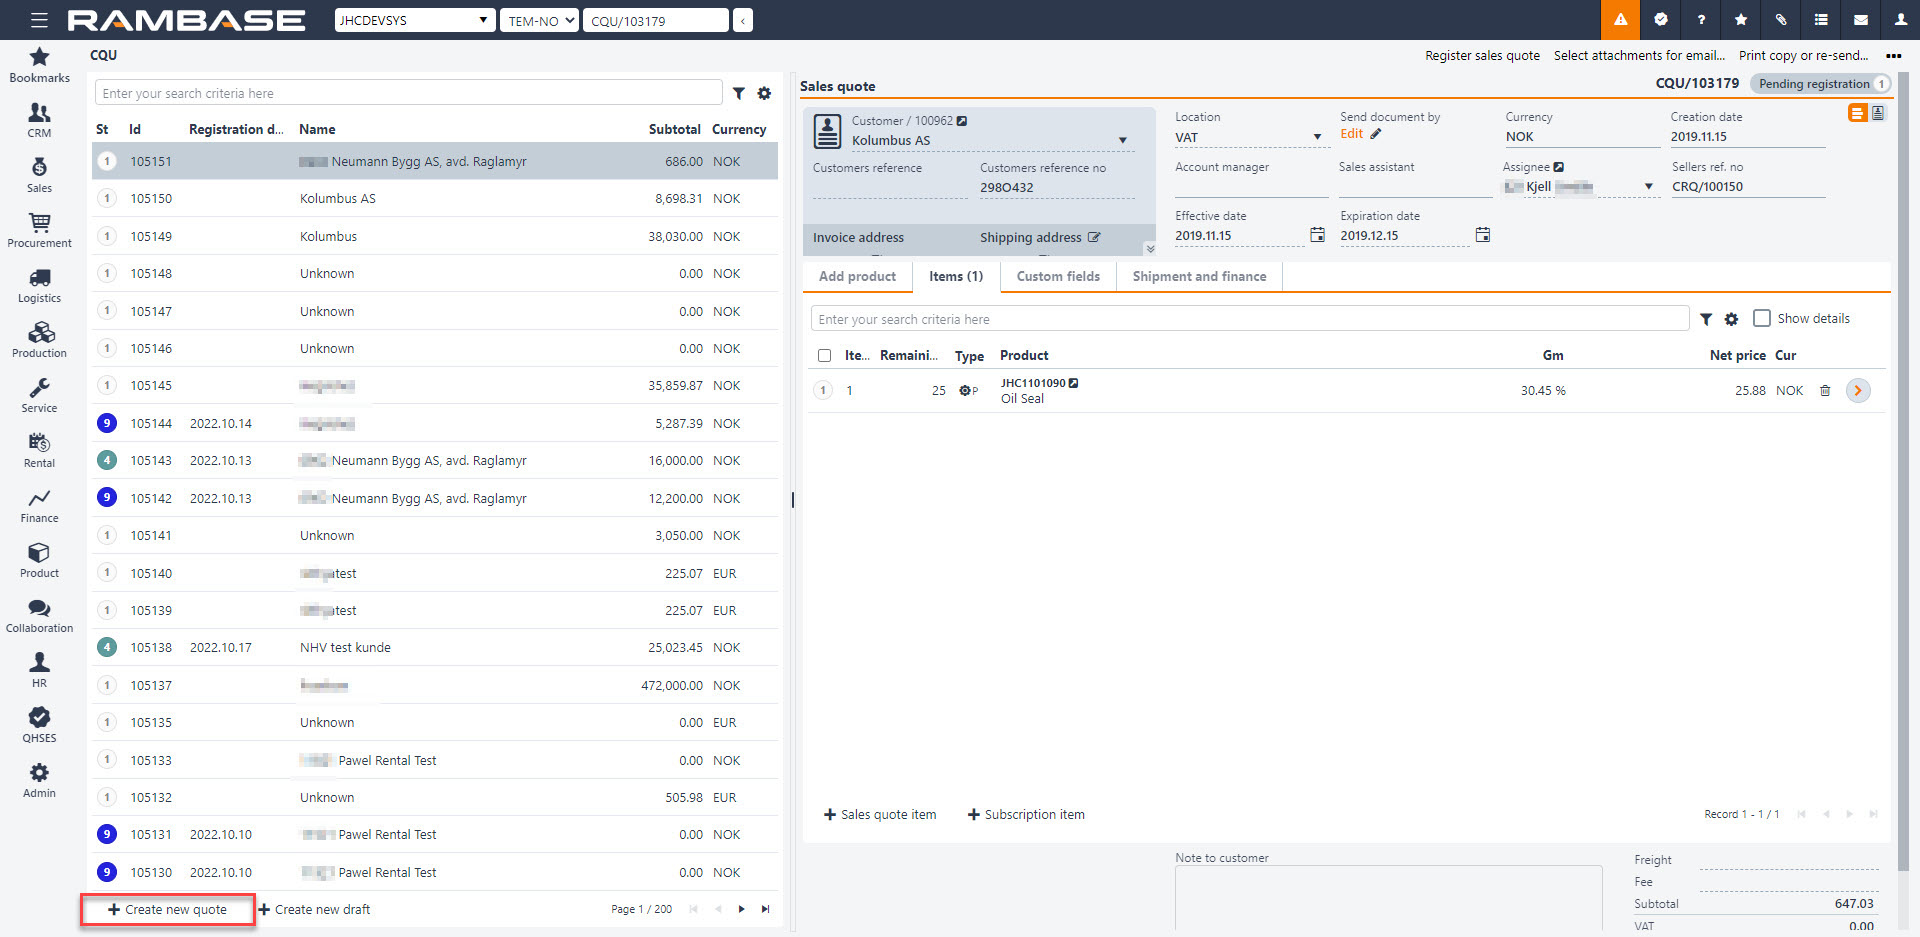
Click the Create new quote icon in the lower left corner.
Enter parts of the customer name in the Customer lookup field, or click the downward arrow to open the search menu to find it. Choose the customer and if the customer has several addresses, choose the customer address in the Address lookup field. The address displayed is the address chosen as default in the Customer archive.
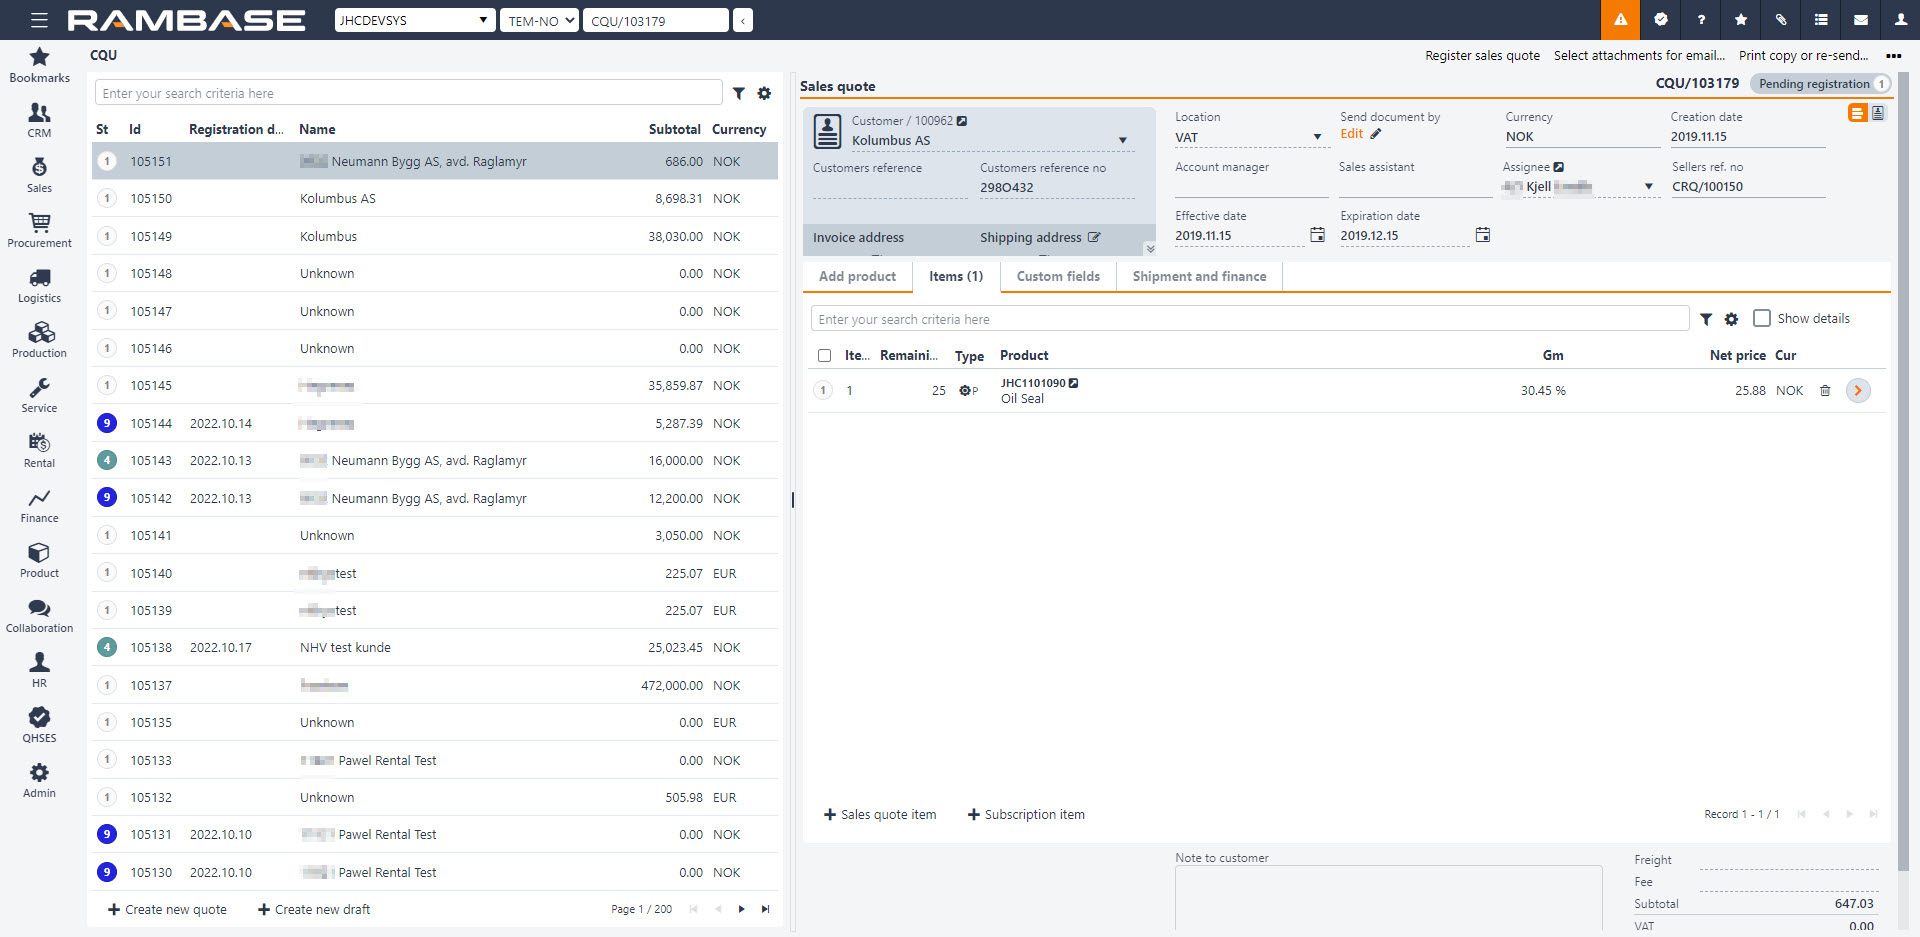
Back in the document you will see that the CQU has received a sequence number. This means that the document is saved and available for further processing. All information stored on the customer will also be available, such as price and delivery terms.
The RFQ number from the customer may be set in the Customer reference no field. The reference person for the customer may be set in the Customers reference field.
To add products, click the Sales quote item button.
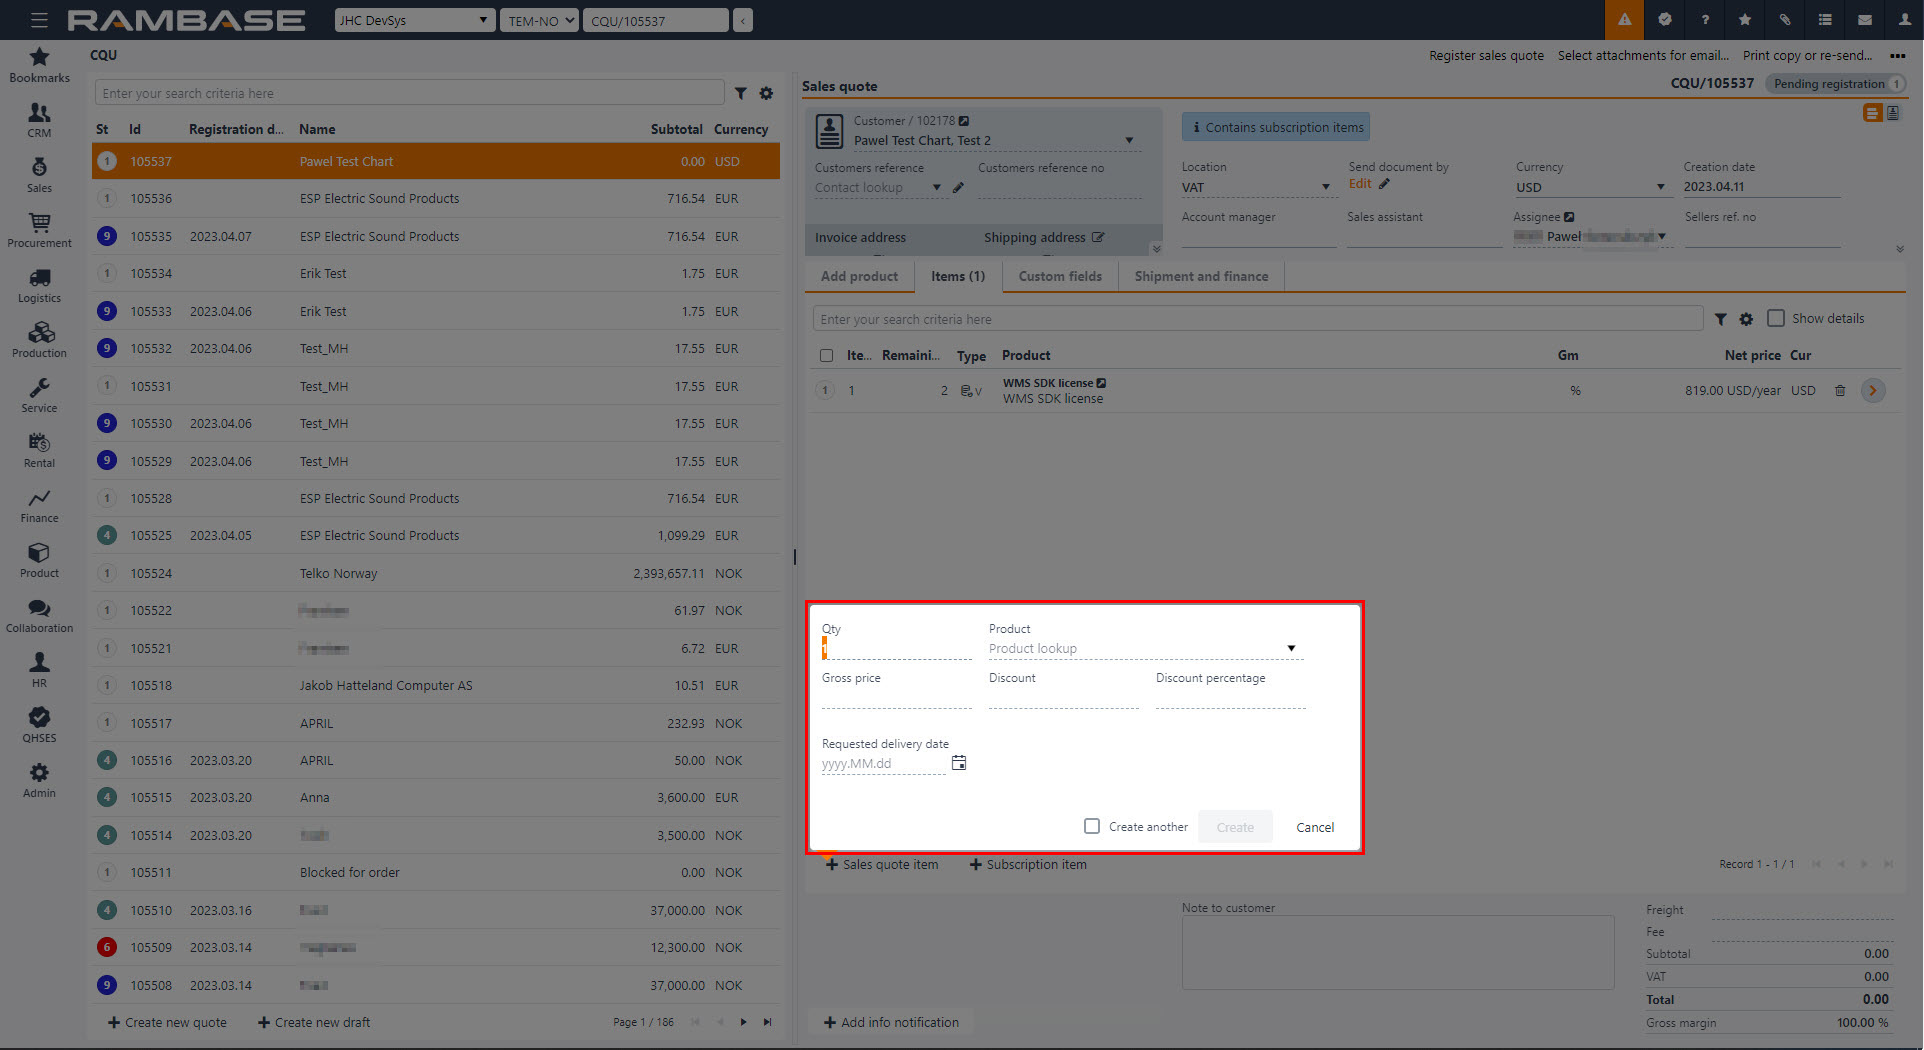
To add items, select the Create new items button. In the popup that appears, choose the quantity in the Qty field and enter the product name in the Products field to find it in the archive. RamBase will suggest prices according to the Company settings (CSV), Priority of suggested sales price for the item. All applicable prices will be presented in the Price based on field after the Product (ART) has been selected, and the user may select another price. The lowest applicable price is found the following way:
The lowest price of
Item price agreement (IPA)
Product (ART) price - Where the priority to find the applicable product is:
PLI (Price list)
VPA (Volume price agreement)
STD (Standard sales price)
If no applicable price can be found based on this, there will be attempt to calculate item price based on standard cost price of the product, in this priority.
GM from Company setting (CSV) Default Gross Margin on Sales documents
25% GM (Hardcoded)
You can set the information regarding when the customer needs the goods. To set the requested delivery date, click the calendar icon next to the Requested delivery date field and choose the date. This may be adjusted.
If you need to add several items, click on the Create Another checkbox and repeat the item adding process.
Click the Create button.
If you need to add several items, click the Sales quote item button and repeat the item adding process.
To set a duration period for the quote, use the fields Effective date and Expiration date.
Create a draft
A draft can automatically be created by clicking the Create new draft button in the menu. When a draft is created, the menu will automatically be collapsed to give more overview. Draft will create a document for a default customer, found in the Company settings (CSV) Default customer account for sales draft. If no Customer (CUS) is set up in this Company settings (CSV), RamBase will create one named as Unknown. This will have base data according to standard create values for this company. The base data can be changed for this Customer (CUS) afterwards if it is required, or the user can create a Customer (CUS) manually and add this to the Company setting (CSV). It will not be allowed to register documents for this Customer (CUS), users must change to a real Customer (CUS) before registering.
When creating a draft It is possible to add Products (ART) by searching them up in the Quick search field. Clicking on the Quick search filter icon will list a series of checkboxes. The user can decide which categories are to be included in the search. Hover over the Quick search filter icon to quickly see which categories are included in the search. New items can be added by clicking the Plus icon.
Add product
The Add product tab shows a Location available field and a Total available field. Location available inspect stock and available quantity for Location (LOC) of the document. Total available inspects stock and available quantity for all Location (LOC).
The Show details checkbox gives an overview over 4 useful tabs:
Tab names | Description |
|---|---|
Product details | Lists information from the related Product (ART) |
Accessories | Accessories registered from Product (ART) |
Replacements | Replacements needed for a Product (ART) |
Transactions | Shows backlog items, Quote items and Invoice items |
When adding items from the Add products tab, they will appear in the Items tab.
The Show details checkbox gives an overview over 5 useful tabs:
Tab names | Description |
|---|---|
Item details | List information from the related Sales order item (COAITEM) |
Notifications | Notifications for this item |
Product details | Lists information from the related Product (ART) |
Landed costs | Shows the chosen purchase currency and the landed cost in purchase currency and sales currency |
Accessories | Accessories registered from Product (ART) |
Re-arrange order items
It is possible to re-arrange items before registering a Sales quote (CQU) and sending it to the Customer (CUS), so that the items can be presented in logical order. Re-arrange item can be found by clicking the Context menu and then click on the Change items order.
The Item field is an id of an item and the field LineNo will take over as the sorting key. LineNo will decide the order of lines and will be used as sequence number for items. Item and LineNo will not necessarily be synchronized. When an item is deleted, it will simply not exist anymore. PDFs to Customers (CUS) will show a column for LineNo rather than Item. The field LineNo can be found as a column in the Sales quote item (CQUITM). When forwarding a Sales quote (CQU) to a Sales order (COA), item will be created in the LineNo order in the new documents.
Create a Sales Quote from a Sales Quote Request
To create a CQU from a CRQ, you will need to forward the CRQ document to a CQU document. A CQU based on a CRQ will always contain the same information as the request, but with the option to add or change the information.
Instruction on how to forward a CRQ document to a CQU document can be found in the topic Follow up on Sales Quote Request.
Copy CQU to CQU
You can copy an existing CQU to make a new CQU. In the CQU application. In the context menu, select Copy Sales quote to new sales quote.
To copy special structures to the new CQU, in CSV, enter COPY*SPECIAL*STRUCTURE and select the Enter key.
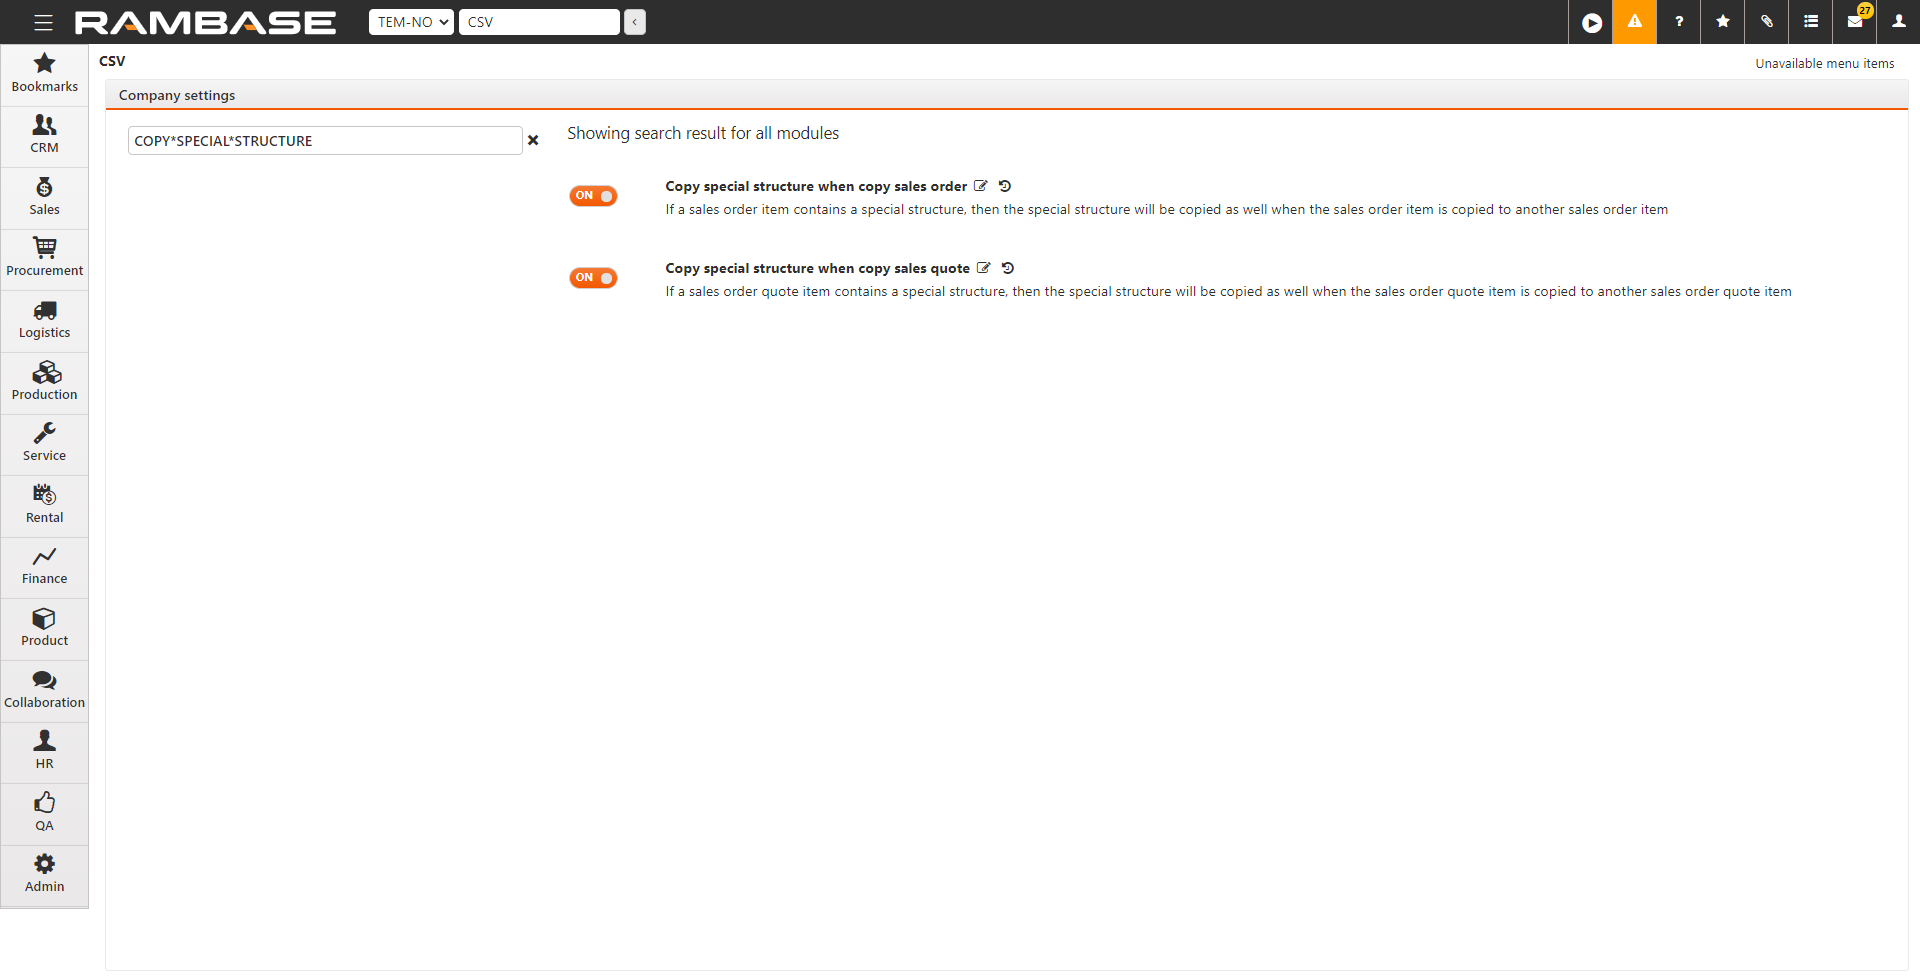
Select Copy special structure when copy sales quote to enable the setting.