Maintain supplier settings
In the Supplier (SUP) application you can update any new information about the supplier. This may be This may be a change in contacts, shipping addresses or change in main and financial settings. Also refer to Supplier (SUP) for more information.
Select Settings to see the settings. There are three tabs in Settings.
Main Data
Main data contains the following fields.
General
Name. Enter the name of supplier (name of company or surname/familyname/lastname of a person)
Secondary name. Enter the Firstname/givenname if the supplier is a person.
Enterprise number. Enter the suppliers unique enterprise/organization number.
VAT Number. Enter the unique number assigned by the relevant tax authority to identify a party for use in relation to value added tax (VAT).
EORI number. Enter the supplier's EORI number. An EORI (Economic Operator Registration and Identification number) number is required of any party intending to import into the EU or export from the EU.
Created by. Enter the user (employee or RamBase-server) that created the supplier
Created date. Enter the date and time of creation.
Website. Enter the address for the suppliers website/homepage/webpage.
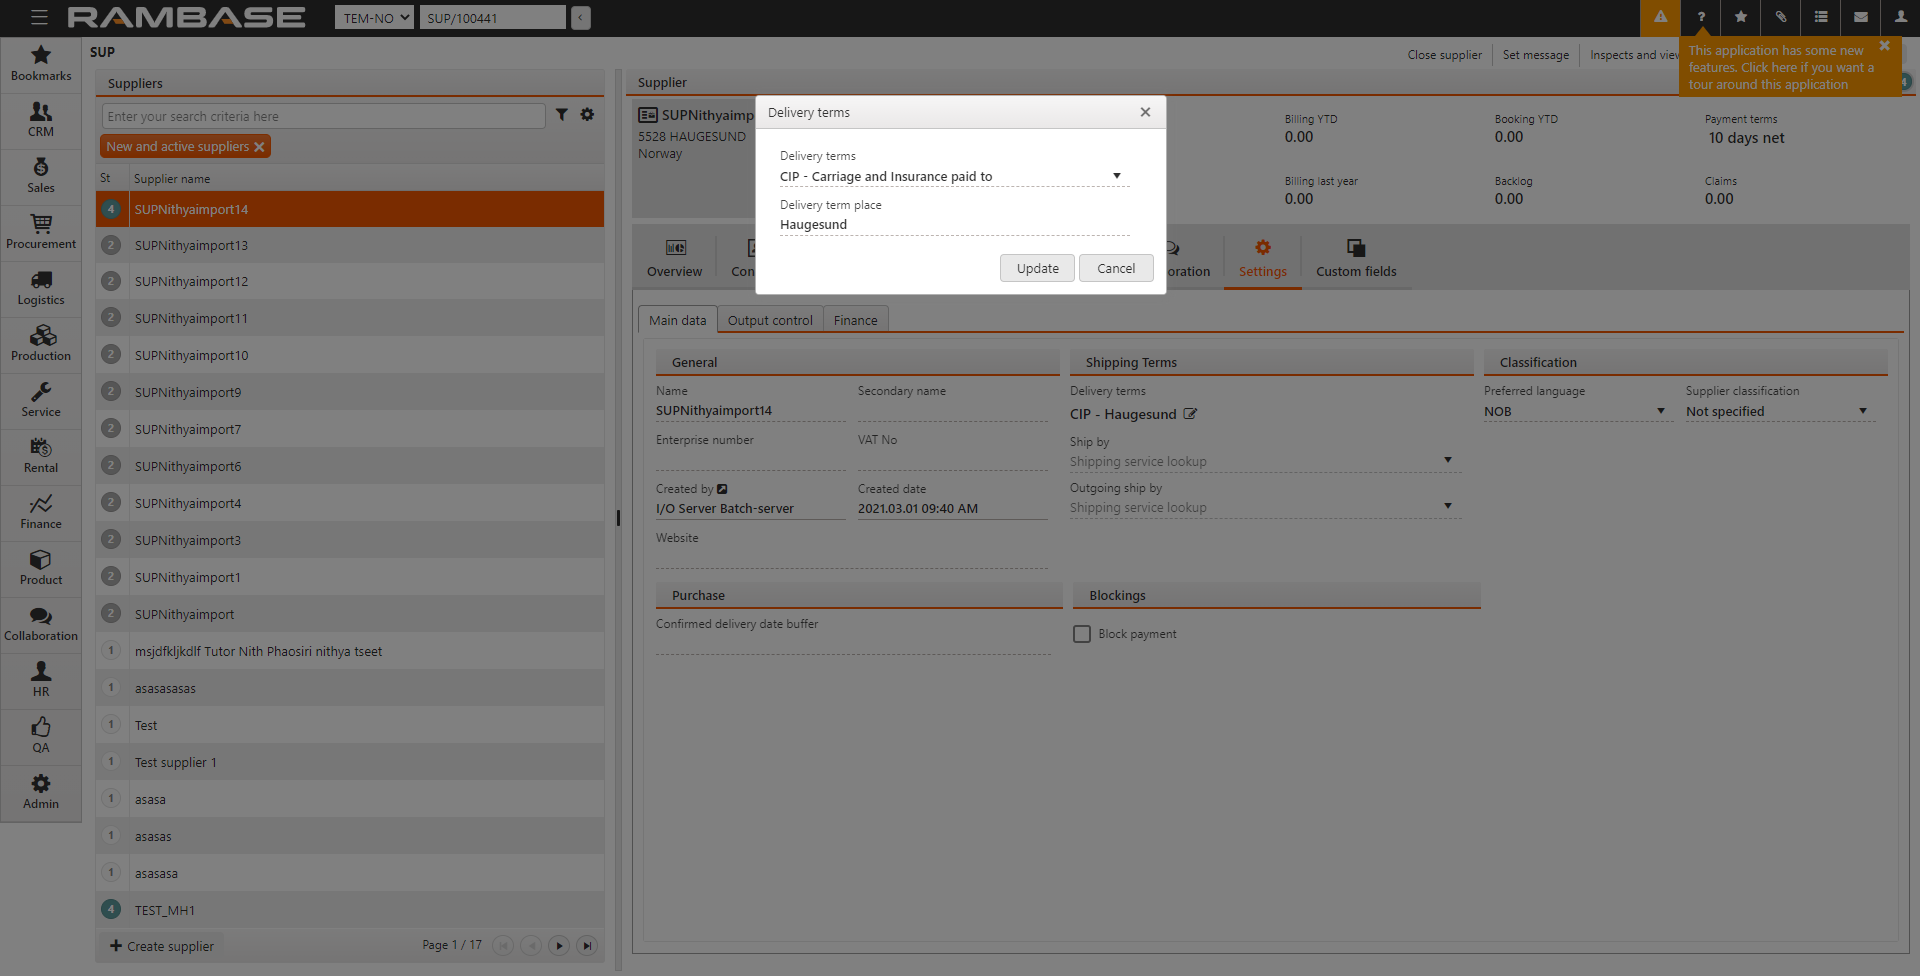
Shipping terms
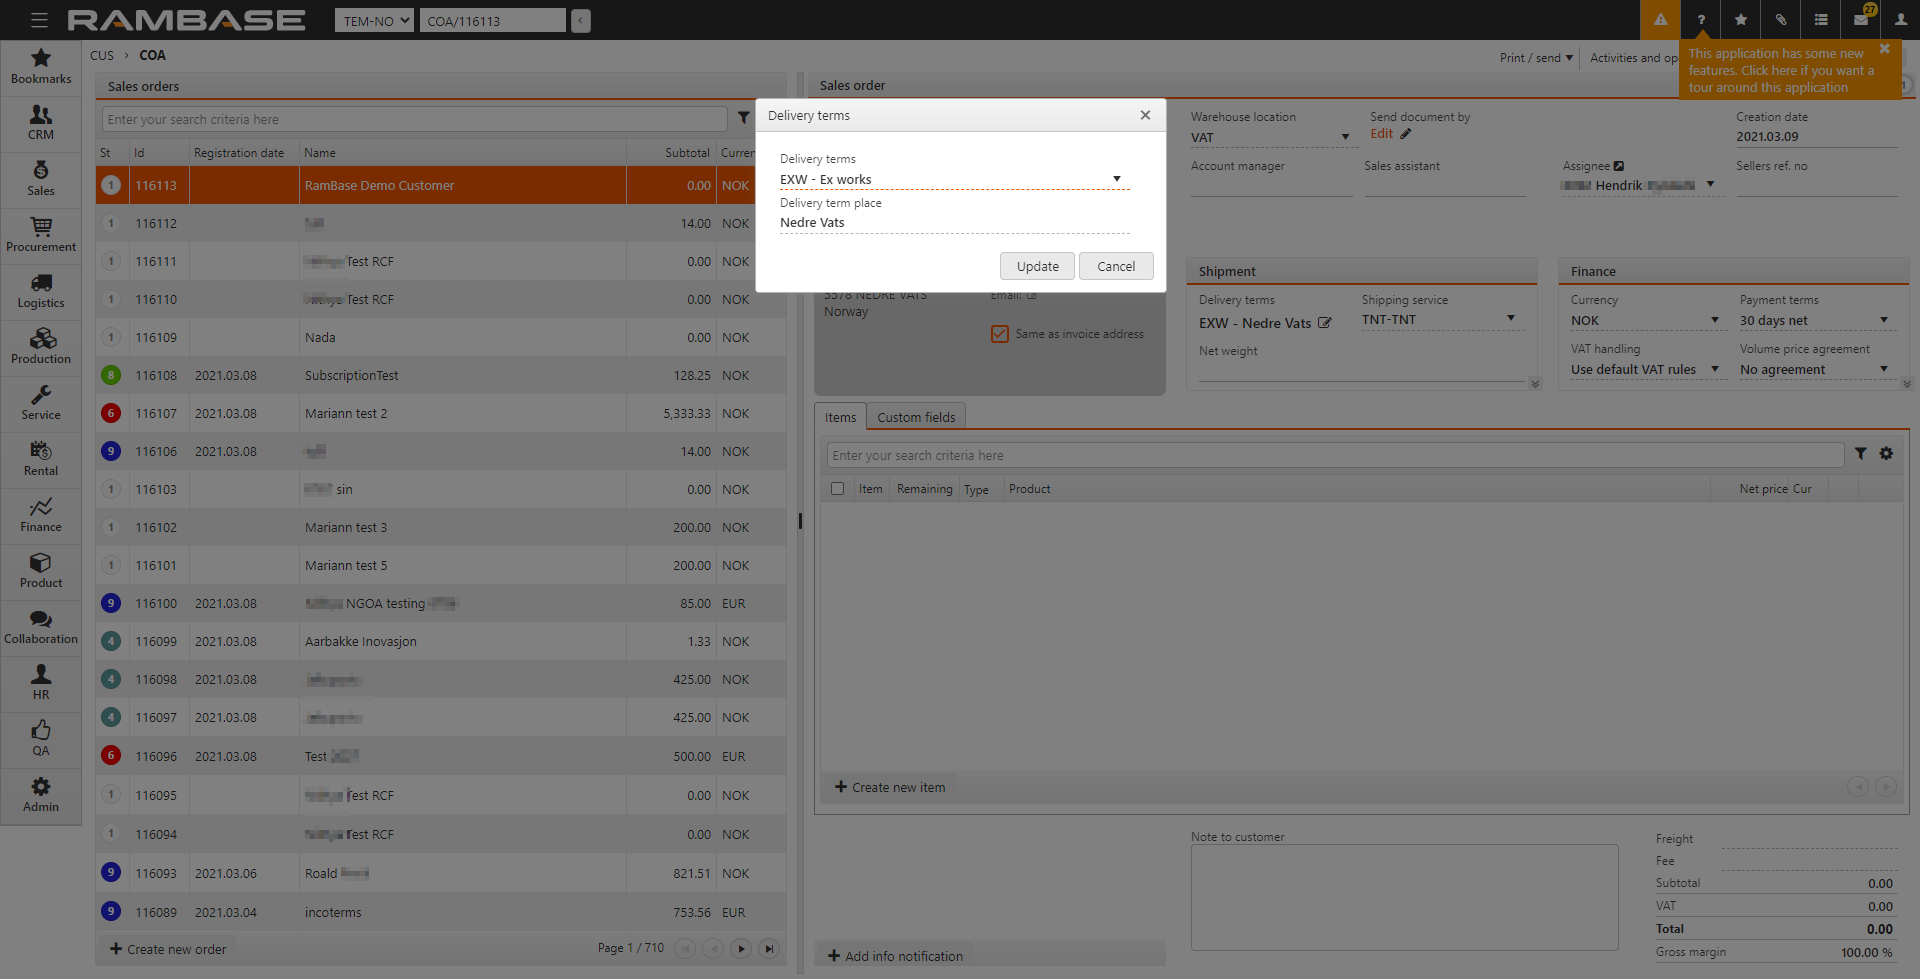
Delivery terms. Specify the Delivery terms and Delivery terms place.
Ship by. Enter the shipping service identifier.
Outgoing ship by. Enter the shipping service identifier fr the outgoing shipping service.
Classification
Preferred language. Specify the preferred language for the supplier. that Is used in prints, emails etc.
Supplier classification. Specify the classification of the supplier.
Purchase
Confirmed delivery date buffer. If the confirmed delivery date is unreliable, you can specify a buffer in days to be added. This buffer will be used when the requested delivery date for purchase orders is calculated. This buffer will also be added to the confirmed delivery date when creating purchase order responses.
Blockings
Block payment. Select this checkbox to block payment to this supplier.
Output control
Output control contains the following fields and controls.
Add document to send. Select this icon to specify the documents to send to the supplier.
Finance data
Finance data contains the following fields.
Currencies. Select the currencies to use for invoices from or payments to this supplier. You can specify multiple currencies here.
Intercompany code. Enter the Intercompany database the supplier belongs to.
VAT registration number. Enter the unique number assigned by the relevant tax authority to identify a party for use in relation to value added tax (VAT).
VAT handling. Specify how value added tax (VAT) should be calculated. Either always include VAT, always exclude VAT or use standard/default VAT rules.
Default general ledger account. Specify the general ledger account identifier.
Is related business entity. Specify if a supplier is related business entity to the company.
Is using cash for settlement. Specify if a supplier is using cash method for settlements.
Stop automatic forward of imported invoices. Select the checkbox to block automatic forwarding of ISI-documents to SIN (Supplier invoice).
Terms
Payment method. Specify the default payment method for the supplier.
Payment terms. Specify the default payment terms to use in new documents.
Bank accounts
Select Add bank account and specify the:
Bank name. Enter the name of the bank.
Currency. Enter the currency in which the account is operated. The currencies displayed in the drop-down menu in the Supplier Bank Accounts popup reflects the currency(-ies) defined as valid for this supplier.
Account. Enter the account number.
Bank code. Enter the bank code. It is accepted that Swift is blank if you have entered a Bank Code.
Swift. Enter the swift code.
IBAN. Enter the bank account number in IBAN format.
Country. Enter the country where the bank is located.
Delivery Terms and Delivery Terms Place
To align more closely with the International Commercial Terms (Incoterms), in which the place of delivery is explicitly named, RamBase has added a field called Delivery terms place to the Delivery terms. This makes the delivery terms legally valid. You can specify the default Delivery terms place for your suppliers. This is a mandatory field and you cannot validate some outgoing documents during a change of status if you do not specify the Delivery terms place. Any printouts such as PDF will also show the Delivery terms place.
To specify the Delivery term place for a supplier.
Enter SUP in the Program field and select the Enter key to open the Supplier (SUP) application.
In SUP, select Settings > Main data.
Select
 in Shipping terms.
Enter the Delivery terms place below the Delivery terms list.
You can add a different default Delivery terms and Delivery terms place for every shipping address for your customer.
There are some settings for Delivery terms and Delivery terms place in the CSV.
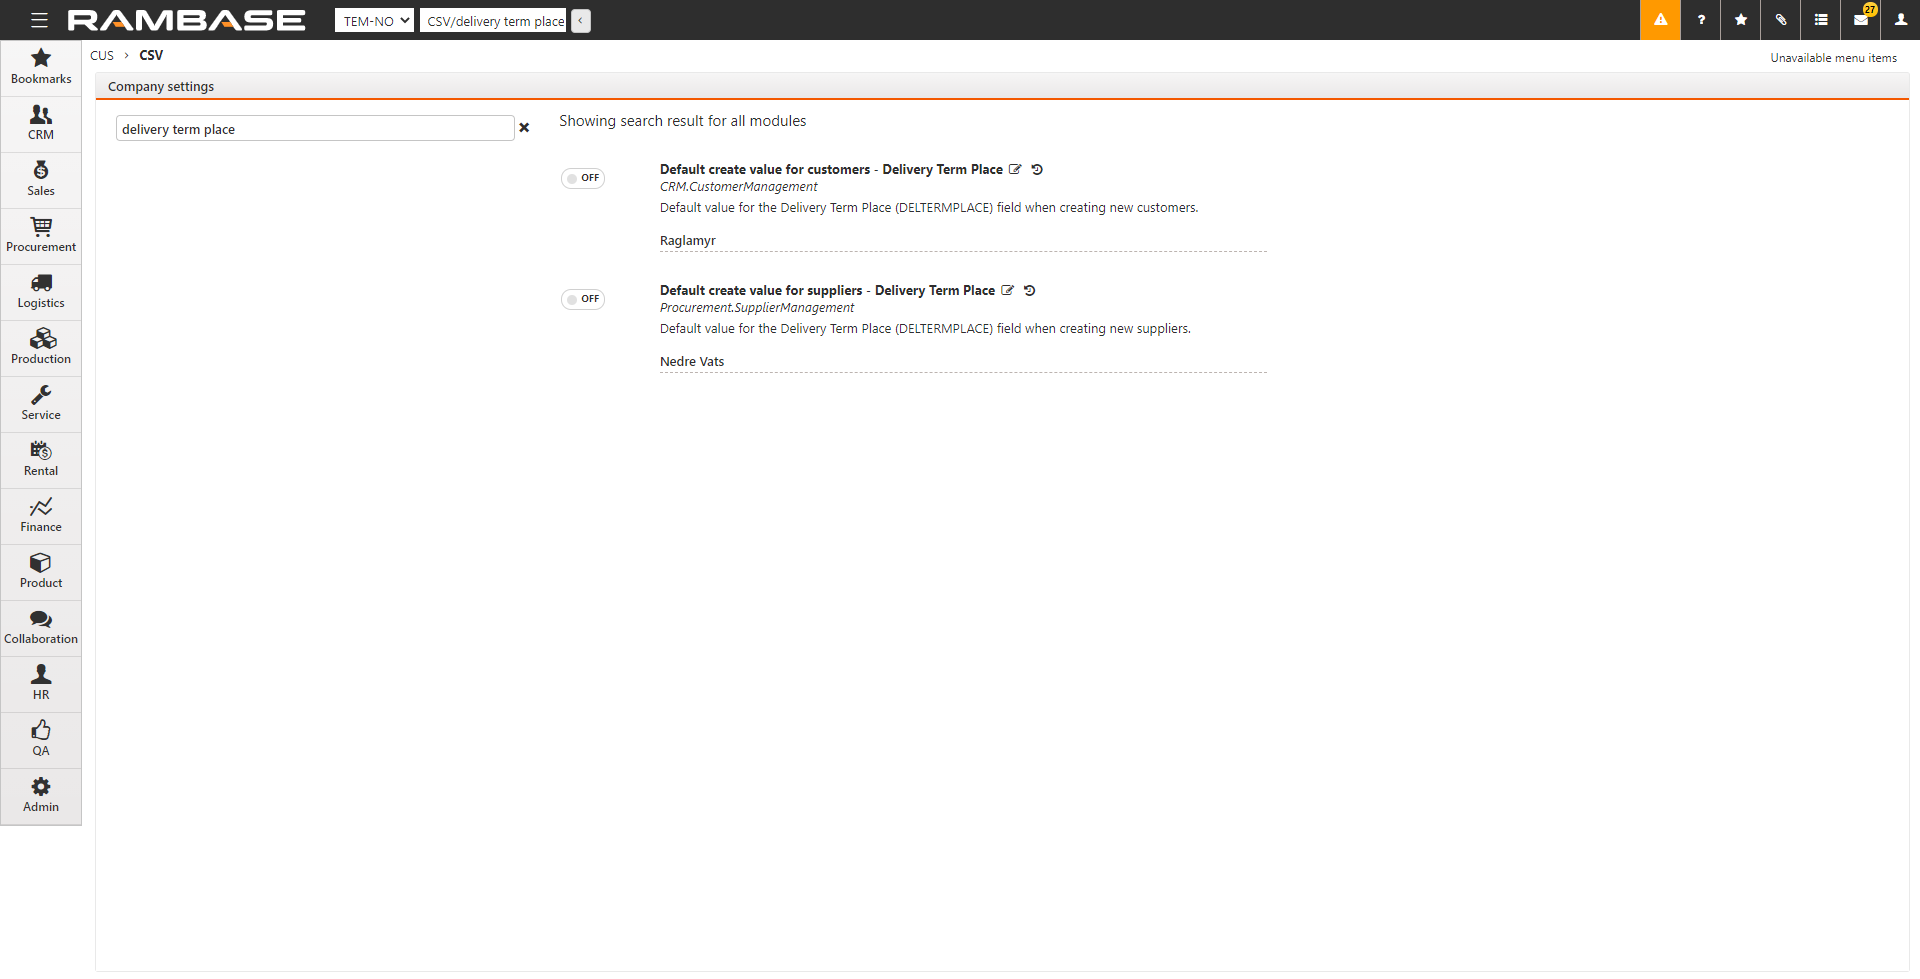
You can specify the default values for the Delivery terms (DELTERM) field when creating new suppliers.
Enable Default create value for suppliers - Delivery Terms and select the default delivery terms for new suppliers in the field below.
You can specify the default values for the Delivery terms place (DELTERMPLACE) field when creating new suppliers.
Enable Default create value for suppliers - Delivery Terms Place and specify the default delivery terms place for new suppliers n the field below.