Selecting fields for the report
Fields are selected from the main data source.
Add fields to the report definition
Verify that the report definition is in status 1. Otherwise, press F12 to open the action menu and choose the option Make Edit Version (ST=1).
Open the Fields folder by clicking the Fields tab.
Click the Add fields icon below the Fields folder.
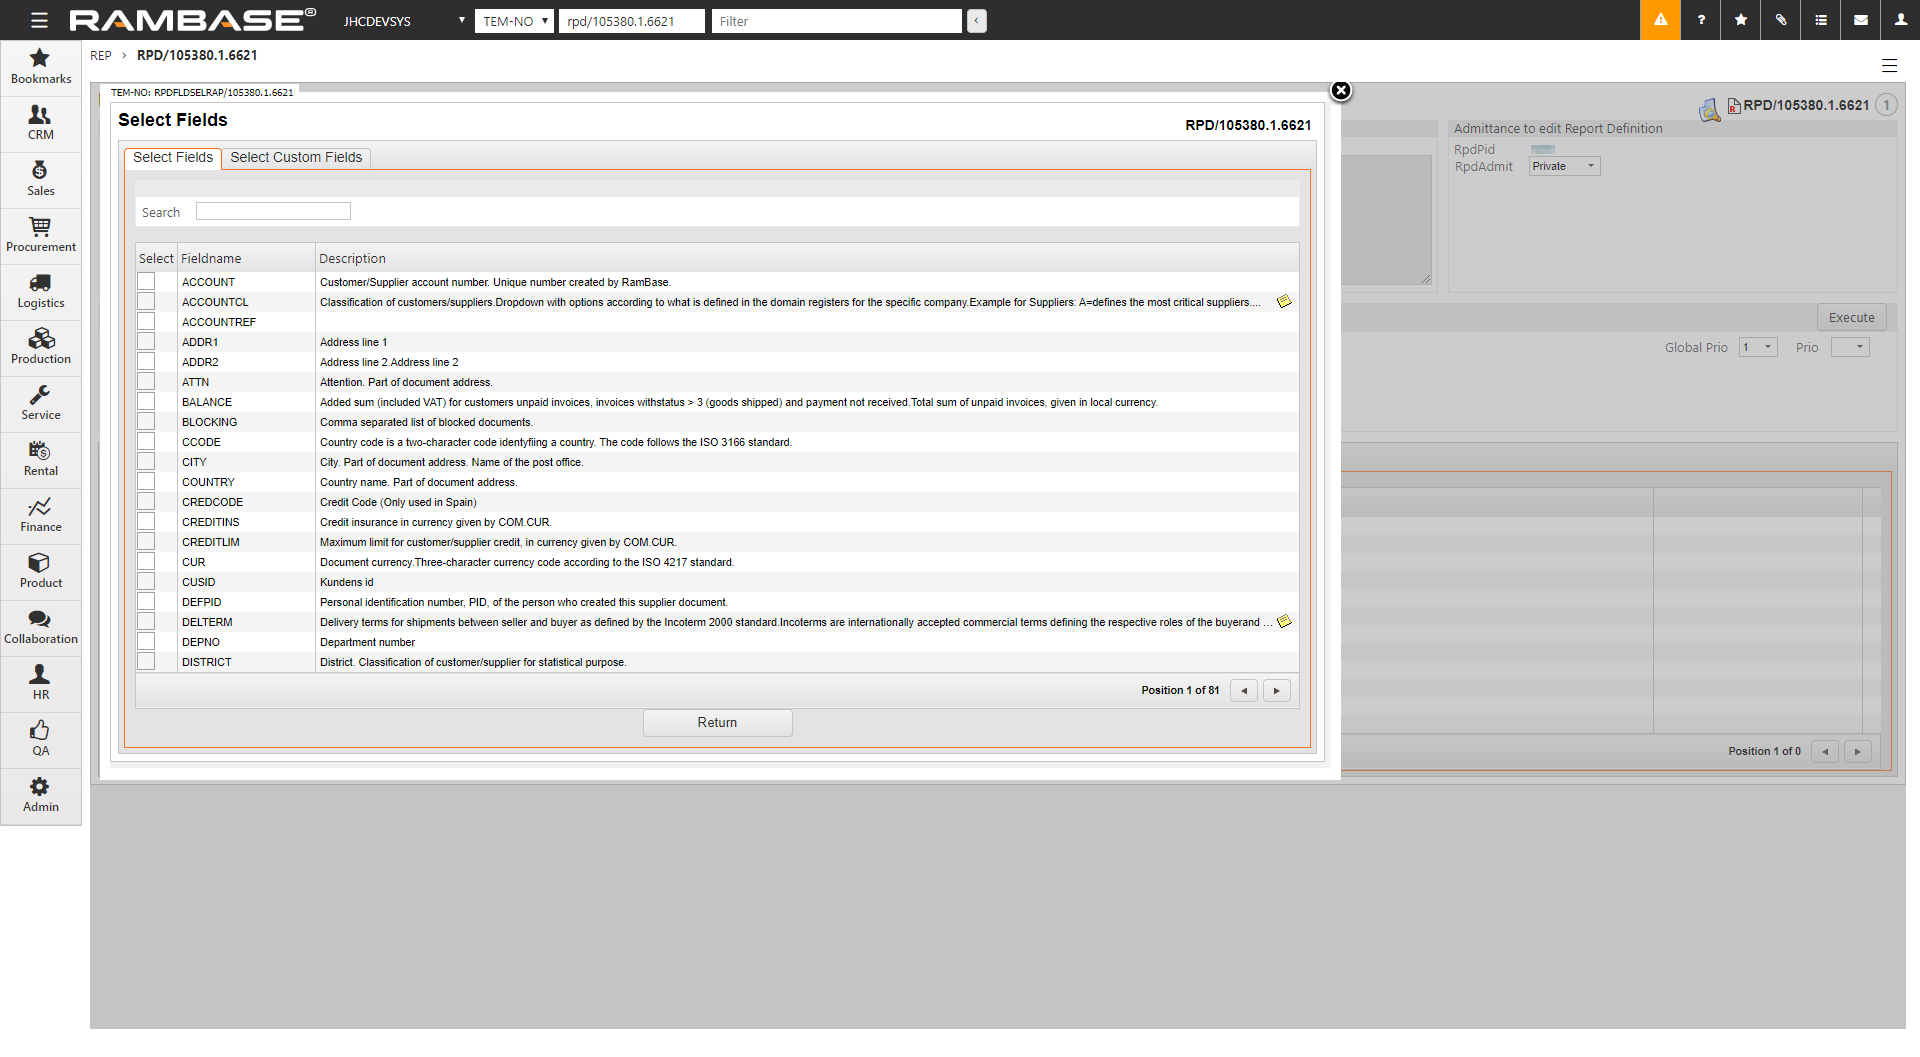
In the popup list, tick the fields you want to include from the Select Fields folder and the Select Custom Fields folder.
Press the Return-button to add the selection to the Fields folder.
For each field, you may set the sort priority, data type, or function to process the data content of the field (column).
Column descriptions
SortPrio
Up to three columns can be set up with sorting keys with a priority from one to three to sort the report. Note that this will only determine the sorting of the report on its initial viewing. The report can be sorted differently by clicking on the column heading while viewing it. In that case, only the selected column will determine the sort order.
Type
Type is used to set the Value type. The value set here will determine the options one has for formatting the field. Most fields will have a default format pre-selected, but this can be overridden. To set default formatting for various fields, one can choose the ‘(default format)’ option which will automatically set certain options, like number of decimals and right-alignment for NUMBER-fields, or the standard date-format for DATE-fields. These formatting options can be changed or added to by selecting the ‘Edit format’ looking glass icon for each column.
SumColumn
Set to ‘yes’ if the column should be accumulated. Only available for columns with Type:Number. Please note that for reports viewed on screen, the accumulated numbers shown will be for the current and previous page(s) and not the full report.