Create Received supplier invoice and credit note (ISI) documents
The Received supplier invoice and credit note (ISI) application is used to import Supplier invoices (SIN) and Supplier credit notes (SCN). This can be done automatically or manually.
Contact your RamBase partner to set it up.
Import supplier invoices and credit notes manually
This is a file import, it is not possible to upload a PDF invoice.
To open the Received supplier invoices and credit notes (ISI) application, find Finance in the RamBase menu and then Payables. Click the Received supplier invoices and credit notes option to enter the application.
Click the Import supplier invoices and credit notes... option in the context menu.
Click the Select file > button.
Click the Choose File button and select the file.
Click the Upload button to import supplier invoices and credit notes.
Click the Validate option in the context menu.
The document will go to Status 8 if the validation is successful. If the validation fails, the document will go to Status 6.
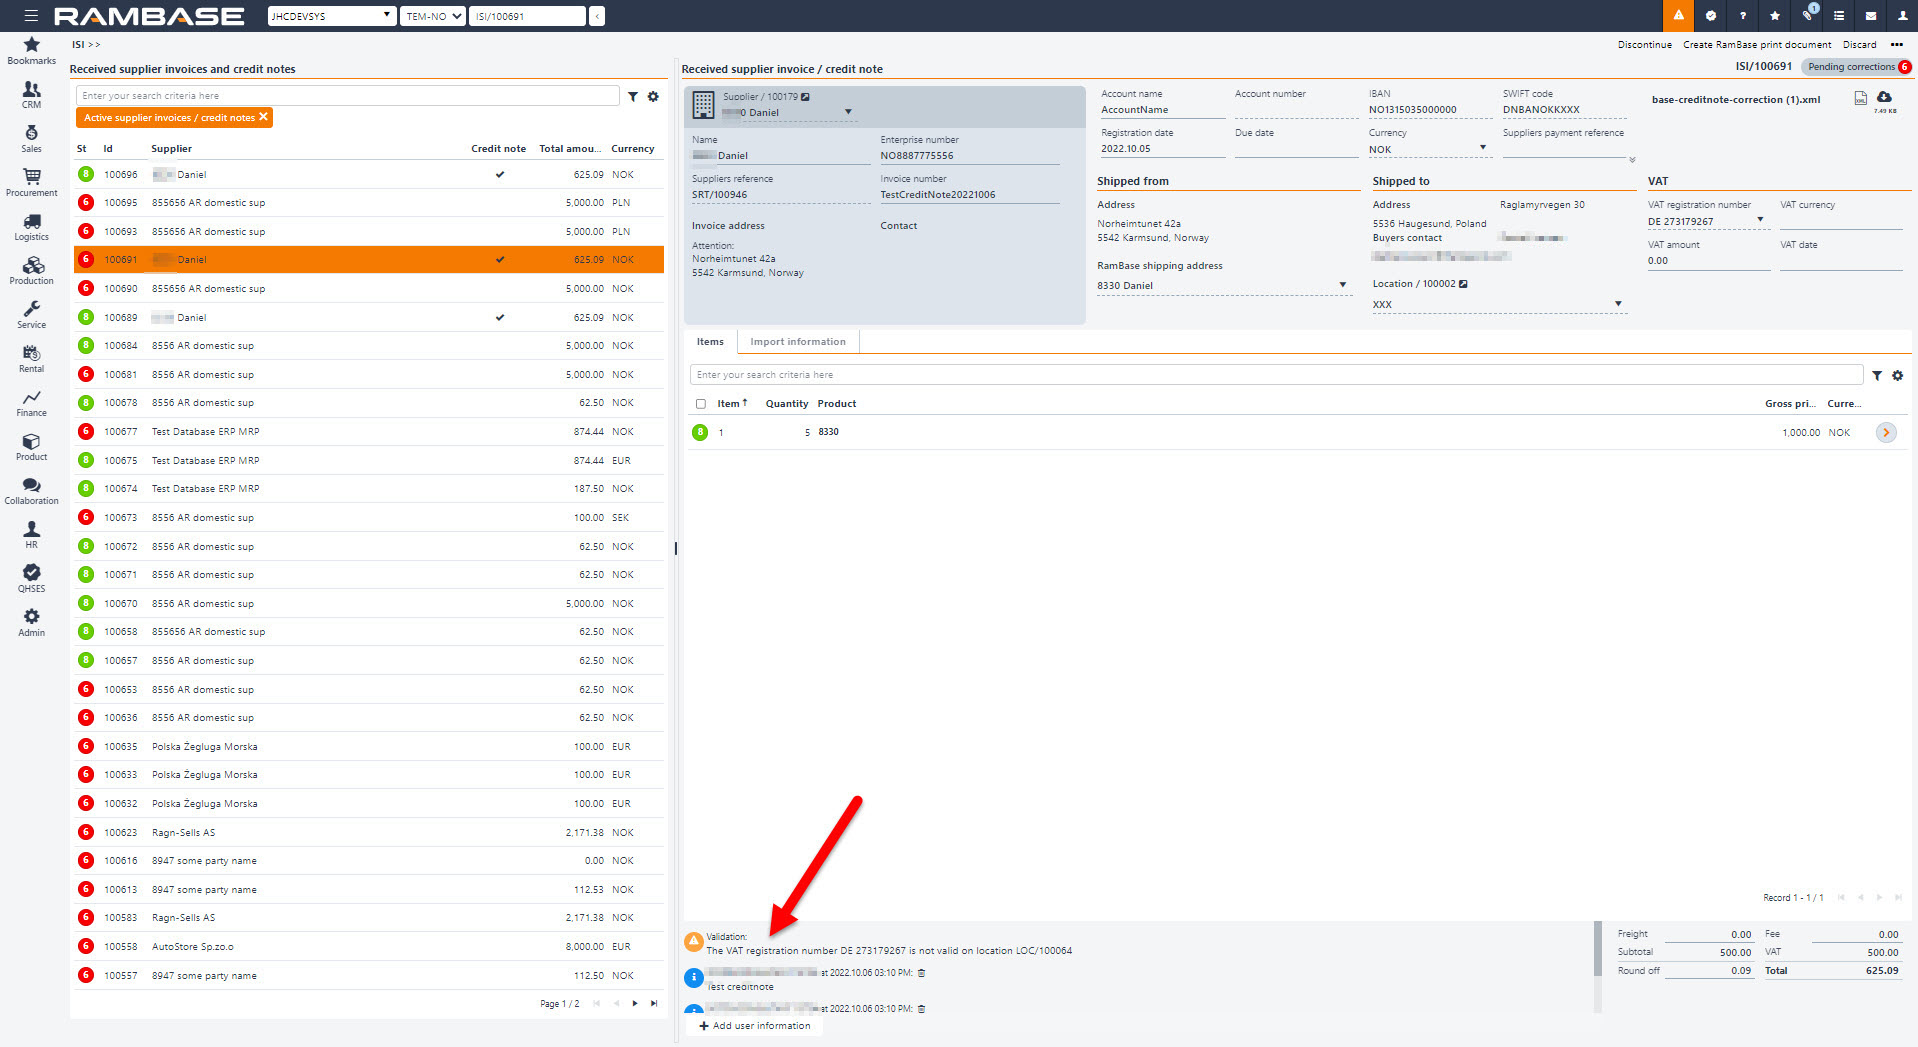
If the validation fails, the data must be corrected manually. The validation error messages will be displayed as notes on the main and/or item level.
When the data is corrected, click the Validate option in the context menu to set the document to Status 8.
Click the Forward to supplier invoice or Forward to supplier credit note option in the context menu to transport the Received supplier invoices and credit notes (ISI) document to a new Supplier invoice (SIN) or Supplier credit note (SCN) document.
The Received supplier invoices and credit notes (ISI) document is set to Status 9 and is successfully forwarded to a new Supplier invoice (SIN) or Supplier credit note (SCN).
The Company setting (CSV), ImportedSupplierInvoiceItemDisableSuppliersNamePopup, can disable the Change suppliers product name? popup on received Supplier invoice items (ISIITEM). If this setting is turned on, the system disables the popup and denies the user from changing the Supplier name on the selected product.
Import supplier invoices and credit notes automatically
It is possible to import Supplier invoices (SIN) and Supplier credit notes (SCN) automatically.
If all the settings for automatically processing received supplier invoices is set to ON (one main setting and four sub settings), the system will automatically import and process the Received supplier invoices and credit notes (ISI) documents.
Note
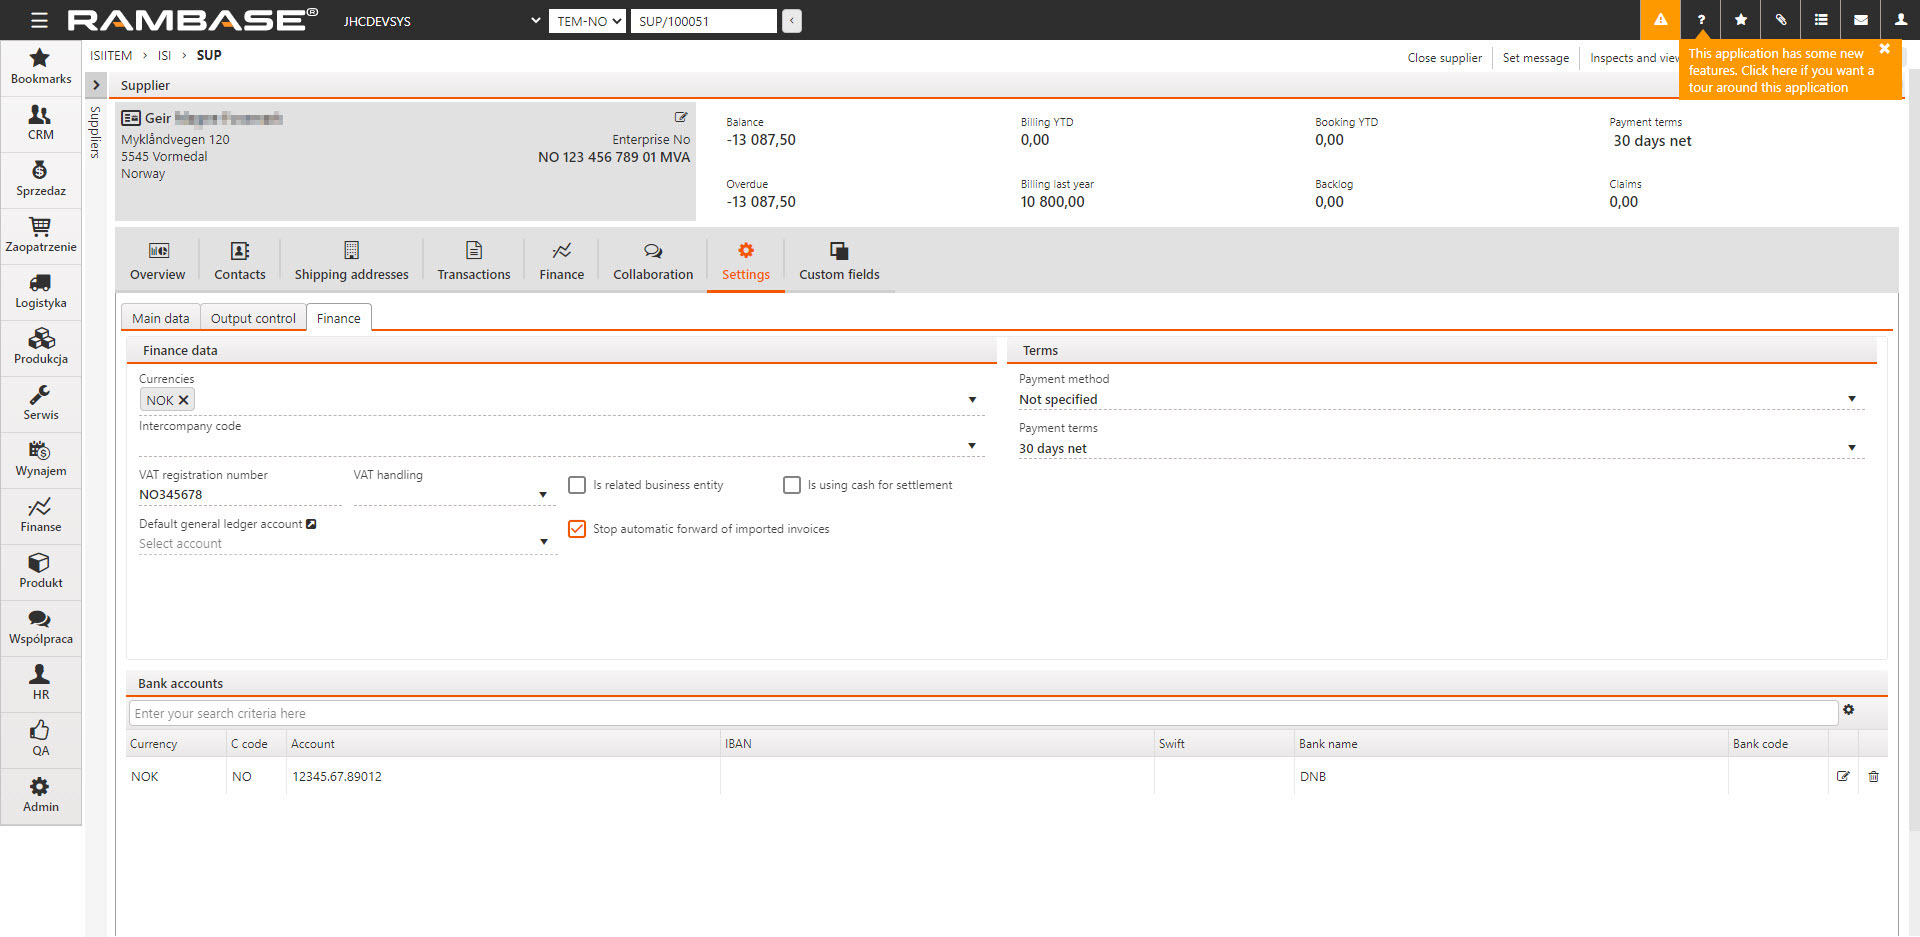
It is possible to stop automatic forward of imported invoices and credit notes in the Settings folder on the Supplier (SUP). Select the Stop automatic forward of imported invoices checkbox. The Received supplier invoices and credit notes (ISI) document will then remain in Status 8 until the user manually forwards it to a Supplier invoice (SIN).
Invoices / credit notes comes into the Received supplier invoices and credit notes (ISI) application for validation (Status 2).
The system checks every hour if Received supplier invoices and credit notes (ISI) can be found in Status 2 and try to validate these documents. (Received supplier invoices and credit notes (ISI) document in Status 2, 6 and 8 can be found in the Supplier invoice management (SIM) or Supplier credit management (SCM) application in the Received Invoices or Received Credit Notes tab.)
If no error is found, the system sets the document in Status 8.
In case of at least one validation fail, the system sets the document in Status 6 and the user must fix the problem manually. The validation error messages will be displayed as notes on the main and/or item level.
After the user has fixed the validation error messages, click the Validate option in the context menu to try to set the Received supplier invoices and credit notes (ISI) document to Status 8.
The system checks every hour if Received supplier invoices and credit notes (ISI) can be found in Status 8 and forward one by one received invoice/credit note to a Supplier invoice (SIN) or Supplier credit note (SCN).
If the setting Register supplier invoice is ON, the system checks every hour if a Supplier invoice (SIN) in Status 1, which comes from a Received supplier invoices and credit notes (ISI) document, exist and register these invoices/credit notes (set the Supplier invoices (SIN) to Status 4).
Add information manually on a Received supplier invoice and credit note (ISI) document
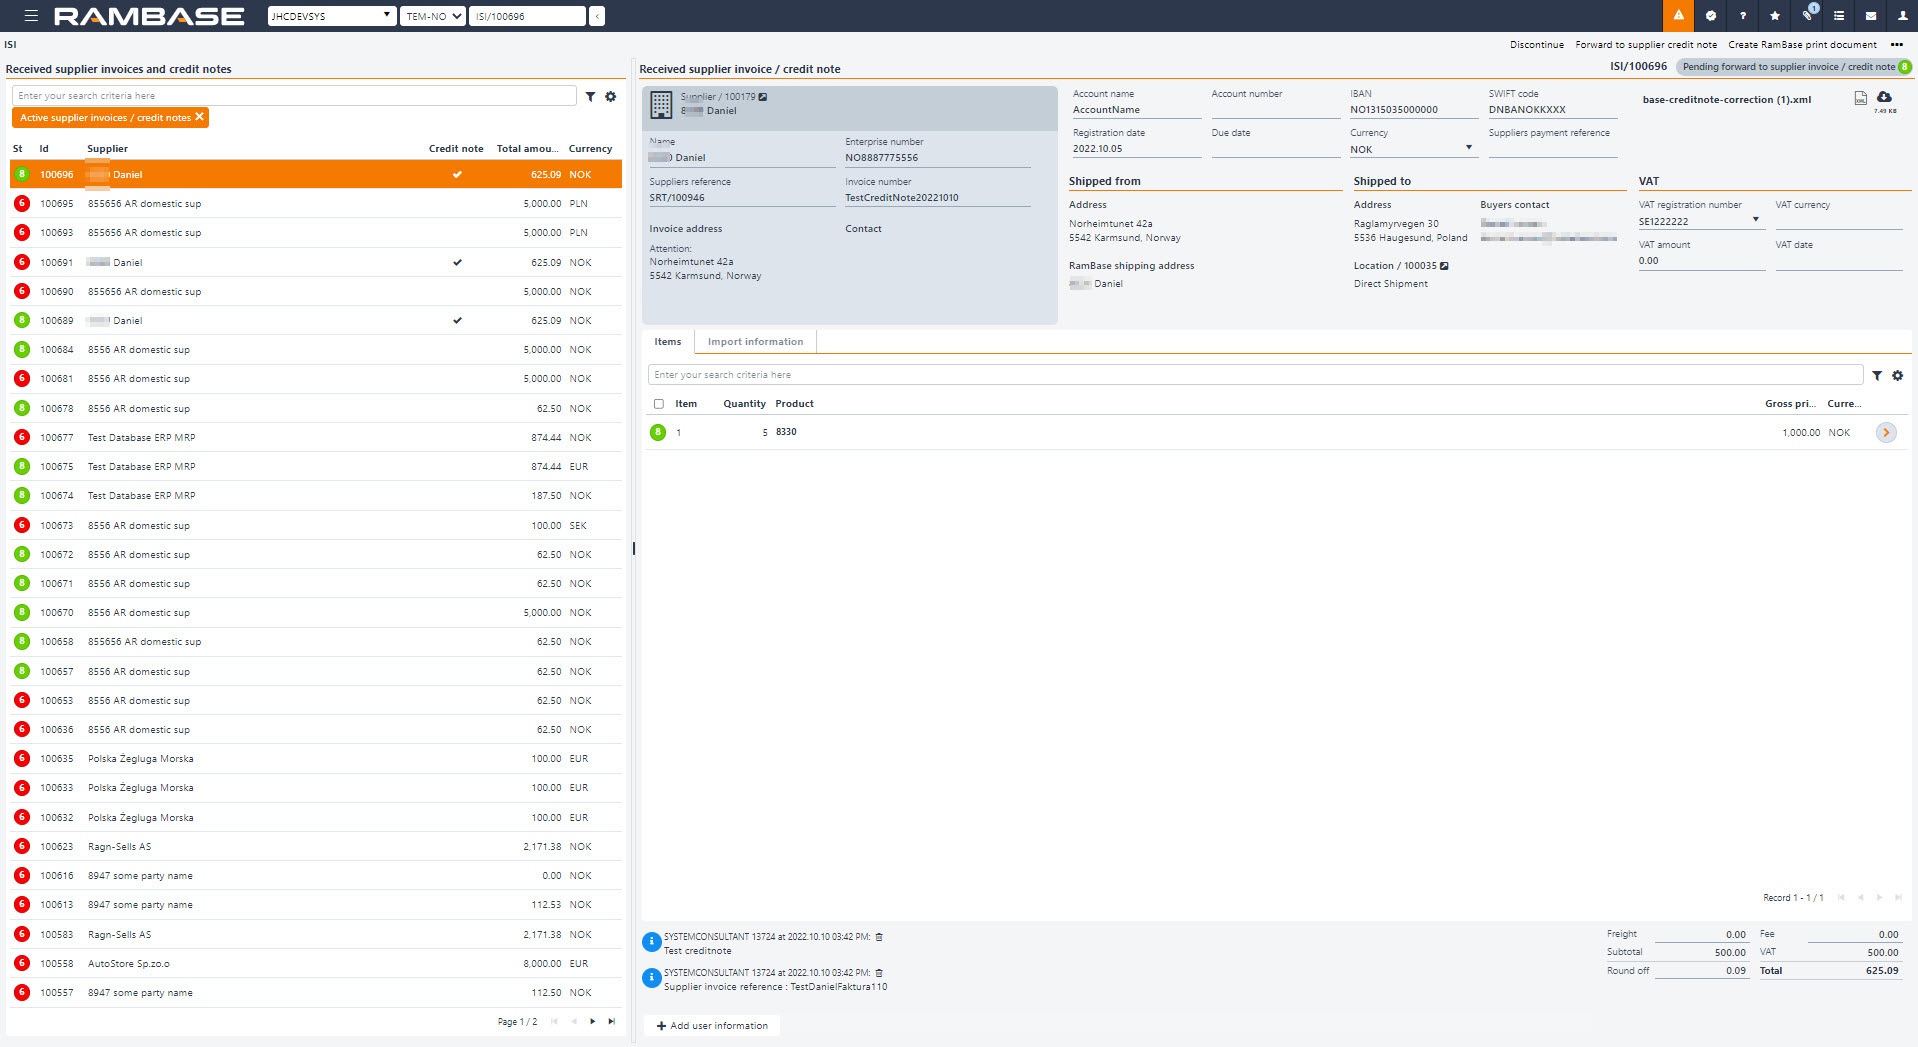
Use the Add user information button to add information manually. This information will follow the document when the Received supplier invoices and credit notes (ISI) document is forwarded to a Supplier invoice (SIN) or Supplier credit note (SCN).
How to change the VAT number on a Received supplier invoice and credit note (ISI) document
If the VAT registration number is not valid on the document, it is stopped in Status 6 (Pending correction) in the Received supplier invoices and credit notes (ISI) application. The valid registration numbers will be available in the VAT registration number field.
Enter the Received supplier invoices and credit notes (ISI) document.
Click on the VAT registration number field to open the drop-down menu with the valid registration numbers.
Click on the correct registration number to set it on the selected document.
If you receive a value in the VAT registration number field on a Received supplier invoices and credit notes (ISI) document, which is not your VAT number, the Received supplier invoices and credit notes (ISI) document will be stopped in Status 6 and the correct VAT number must be selected.
This control is new, so occurrences of documents stopping in Status 6 with references to wrong VAT number might happen, even though similar documents have not been stopped before.
Note
The valid registration numbers available in the VAT registration number field depends on the VAT numbers set in the VAT Data tab in the Location (LOC) application.
How to reopen a previously closed Received supplier invoice and credit note (ISI) document
To reopen a document that has been closed (Status 9 - Processed), use the Reopen option in the context menu.
The Reopen option in the context menu will reset the document to Status 2 - Pending validation.
Invoice numbers can be changed for documents in Status < 6, with validations that ensure uniqueness.