Supplier Invoice Management
The Supplier Invoice Management (SIM) application is an overview of the Supplier Invoices (SIN) and makes it easy to follow up on approvals and PreRegistered SINs waiting to be linked to Goods Receptions (SSA) items.
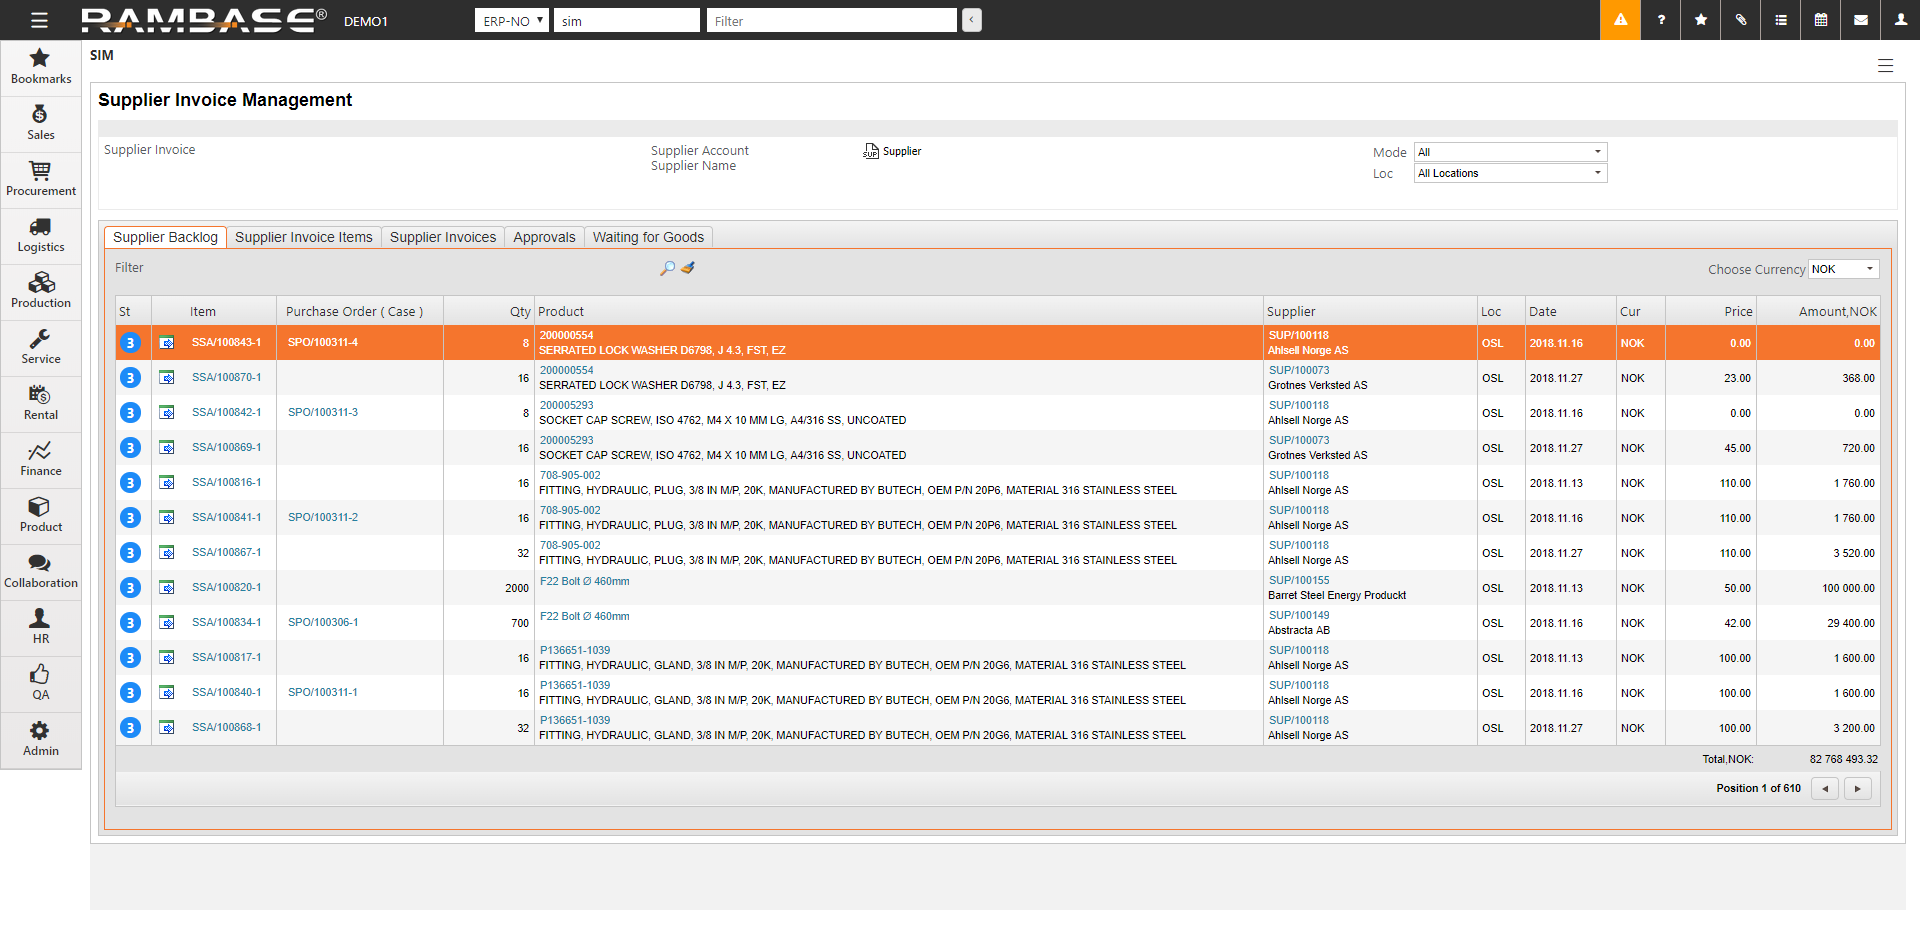
There are three filter options at the top of the application.
Click on the SUP icon to select a Supplier (SUP).
In the Mode dropdown menu, choose between All, Purchase Orders & Goods Receptions, Goods Receptions or Requisitions. This is only useful in the Supplier Backlog folder.
Select a specific Location (LOC) in the Loc dropdown menu.
Supplier Backlog
Click on the magnifier icon to use the filter option in the Supplier Backlog folder. Can for example be used to search for a specific Purchase Order (SPO) in the Purchase Order No ( Case ) field.
Change the currency in the Choose Currency field. This will show in the Amount,XXX column and the Total,XXX: in the bottom right corner of the application. Use the Total,XXX to make sure everything is correct, or to check against invoice amount.
Transport an item to a Supplier Invoice
Create a new SIN or transport to an existing SIN by clicking the Forward icon in between the St and Item columns.
To transport the item, highlight the preferred SIN and press ENTER.
In the Transport Item popup, check the information and click the OK button.
Note: The different filter options in top of the SIM application is set with the information to the SIN you selected.
Transport all items to a Supplier Invoice
Click the magnifier icon
Write the SPO number (123456) in the Purchase Order No ( Case ) field and click the OK button.
Press F12 to open the action menu and choose the Transport All Items to Supplier Invoice option.
In the Transport Items popup, Set a date in the Date field and fill in other necessary information.
Click the OK button to transport all items.
Supplier Invoice Items
This shows the SIN on the item level. It displays the Account dimensions, Department, Project, Assets and VAT Code.
It is possible to set or change Account, Department, Project, assets and VAT Code on the items in this folder.
Click on the magnifier on the item you want to set or change information.
Set or change the information necessary and click on the OK button.
The magnifier opens the Item Account Info popup. This is the same as the magnifier on the SIN item level.
Use the radio button Missing Account Dimensions to filter the SIN items where Account dimensions are missing.
Supplier Invoices
The Supplier Invoices folder shows an overview of the SINs.
It is possible to create a SIN or a SIN for expenses directly from the SIM application:
To create a regular SIN, click the Create New Supplier Invoice icon in the lower left-hand corner of the application.
There is two option to create a SIN for Expenses. Click the Create New Supplier Invoice for Expenses or press F12 to open the action menu and choose the Create new Supplier Invoice for expenses option.
See all items that can be added to a Supplier Invoice
To see all items you can add to a SIN, Highlight the SIN and press ENTER.
You will be sent to the Supplier Backlog folder with filters set for the chosen SIN and SUP.
In the fourth column, there can be two different icons:
The Register/PreRegister icon can be used to Register/PreRegister the SIN.
The Info icon explains why it can not be registered yet.
Register expense invoices
Below the table, there is an Expenses ready to register option which displays only the expense invoices that are ready for registration. By using the menu option (F12) Register all from filter, a pop-up window will open where you can register all invoices currently visible in the main list.
Approvals
It is an overview of all the approvals, in the Approvals folder, and it shows the approvals status.
There are different filter opportunities:
Select SUP, with the SUP icon, or use the Loc field to select a specific LOC.
Use the radio buttons to find the document(s) needed.
Should be sent for Approval
Sent to Approval, waiting to be approved
Approved, waiting to be registered
All
Click on the icon in the Approval Status to see status for the approval and information about it. If you have admittance, you can send the item for approval, or approve items from this popup.
Use the DueDate column to see when it needs to be paid. It shows the SIN with the closest due date first.
Waiting for Goods
It is an overview of all the PreRegistered (PREREG) SINs in the Waiting for Goods folder.
Click the magnifier icon to see the history of the SPO item.
Click the Change Purchase Order link icon to link SIN item it to another SPO item or to remove the link. If you remove the link, it will become a regular SIN since it is not linked to a SPO or Purchase Order Response (SOA).
The Goods Reception, not registered column shows that a Goods Reception has arrived, but is not registered. This is only as information.