Catalogue sorting
Setting up catalogue sorting in WGR
An important setting you need to enter before the sorting is the SortPrio field in the Work Group (WGR) application. You can find this field in the Catalog Production folder in the WGR application.
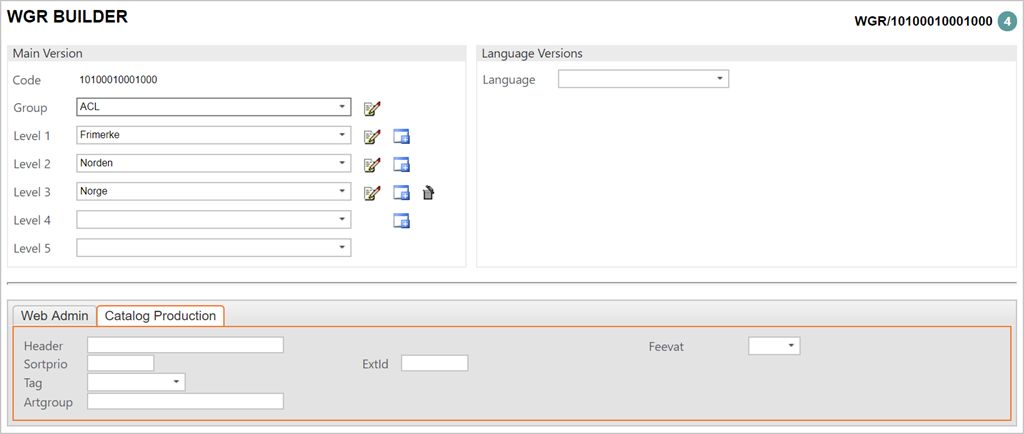
The SortPrio field decides the sorting priority for the different categories. The main categories are sorted first (Level 1), and the following categories (Level 2-5) are sorted after with unique number sequences.
This means that when you have chosen a category in the Level 1 dropdown menu, you will need to add a number in the SortPrio field. At the highest level, it is sufficient with a single digit number. After you have entered the SortPrio value, choose the next category in the Level 1 dropdown menu and enter a new value, in sequence with the previous number given in the SortPrio. When all Level 1 categories have received a value, move on to Level 2 categories. It is recommended that the numbers follow a natural sequence, with some leeway to allow additional categories. It is also possible to use decimals if needed.
It is important to finish the sorting from the top category down to the lowest category before moving on to the next top category, so the LOTs are not mixed.
Setting up catalogue sorting in VList
The Value List (VLIST) application controls the sorting of LOTs in their respective categories.
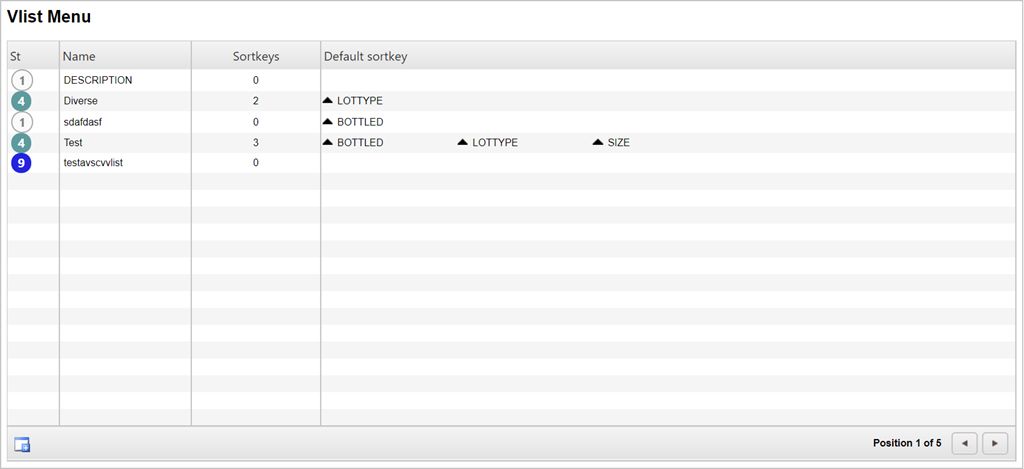
Enter one of the existing VLISTs in the menu or create a new one using the Create New icon in the left corner.
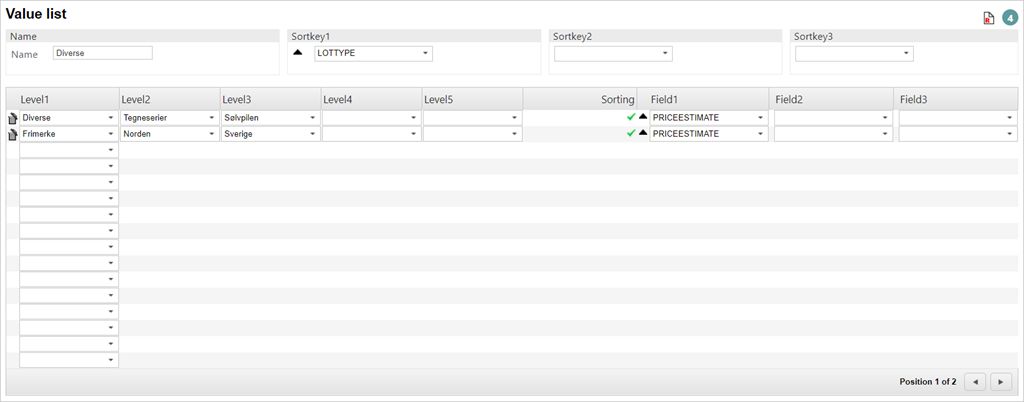
Here you will have the opportunity to sort the LOTs within its category. The default sorting priority is set in the SortKey fields, but these may be overridden by the individual category sorting set in the columns below. The SortKey fields are retrieved from the LOTs.
The categories are displayed in the LevelX columns, with the VLIST sorting being set in the FieldX columns to the right. The VLIST categories are retrieved from the LOT category and the unique/general fields on the respective categories. It is possible to use the black arrows next to the fields to control if the categories will be descending or ascending.
When you are finished with the VLIST registration, press F12 to open the action menu and choose the option Register VLIST (ST=4>).
If you need to make changes, it is possible to open the VLIST for editing using the action menu option Open VLIST (ST=1>).
Set sorting parameters in EVT
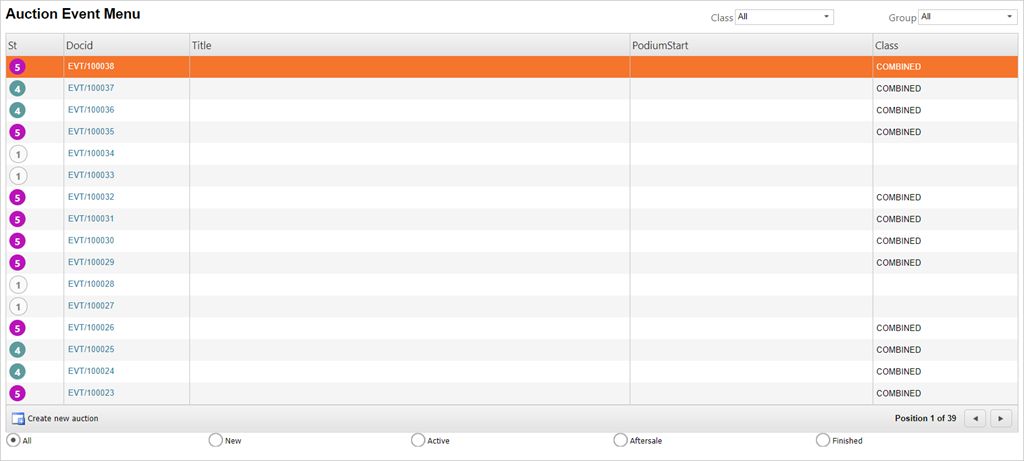
When the VLIST configuration is done, open the Auction Event (EVT) application. Find Auction in the RamBase menu and then Preparing auctions. Click Auction to enter the EVT application.
You will find a button called Set sorting parameters in the Lot Info folder. Clicking this opens a popup where sorting parameters are set. Use the TAB key to navigate through the options.
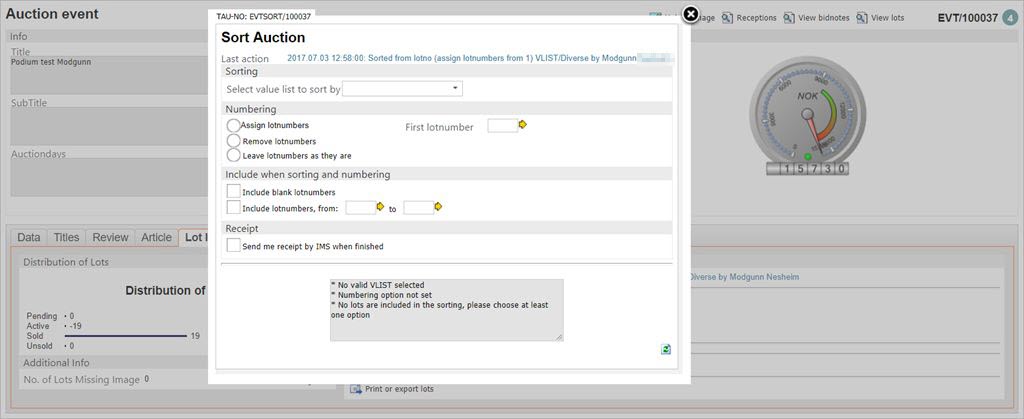
The Sort Auction popup has several fields which needs information entered:
Select value list to sort by
This dropdown displays all available VLists. Choose the desired VList.
Assign Lotnumbers - First Lotnumber
Check this option and enter which lotnumber you want the series to start with (1000/1001 is common).
Include blank lotnumbers
Check this off.
Include lotnumbers, from:
To include all lotnumbers, check this off and enter the value set previously in the First Lotnumber field.
When finished, press the TAB key to navigate out of the menu and click the Start Sorting button at the bottom of the screen.
To block anyone from sorting again, click the Block EVT button for further sorting button.
The last step is to click the button called Print or export lots, which will give you a file with all lots sorted and the necessary information.