Automated workflows....
Automated workflows allow you to respond for specific events in RamBase and build simple notification systems or automatically create tasks for your team. ...
Events are special types of some occurrences that can occur while working with RamBase modules. It can be updated status, person assigned as responsible, some item added or modified in a specific document. Only RamBase can add new events, contact support if you have any questions.
To access automated workflows, you must use the Duties (DUTY) Create and maintain company workflows and Create and maintain company template workflows. The duties are not added to any system defined Roles (ROLE). Users must add these duties to their own company defined roles.
Automated flows
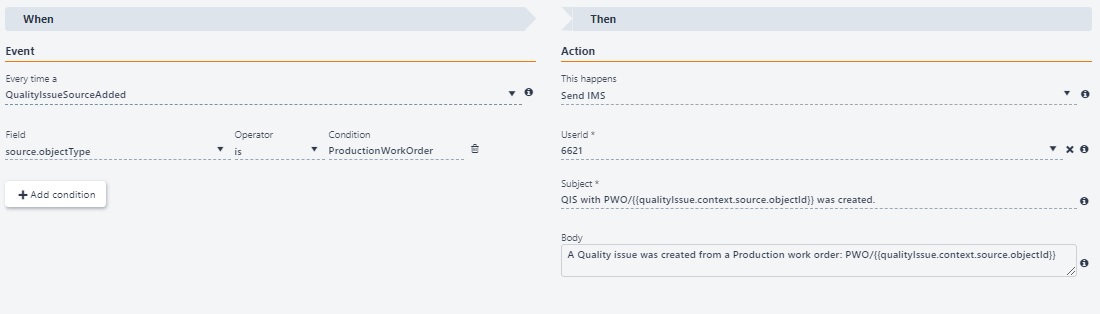
Automated flows make it possible to perform automated flow actions (described in the Actions section below) each time the specific event occurs. It is possible to add conditions that are checked before action is executed. All conditions are connected with “and” logical operator, which means that all must be true to perform action.
Each flow must contain one event and one action, in case there is need to perform many actions, another automated flow should be created with the same event and conditions, but with a different action.
There are few ways to create a new automated flow:
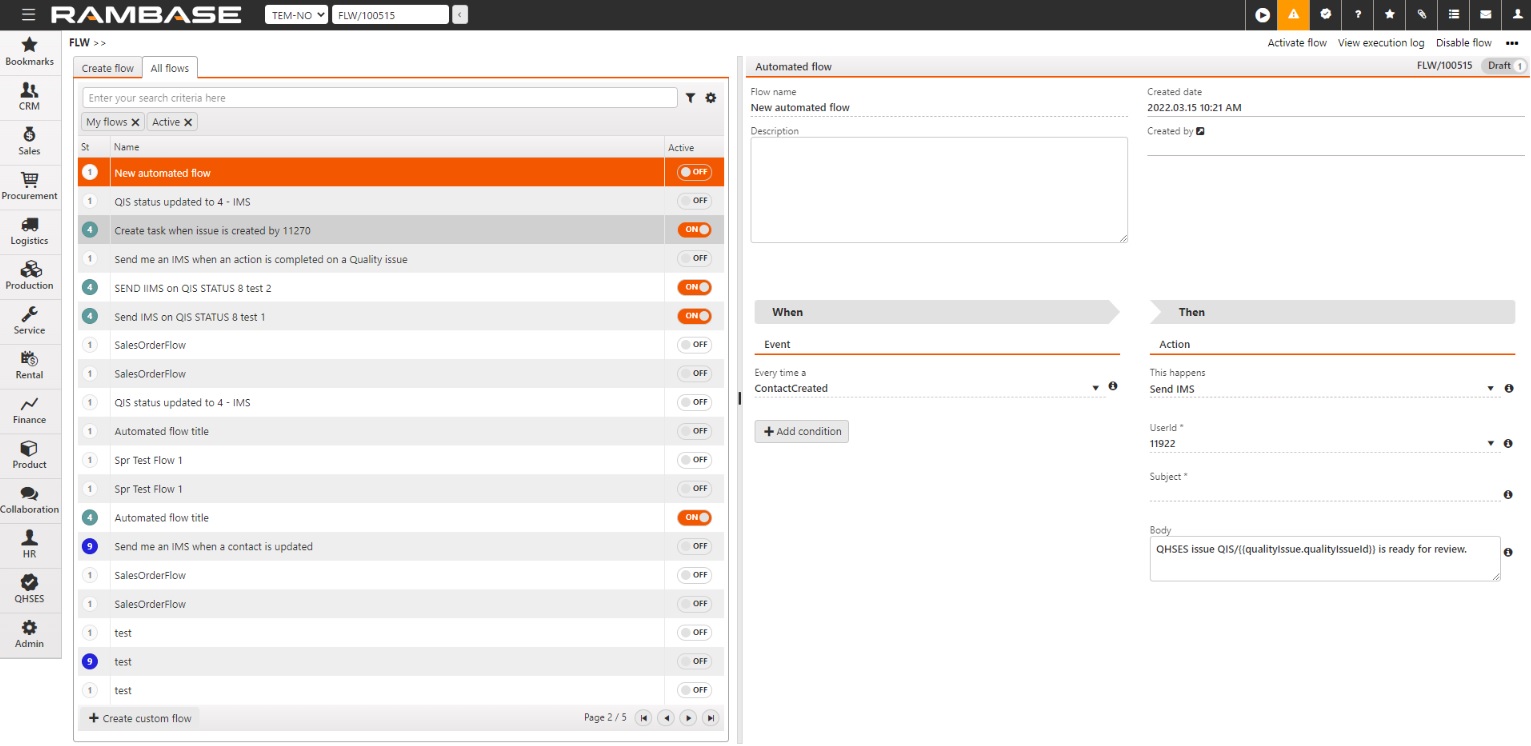
Using the Create custom flow button in the bottom left corner and enter the mandatory name and optional description.

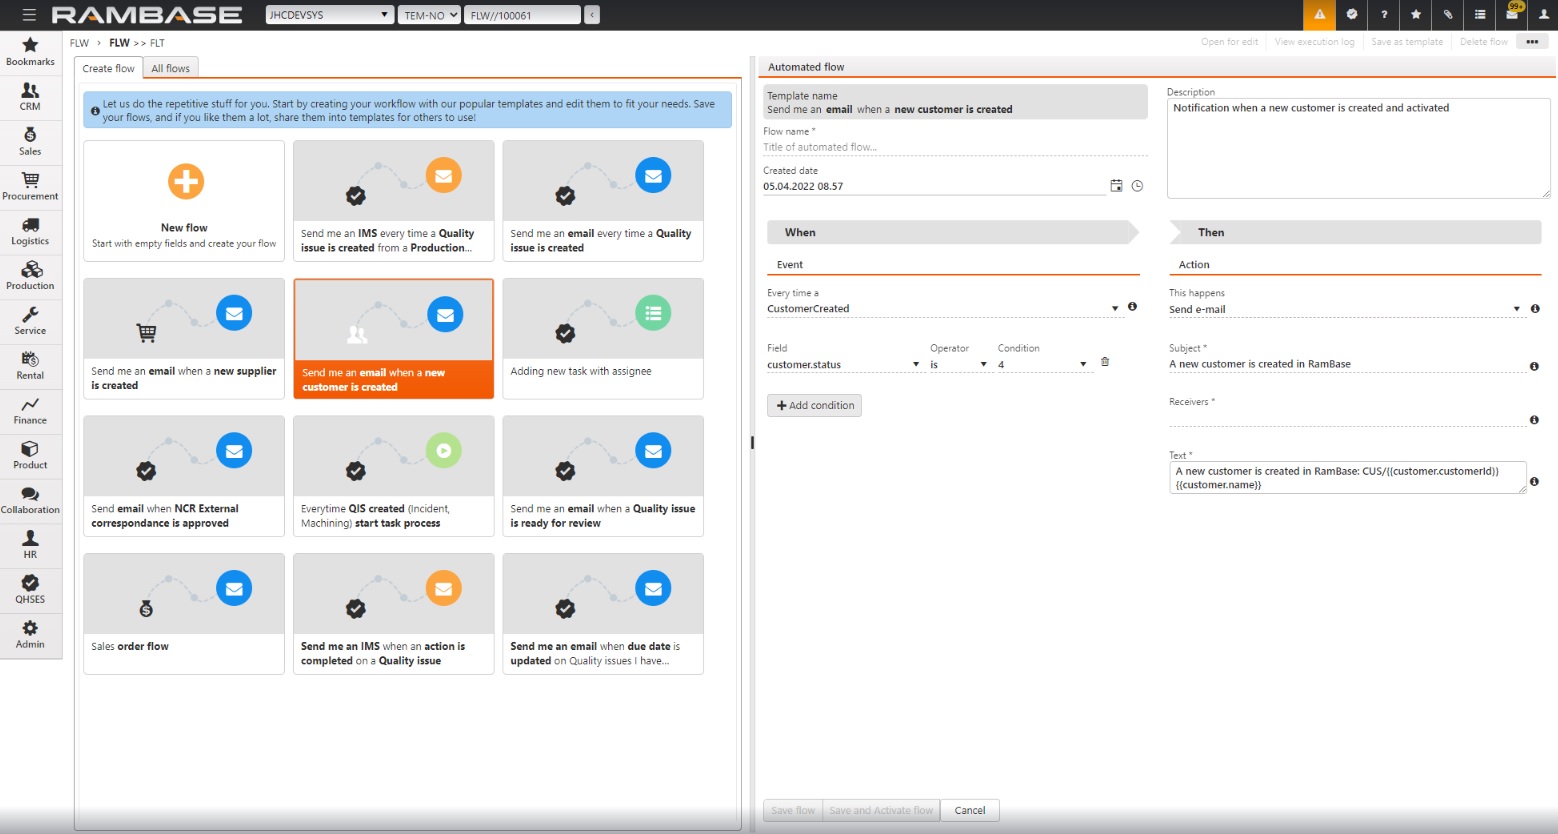
Using one of the automated flow templates (described in the Automated flow templates section below) listed in the Create flow tab.
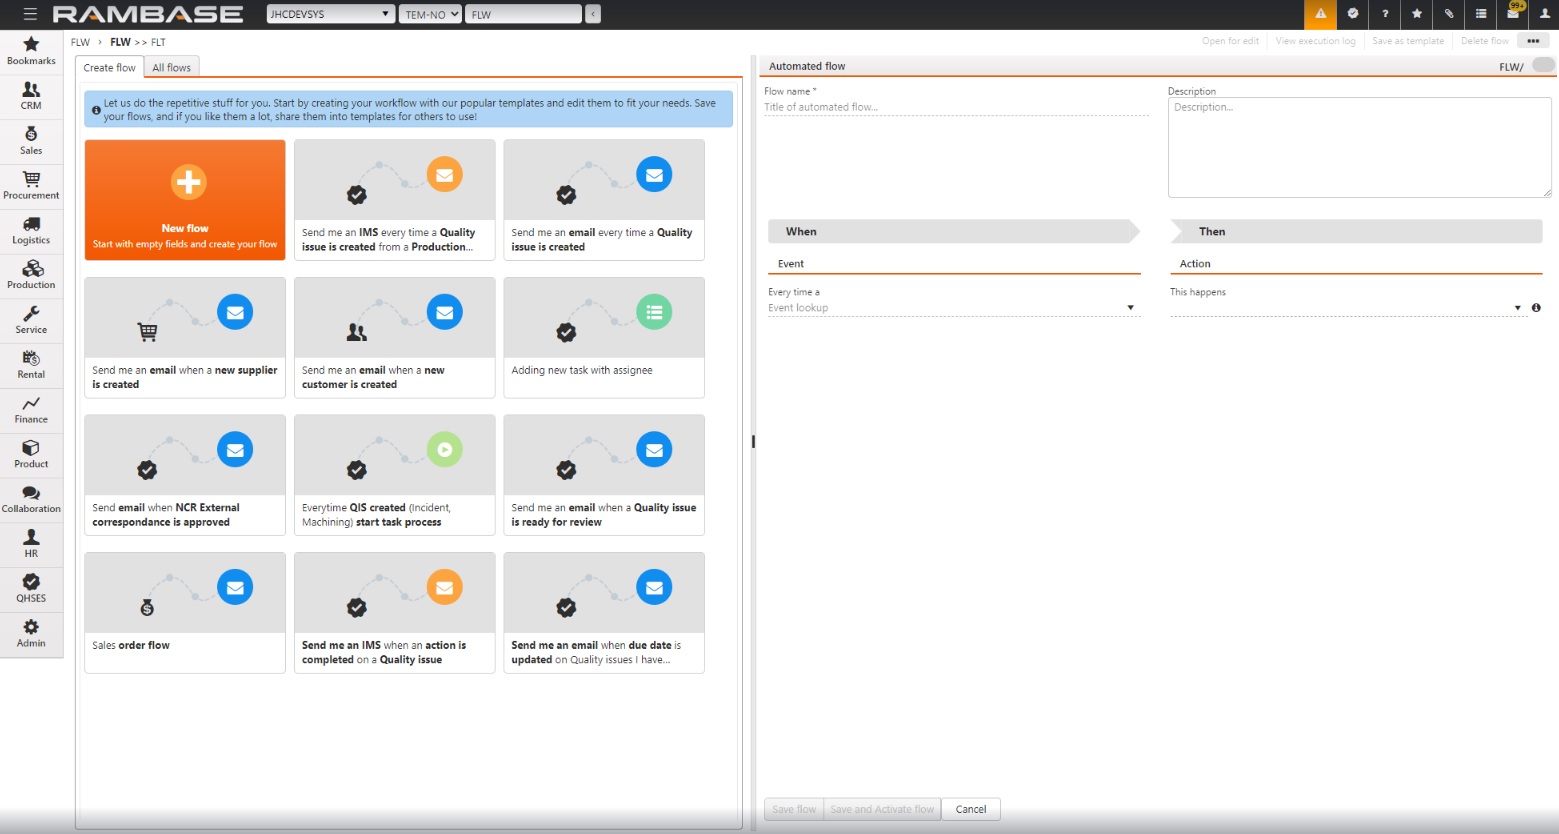
Use the New flow button in the Create flow tab which allows you to create empty flow from scratch.
Automated flows have their own statuses:
Status 1 - Draft - The flow is created and can be edited.
Status 4 - Active - The flow is active and every time the event occurs, the conditions will be checked and possibly action executed.
Status 9 - Disabled - The flow can not be edited and events do not cause the conditions to be checked and the action will not be executed.
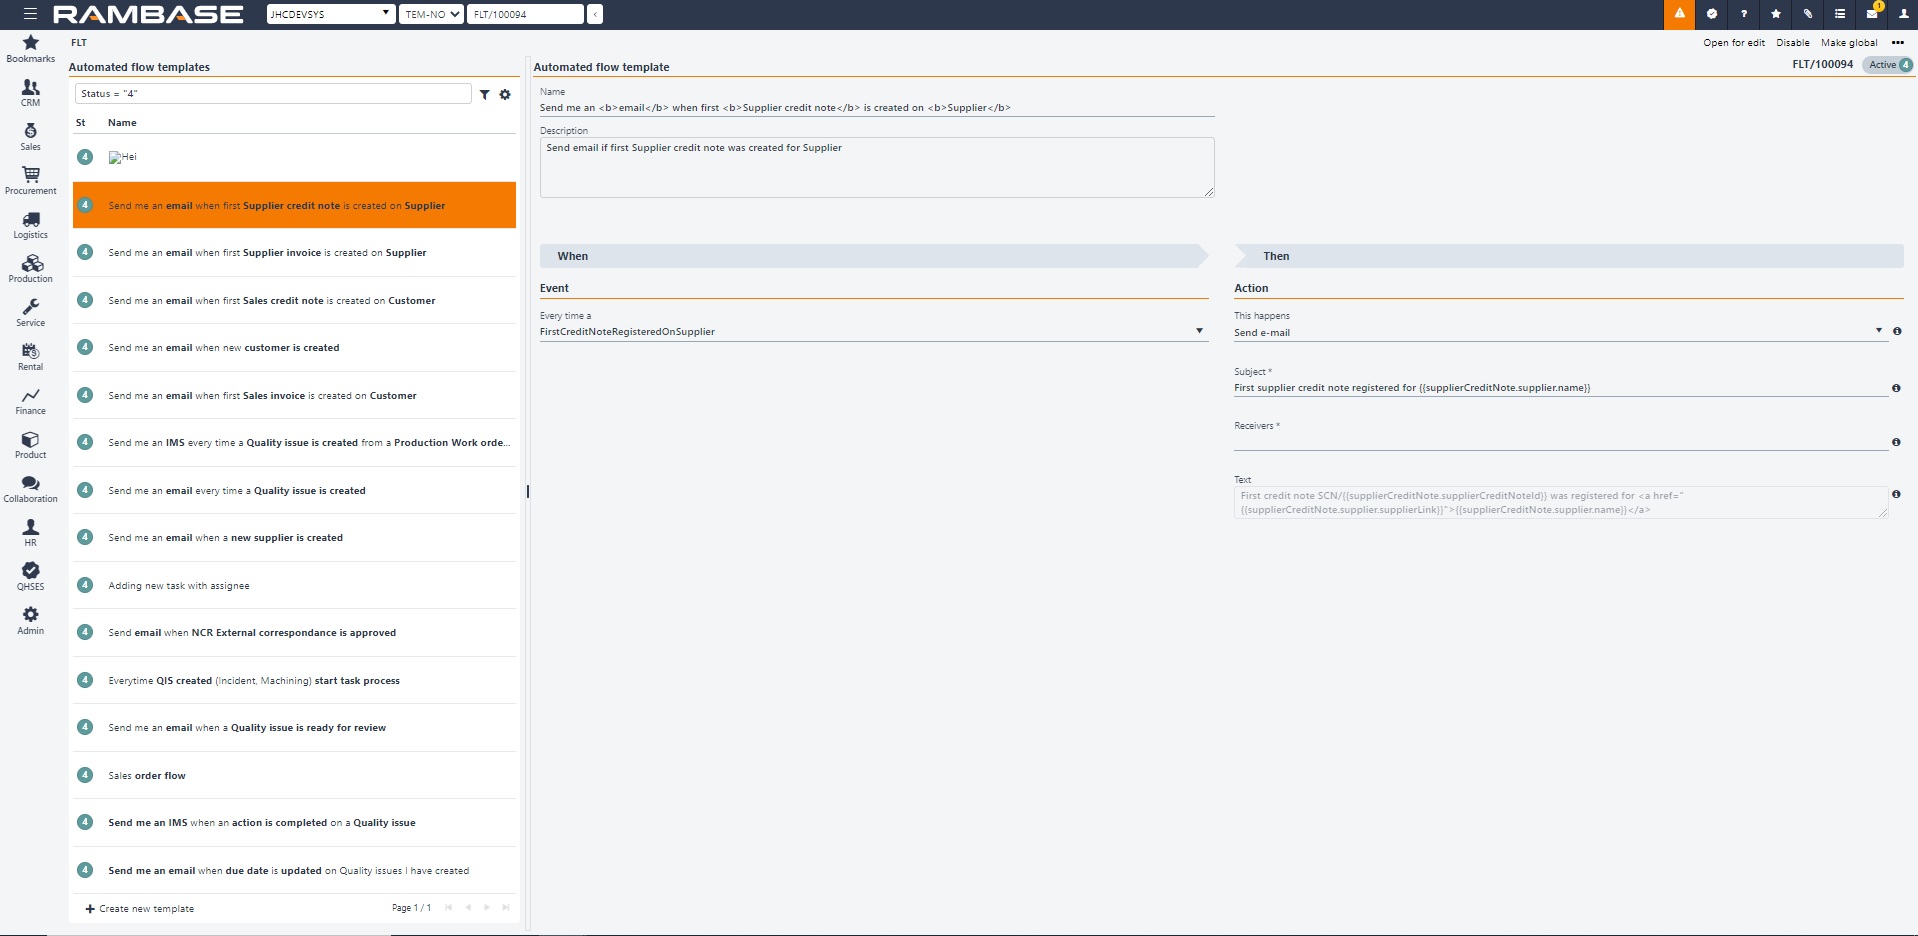
Creating and activating automated flows
To create and activate a new automated flow, follow the steps below:
Create a new automated flow and enter the name and description.
Select the event that will trigger this flow.
Add conditions for the event if necessary. List of available fields depends on the event itself, for events related to customers, fields will be retrieved from a resource that represents the customer. For events related to products, fields will be retrieved from the product resource and so on.
Choose what kind of action you want to execute, when event occurs and all the conditions are met.
Enter all mandatory action parameters. Remember, some parameters support macros.
After saving, activate the flow by clicking the switch next to the name in the flow list.
Adding conditions
Conditions can be created based on fields from the event detail object and their type. There are different operators available depending on the selected field type: text, numbers, values or date.
To add a condition, just click the Add condition button and you will be able to select one of the available fields. Based on the type, you will get different operator lists and Condition input fields that support specific type (date or datetime picker, values, etc.). To delete a specific condition, just click on the trash can icon next to it. To undo the current changes, click the X icon.
Selecting automated flow action
Actions with their parameters were described earlier, so you can select any of them using the dropdown menu and provide all the required data to mandatory parameters so that the action can be executed.
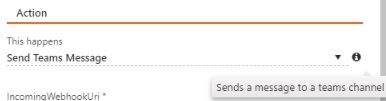
Next to the action dropdown menu and each parameter you can find a small info icon, when you hover the mouse over it, you will see tool tips with a short description.
Next to the parameter field you will also find the X button, by pressing it all data in this field will be removed.
Viewing execution log
You can select the View execution log option in the Context menu to open the execution log popup window.
All events occurrences related to the flow are listed, even if the criteria were not met. This means that this list shows how many times a specific event was triggered.
Description of statuses:
Status 1 - Draft - New job to check the conditions and probably execute the task has been created.
Status 2 - In queue - The job is saved and queued to be performed.
Status 3 - Processing - The job is being processed.
Status 4 - Paused - The job is paused.
Status 7 - Failed - The job failed and the action was not executed.
Status 9 - Finished - The job is finished and at least the conditions were checked, if all were true, action was successfully executed.
The Info column shows how many IMS/e-mails have been sent and how many failed (if any). If a batch has no information in this column, it means that there was no IMS/e-mail action for that batch.
Activating and deactivating automated flows
Only flows in Active status are considered to be executed. Newly created flow is in Draft status. To activate the flow, simply press the ON/OFF button next to the flow name that is visible in the All flows tab.

Use the same switch to deactivate the flow, the status will be changed to Disabled. In case you want to modify the flow again (you can only modify the flows created by you), use the Open for edit option in the context menu.
Saving as template
It is also possible to save existing automated flow as a template (templates are described in more details in the next section). To do so, select the correct option from the context menu and a new dialog will be opened.

In this dialog box, users are allowed to change the name and description of the flow, and they also can choose which event conditions and action parameters that will be copied. To copy the condition or parameter, the checkbox next to it should be checked.
Actions
Available actions in automated workflows are executed when the selected event occurs, and the criteria are met.
Each action has its own parameters. Some might be required, and some are optional, to execute the action.
This is a list of all actions defined in RamBase with their parameters:
Send IMS - Sends message to one or more recipients using Internal Message Service. (Supports macros with .userId and .employeeId)
Create note - Creates note in the RamBase system.
Start task process - Starts a task process.
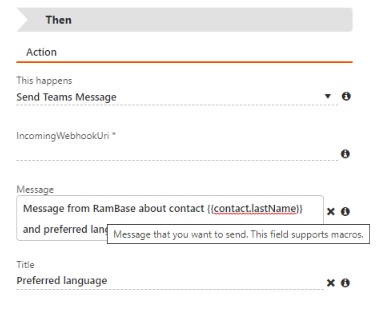
Send Teams message.
Create task - Creates a new task in RamBase.
Send e-mail - Sends e-mail to one or more recipients. (Supports macros with .userId and .employeeId)
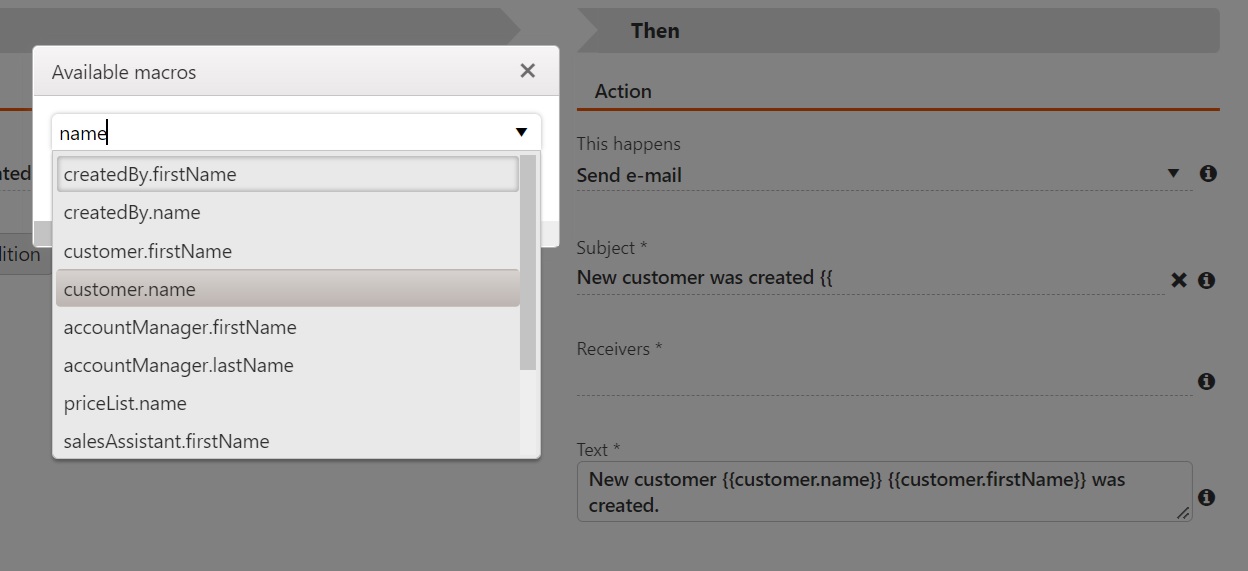
Some parameters support macros - this means that some properties of the object, which are related to the event, can be used. For example, you can start typing {{ (two curly brackets) to open the dialog with available properties list. Having such text in the field, which supports it, will cause it to be replaced with data contained in the object, for example having an e-mail title defined as follows:
Status of the {{customer.name}} customer was changed
Will cause e-mails sent by this action to have customer name instead of {{customer.name}} , i.e.:
Status of the RamBase customer was changed
if the status was changed for customer, whose name is RamBase.
Note
When sending IMS to more than one recipient, the recipients should be separated with a semicolon. (Recipient 1; Recipient 2 etc)
Automated flow templates
Automated flow templates are very similar to regular automated flows, but they are only used to create new flows. No automated flow templates are considered to be verified and executed when the event is triggered.
Templates are created according to the same rules as automated flows (name, description, event, event conditions, action and action parameters) and can be used to prepare many workflows with the same event and conditions, but with different actions.
Templates have following statutes:
Status 1 - Draft - Template not yet completed, can not be used to create new workflows.
Status 4 - Active - The template appears in the Create flow tab as a tile with icons related to the event name area and selected action.
Status 9 - Disabled - The template is no longer used, and can not be used to create new workflows.
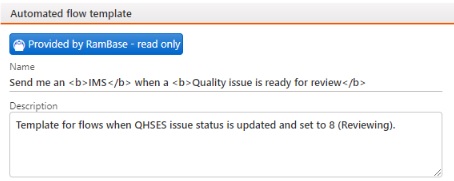
Global automated flow templates
Some templates are provided by RamBase and can not be modified or disabled, but they can be used to create new automated flows like regular templates. Templates like this have this additional information above the name:
Creating new automated flow template
There are two ways to create an automated flow template:
Create it from automated flow, as described in the Automated flows section above
Create it from scratch using the Create new template button below the templates list.
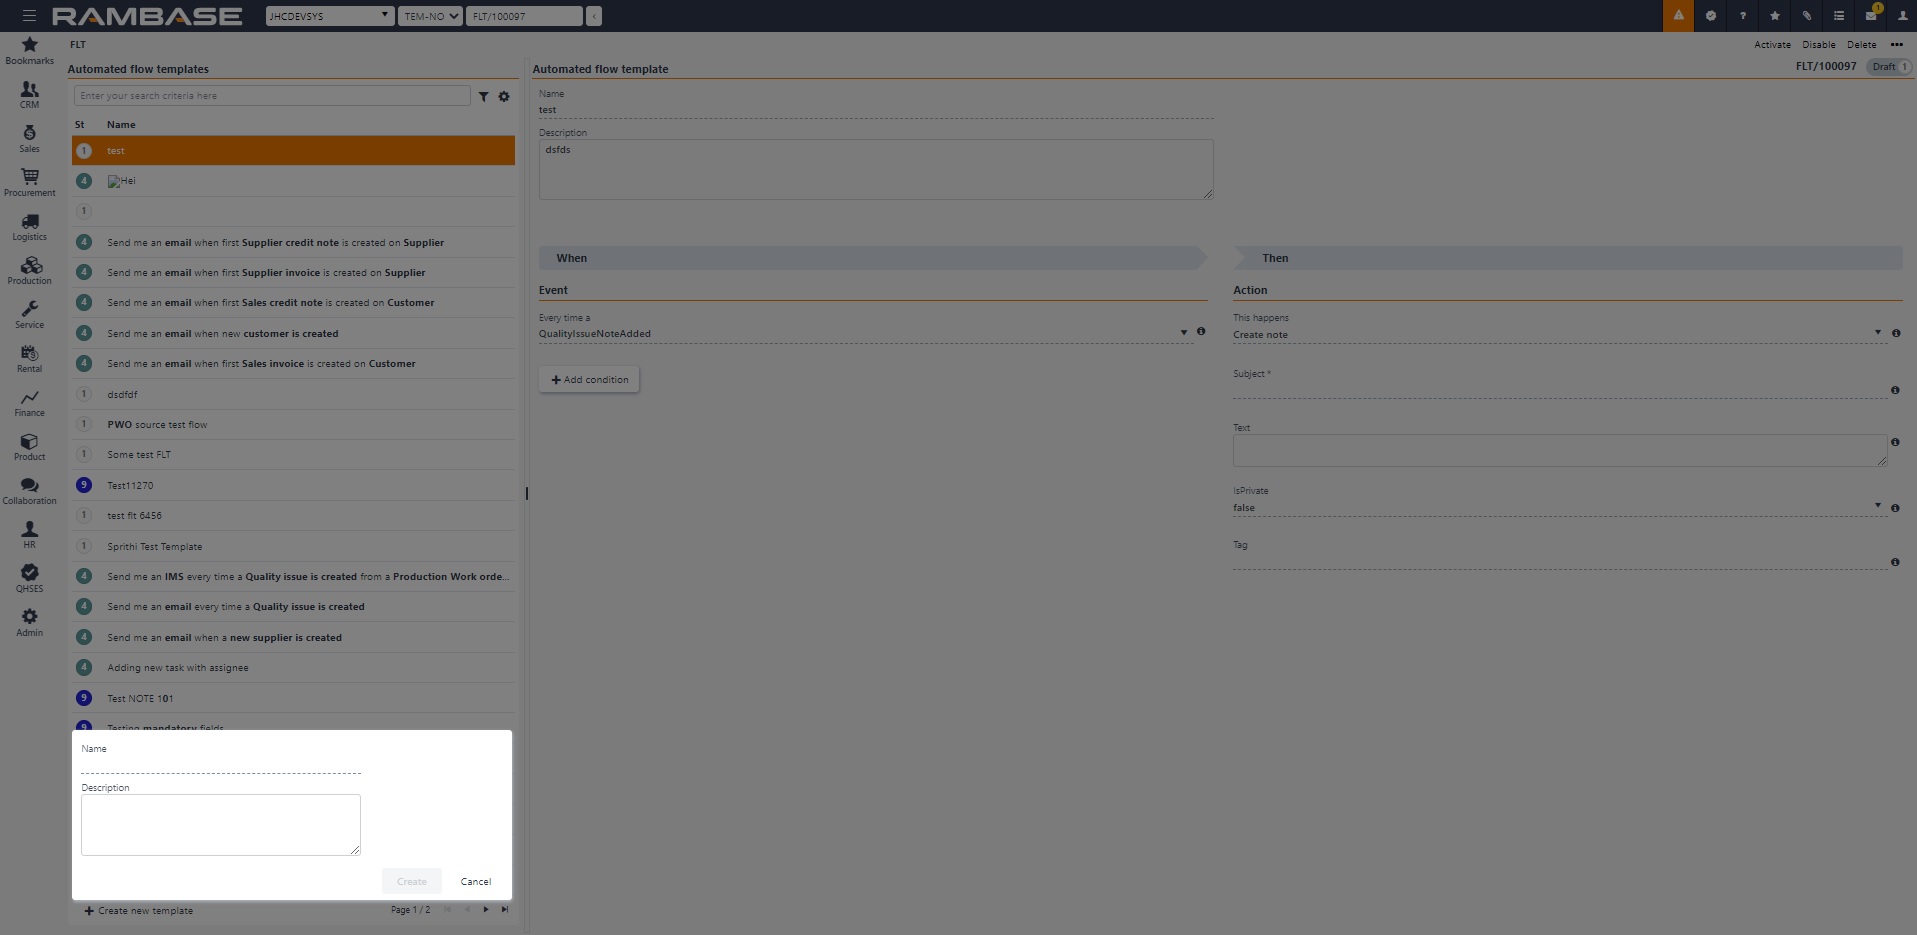
Users must provide name and optionally description. Rules for creating a template are the same as creating a regular flow, the same fields support macros.
After saving and activating template (changing the status to 4 - Active) only from the context menu, it can be used to create automated flows.