Add a new account to the Chart of Accounts
If you want to add an account to the Chart of Accounts (ACC), you can create this from a template or manually.
Use the Copy account option in the context field to create a duplicate, with the same information, of the selected account in Status 1.
Create an account from a template
It is possible to create multiple accounts at the same time.
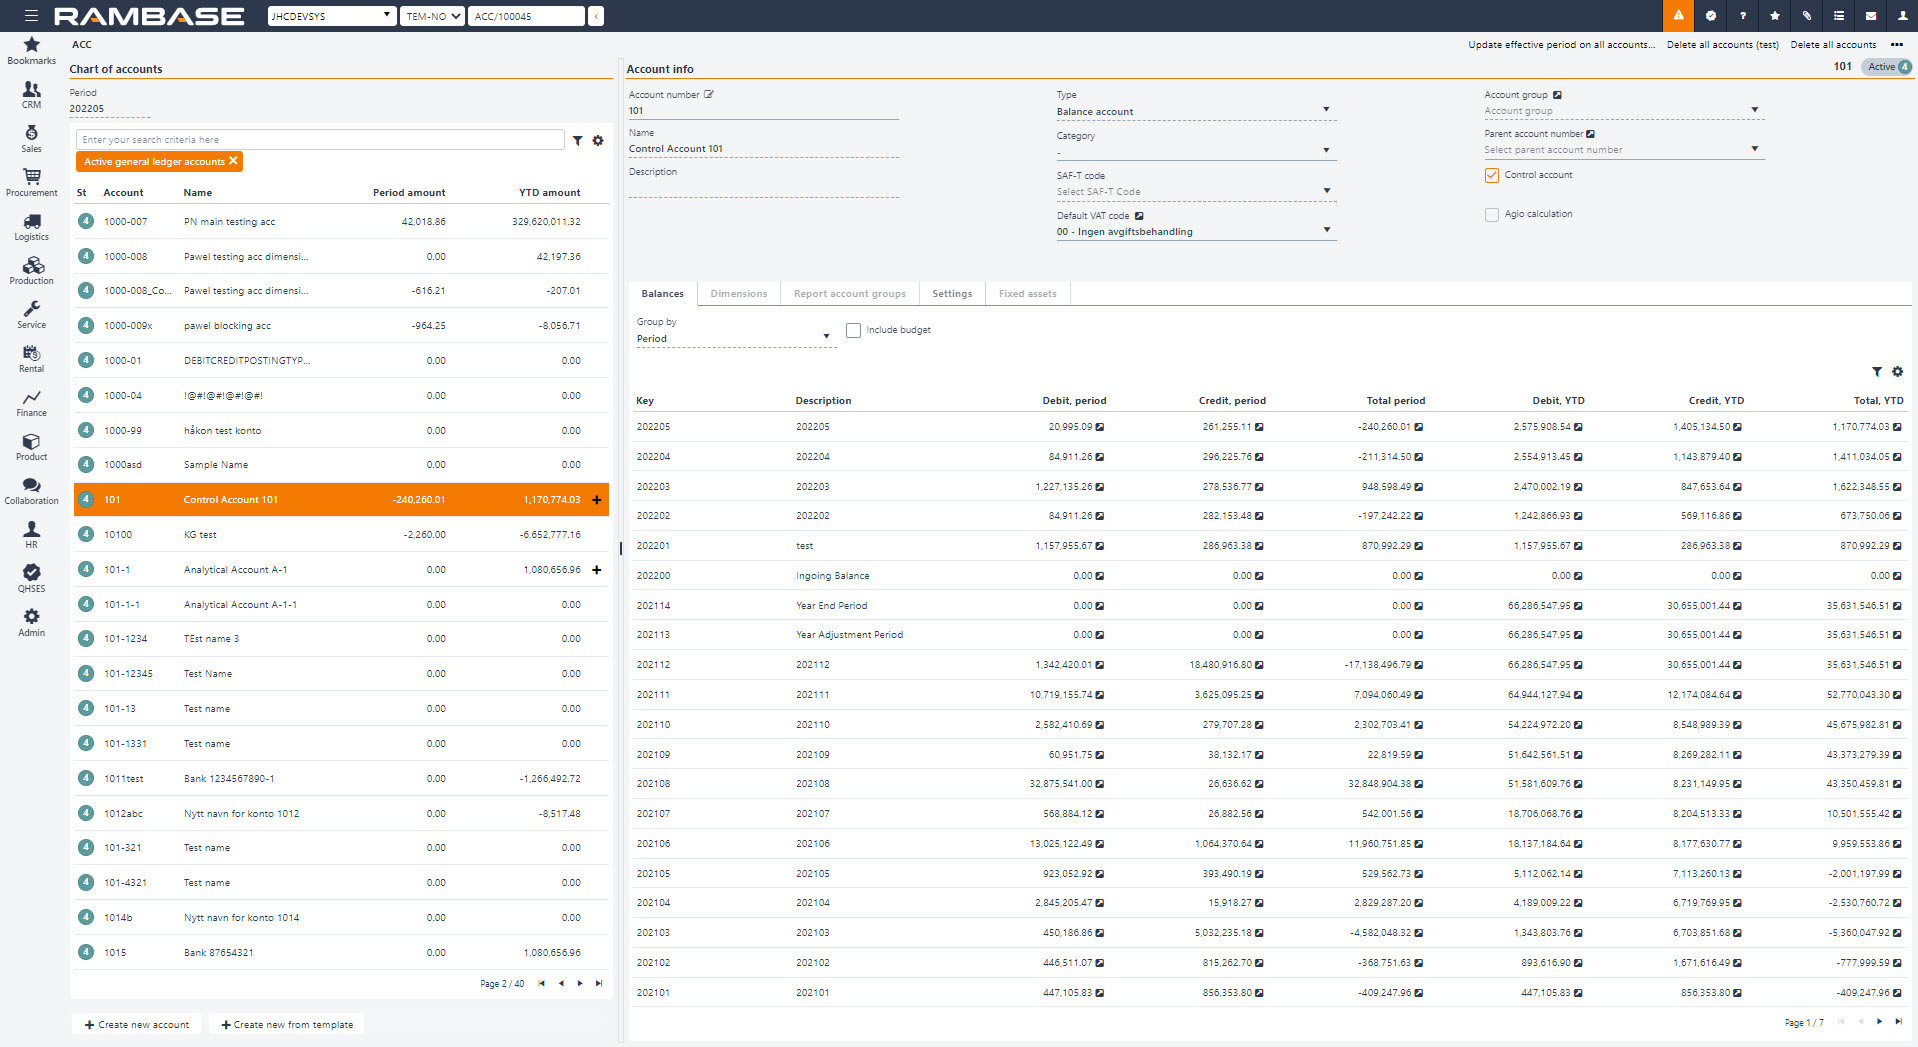
To open the Chart of Account (ACC) application, find Finance in the RamBase menu and then Base registers. Click Accounts to enter the ACC application.
Click the Create new from template button.
Select which template you want to use in the Source field. A tree structure will appear.
Filter on the account groups in the Root Node field. The accounts with a check-box can be selected. The accounts without check-boxes are already implemented in your Chart of Accounts.
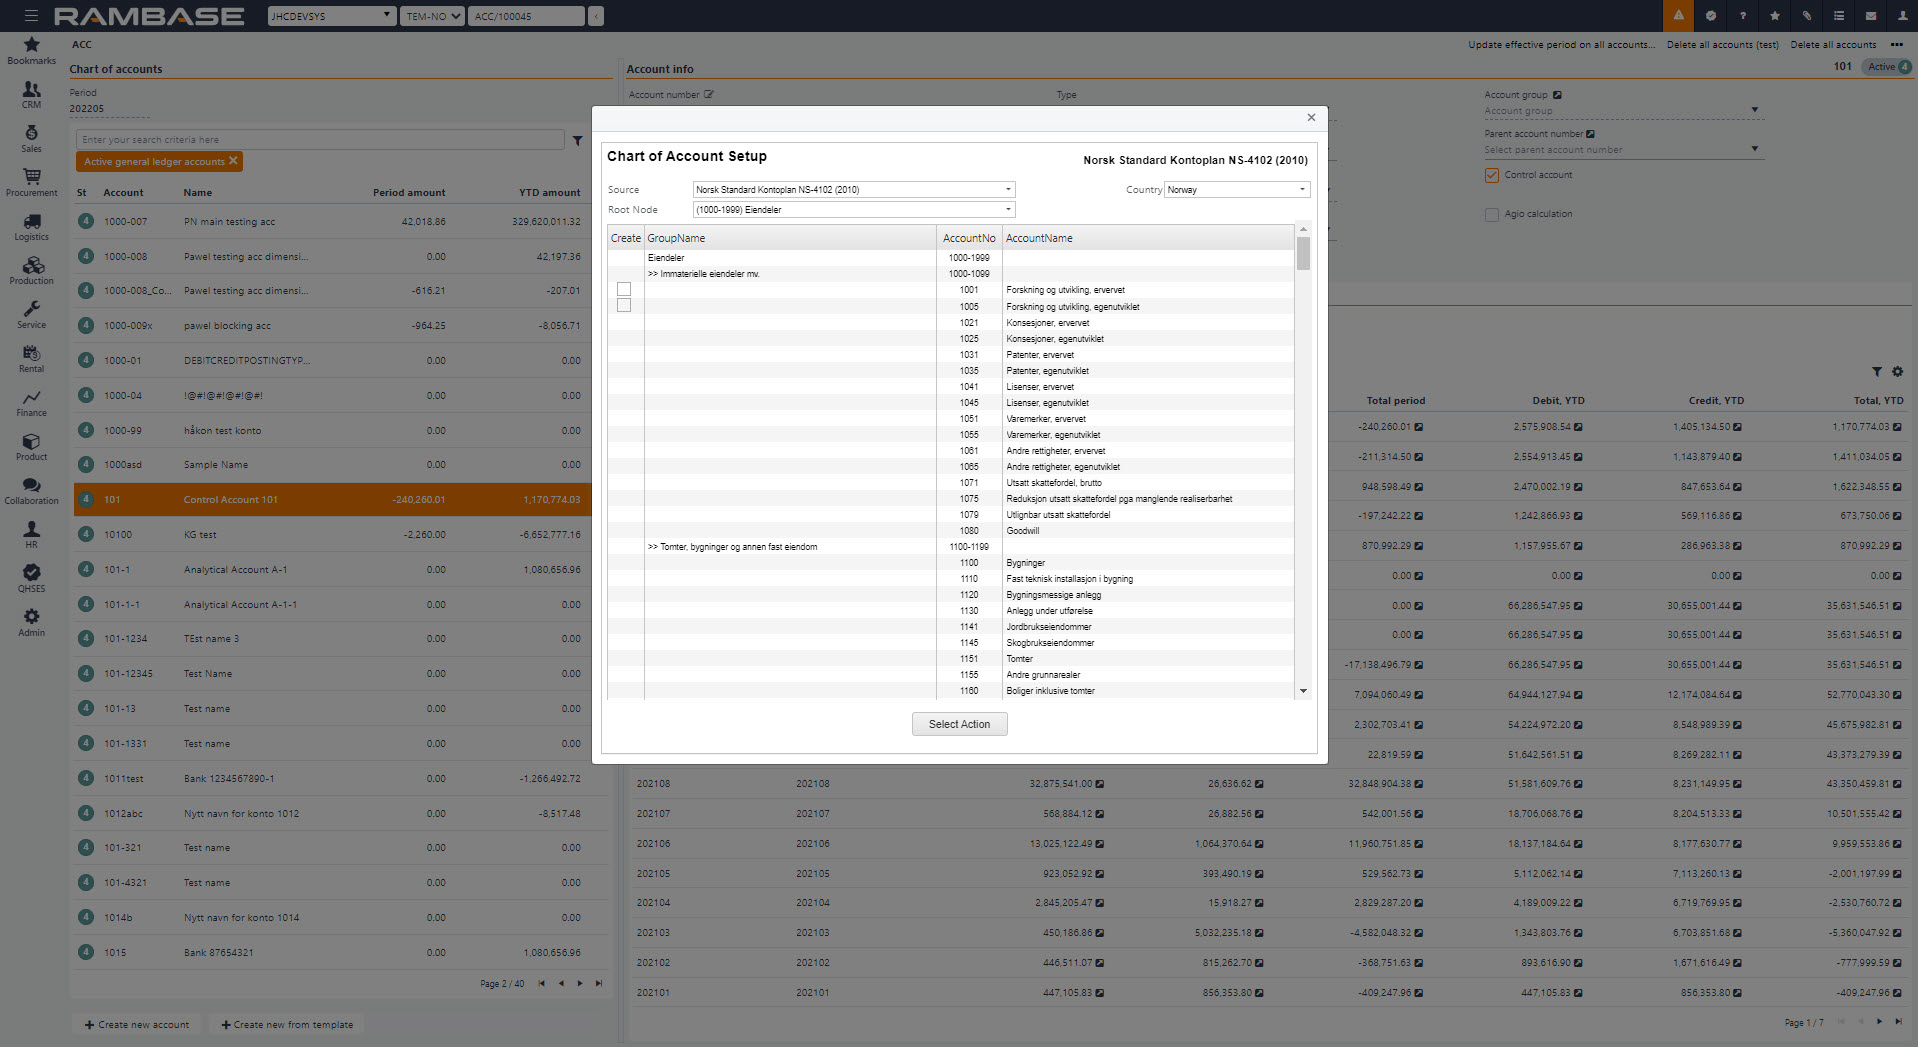
Click the Select Action button and make sure everything is ok before you click the Create button.
Use the checkbox if you want to Use agio settings from templates and from when you want the accounting period to be valid from in the FromPeriod field.
Click the Start Action button to create an account from a template.
The imported account(s) will have a standard setup, but the details may be altered.
Create a new ledger account manually
Start from the Chart of Accounts (ACC) application.
Click the Create new account button.
insert values in the fields:
Account Number - The number of the account. Maximum 50 characters and possible characters are:
0-9
a-z, A-Z
Symbols (.,_-)
Name - Name of the account.
Type - Define if the account is going to be a Result, Balance or Off-balance account.
Default VAT code - Select the correct VAT code.
Effective period - The accounting period for the account to be valid from.
Parent account number - Add the parent account in this field. It is optional.
Click the Create button to create an account in Status 1. You will now see the account details and it is possible to add more information to the account when the account is in Status 1.
To make use of dimensions in the accounts, values of the parameter section must be set. Open the Dimensions tab.
Define the dimension parameters to be used or not. In addition to the dimensions set in the Dimensions (DIM) application, Location and ICTDB are also used as dimensions. Location refers to different warehouse/stock locations, ICTDB refers to transactions between departments or companies within a corporation.
LOC - The parameter is set (Must use) for accounts regarding flow of goods, if you want to differentiate the expenses of stock for various stock locations. The values of the LOC dimension are fetched from the LOC application in RamBase.
ICTDB - The parameter is set (Must use) for accounts regarding Sale, Purchase and other financial transactions between internal companies. If not set, the accounts receivable and accounts payable will show incorrect values from a corporate point of view.
DEPNO - The parameter is set if you want to connect postings on the account to a certain department. If set to Can be used, there is a possibility to set a default department for the account.
PRJNO - The parameter is set if you want to connect postings on the account to a certain project.
ASTNO - The parameter is set if you want to connect postings on the account to a certain asset (for example a building or a truck).
Other dimensions - The parameter is set if you want to connect postings on the account to other dimensions created in the Dimensions (DIM) application.
Other possible values to set are:
Category - Bank is mandatory for Bank accounts. Other values are optional.
SAF-T code - Set the standard account in the SAF-T code field if your company uses SAF-T financial for exchanging accounting data. The SAF-T code field is the basis for the account number reported in the SAF-T file.
Account group - The general ledger account group identifier.
Control account - Use the checkbox if the account is a control account.
Agio calculation - Use the checkbox if the account is agio calculated.
Report account groups - The accounts belongs to certain account groups. The use of account groups is usually govern by a set of rules and standards in accordance to financial statement reporting. The field is used to connect the account to one or more account groups. Note that account groups are usually managed from the Account Group (ACG) application.
Department - The possibility to set a default department.
Expiration period - The accounting period for the account to be valid to.
Last GL posting period - The accounting period for the last posting period of the account.
Budget account - The possibility to set the budget account to be compared with the account.
Fixed assets - This tab shows information about the account's fixed assets.
Blocking - The possibility to prevent transactions being posted from different registers and/or documents. For instance you can prevent postings to a sales account from the general ledger (ATR) to ensure postings is generated from invoices only. It is possible to block the account from postings generated by:
Sales invoices
Sales credit notes
Sales posting adjustments
Supplier invoices
Supplier credit notes
Supplier posting adjustments
Payments
Manual GL postings
Activate an account
When all information is added, select the Activate account option in the context menu.
The account is now activated in the Chart of Accounts application (Status 4).
All new accounts that are not activated in the Chart of Accounts yet will be set to Status 1. If you want to list these accounts, use the filter field to filter the list of accounts to accounts with Status 1. You have to activate the accounts one by one.