Ręczne tworzenie dokumentów płatności
Czasami fakturę należy opłacić ręcznie w banku internetowym. Po wykonaniu płatności musisz zarejestrować płatność w RamBase, aby utworzyć dokument płatności (PAY), a następnie go potwierdzić.
Rejestrowanie wykonanych płatności
Rozpocznij od folderu Płatności.
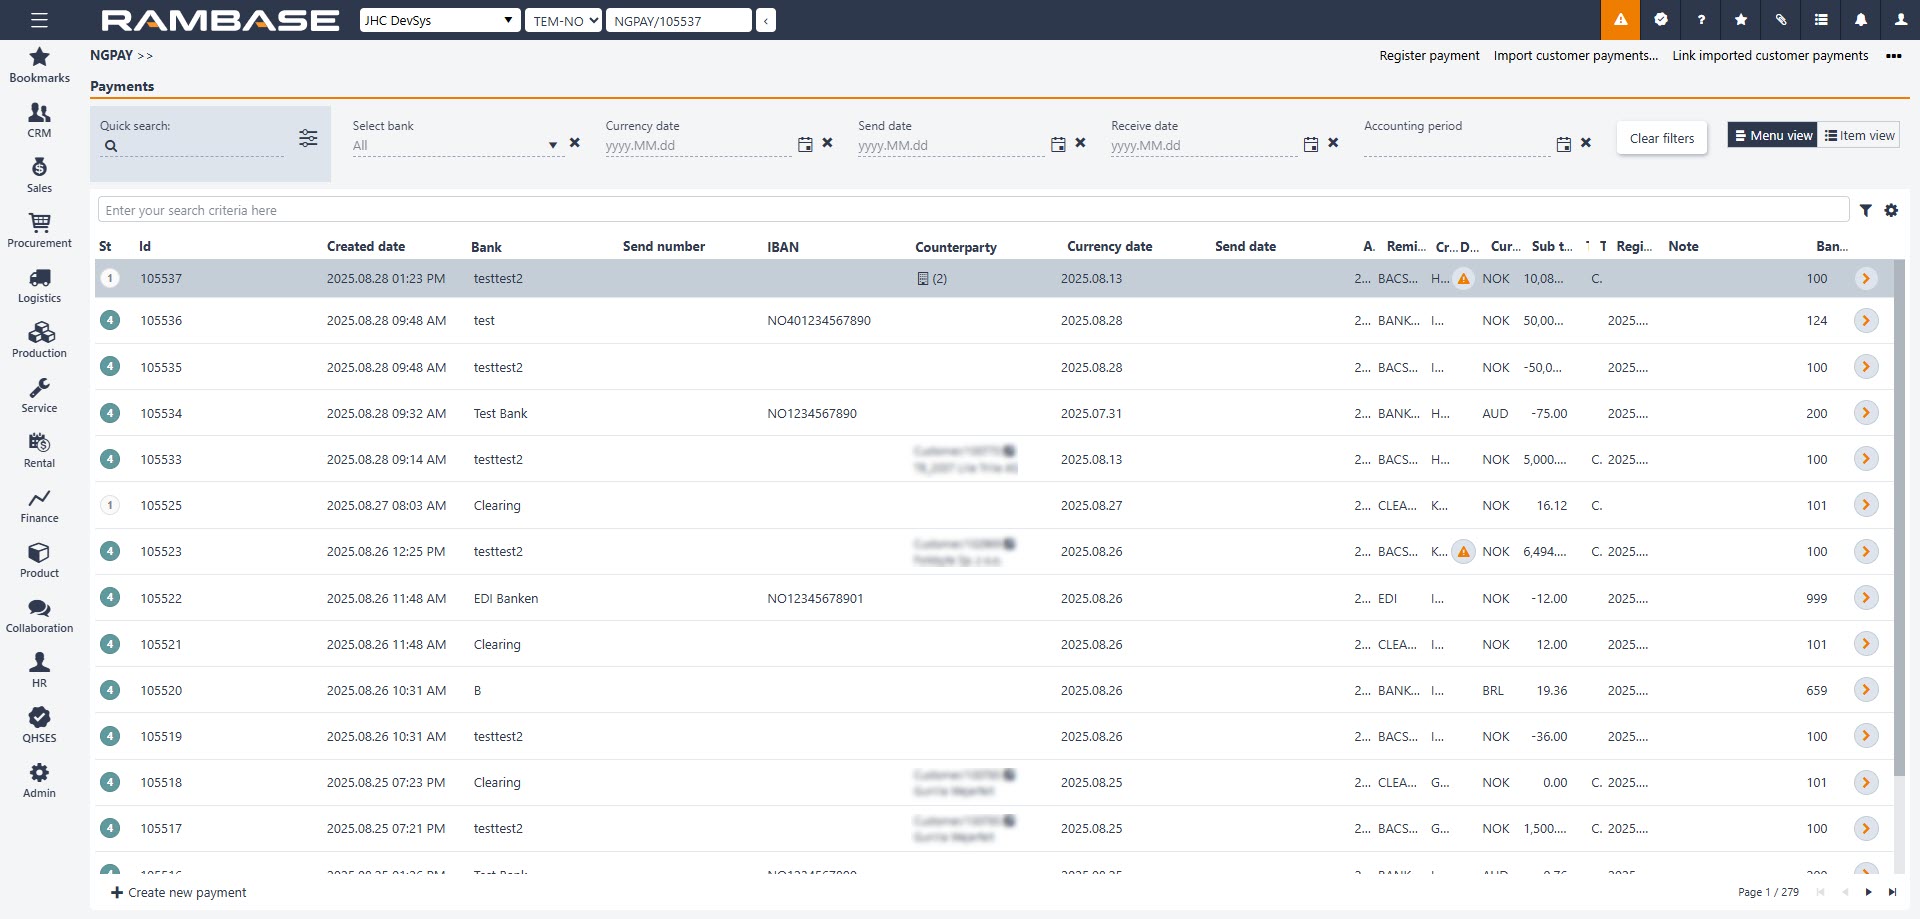
Kliknij ikonę + w lewym dolnym rogu strony.
Wyróżnij wybrane konto bankowe i naciśnij klawisz ENTER.
Ustaw prawidłową datę waluty w polu CurDate w sekcji Informacje zapłaty.
Wybierz prawidłowy rodzaj płatności z menu rozwijanego w polu PayType .
Kliknij ikonę + w lewym dolnym lewym okna, aby dodać pozycje do dokumentu, w celu określenia, czego dotyczy płatność.
[en] Click Create.
[en] Click on the Payment item button to create a payment item. Add relevant supplier or customer to the item.
[en] In the Amount field, enter the payment amount using a minus sign (–) to mark it as an outgoing payment. The Amount field may be left blank to allow for the selection of invoices or credit notes later in the process at the pay item level. In some cases, manual payments are made for specific invoices or credit notes.
[en] Click Create.
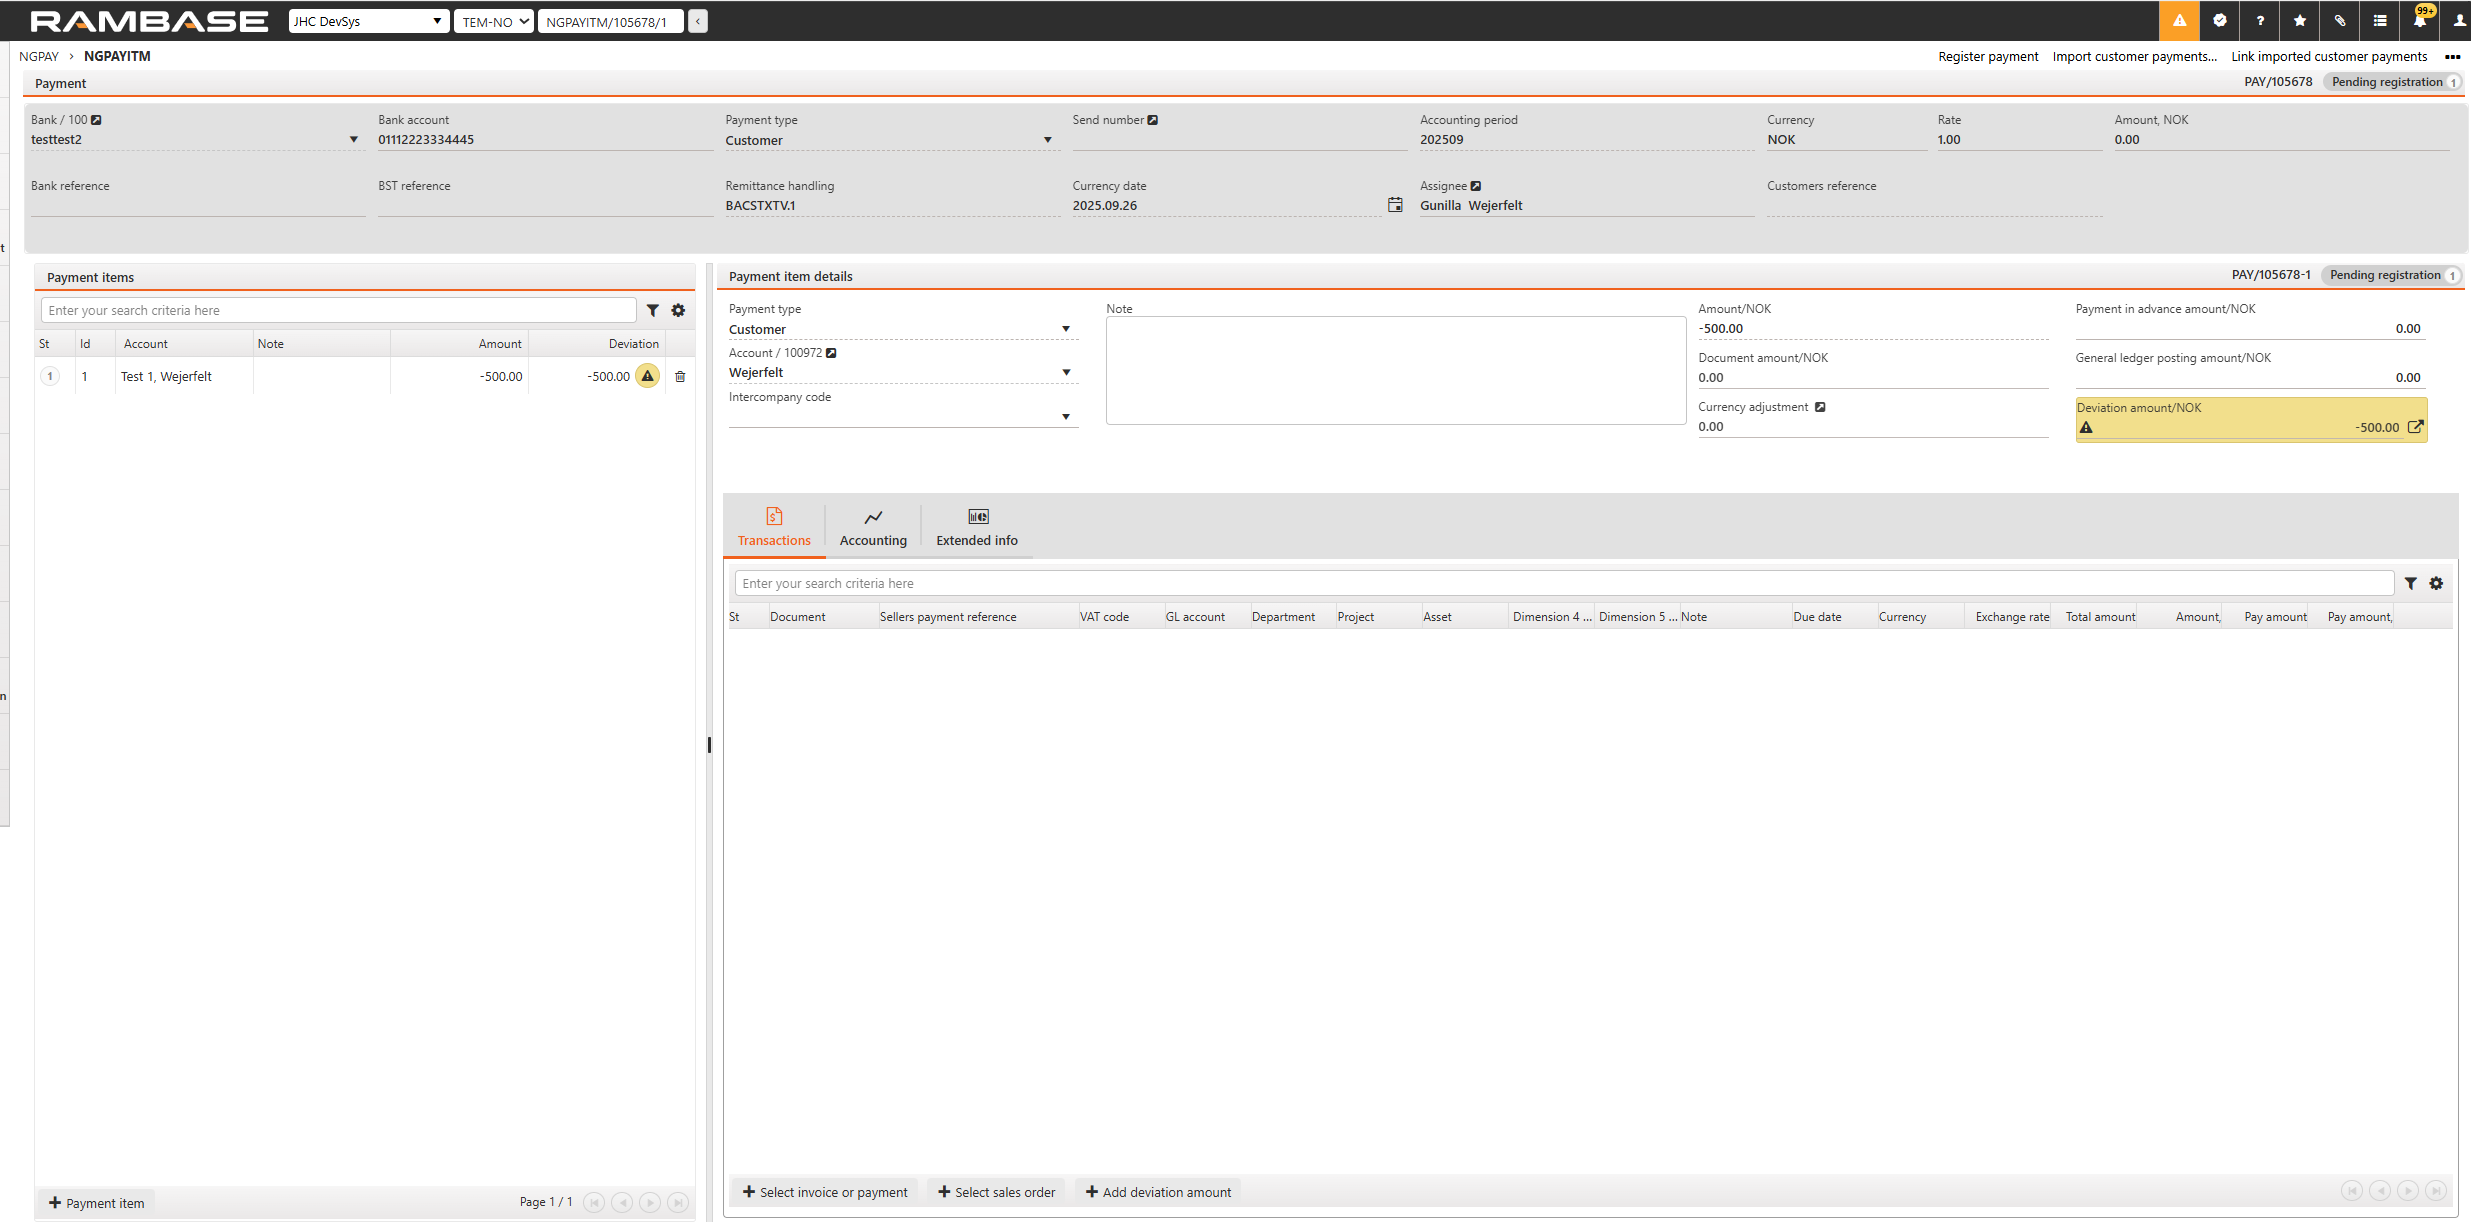
[en] Before proceeding to step 12, users should select the invoice or payment. This action is necessary to ensure the system processes the correct transaction. If, after selecting the invoice or payment, there is still an amount displayed in the Deviation Amount field, then the user should proceed to step 12.
[en] Click on the arrow next to the Deviation amount settle the transaction to post the full amount to the general ledger. A popup window will appear.
[en] Choose Unallocated amount or GL account transactions to book the deviation amount to the subledger or the general ledger.
[en] If you choose GL account transactions then: Select any account from the general ledger. The list highlights the most commonly used accounts as a suggested reference. If you choose Unallocated amount edit the amount if necessary and fill inn as much information as needed in the other fields. We recommend some text in the description field.
Kliknij przycisk OK.
Naciśnij klawisz F12, aby otworzyć menu akcji, i wybierz opcję Zarejestruj płatność. Ręczna płatność dla połączonej faktury/noty korygującej została zarejestrowana i potwierdzona.