Dodawanie nowego konta do Planu kont
Jeśli chcesz dodać konto do Planu kont (ACC), możesz je zaimportować z szablonu lub utworzyć ręcznie.
[en] Use the Copy account option in the context field to create a duplicate in Status 1, with the same information as the selected account.
Import konta z szablonu
[en] It is possible to create a single or multiple accounts at the same time from a template.
Aby otworzyć aplikację Plan kont (ACC), znajdź pozycję Finanse w menu RamBase, a następnie pozycję Rejestry bazowe. Kliknij Konta, aby wejść do aplikacji ACC.
[en] Click the Create new from template button.
W polu Źródło wybierz szablon, którego chcesz użyć. Pojawi się struktura drzewa.
Filtruj grupy kont. Możesz wybrać konta z polem wyboru. Konta bez pól wyboru są już zaimplementowane w Planie kont.
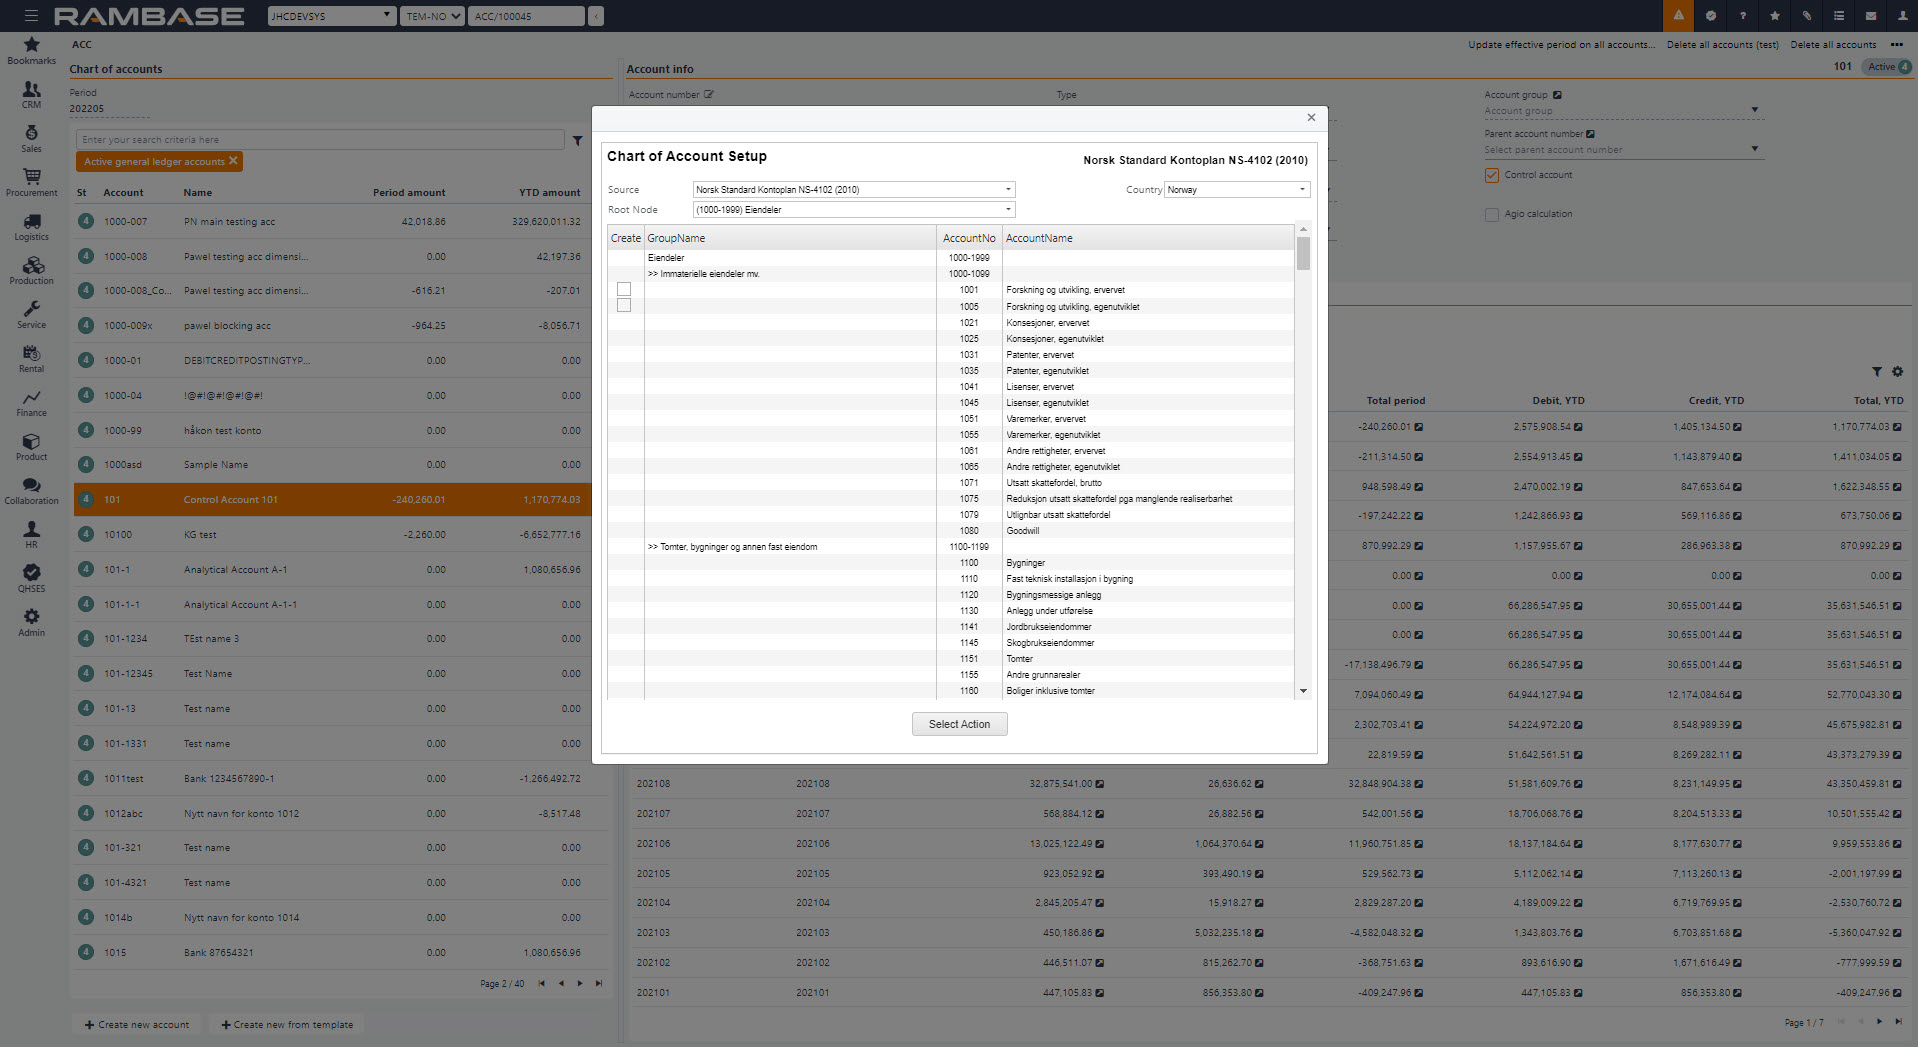
[en] Click the Select Action button. A popup is opened. Verify that everything is OK before you click the Create button.
[en] In the new pop up that is opened there are two checkboxes.
[en] Use the checkbox Use agio settings from templates if you want agio settings to be copied from the template for each chosen account.
[en] Use the input field FromPeriod to set the accounting period from which the accounts should be valid. No postings can be made to the account(s) before this period.
[en] Click the Start Actionbutton and then the OK button the accounts. The accounts will now be listed in the Chart of accounts (ACC) application.
[en] The imported account(s) will have a standard setup, but it is possible to alter and add more information to the account when the account is in Status 1. For more details, please read point 5, 6, 7, 8 and 9 in the chapter Create a new ledger account manually below.
Ręczne tworzenie nowego konta księgi
Rozpocznij od aplikacji Plan kont (ACC).
Kliknij ikonę Utwórz ACC/...
W oknie podręcznym Nowe konto wprowadź wartości w polach:
Numer konta – numer konta. Maksymalnie 50 znaków, a znaki możliwe do wprowadzenia to:
0-9
a-z, A-Z
Symbole (.,_-)
Nazwa – nazwa konta.
AccType – określa, czy konto ma być kontem wynikowym, czy bilansowym.
VATCode – wybierz prawidłowy kod VAT.
FromPeriod – okres obrachunkowy, od którego konto będzie ważne.
[en] Parent account number - Add the parent account in this field. This setting will only be shown if your company has activated a Company setting (CSV) for using the chart of account’s tree structure.
Kliknij przycisk OK. Teraz pojawią się informacje szczegółowe konta. Możesz dodać do konta dodatkowe informacje (St:1).
Aktywacja konta
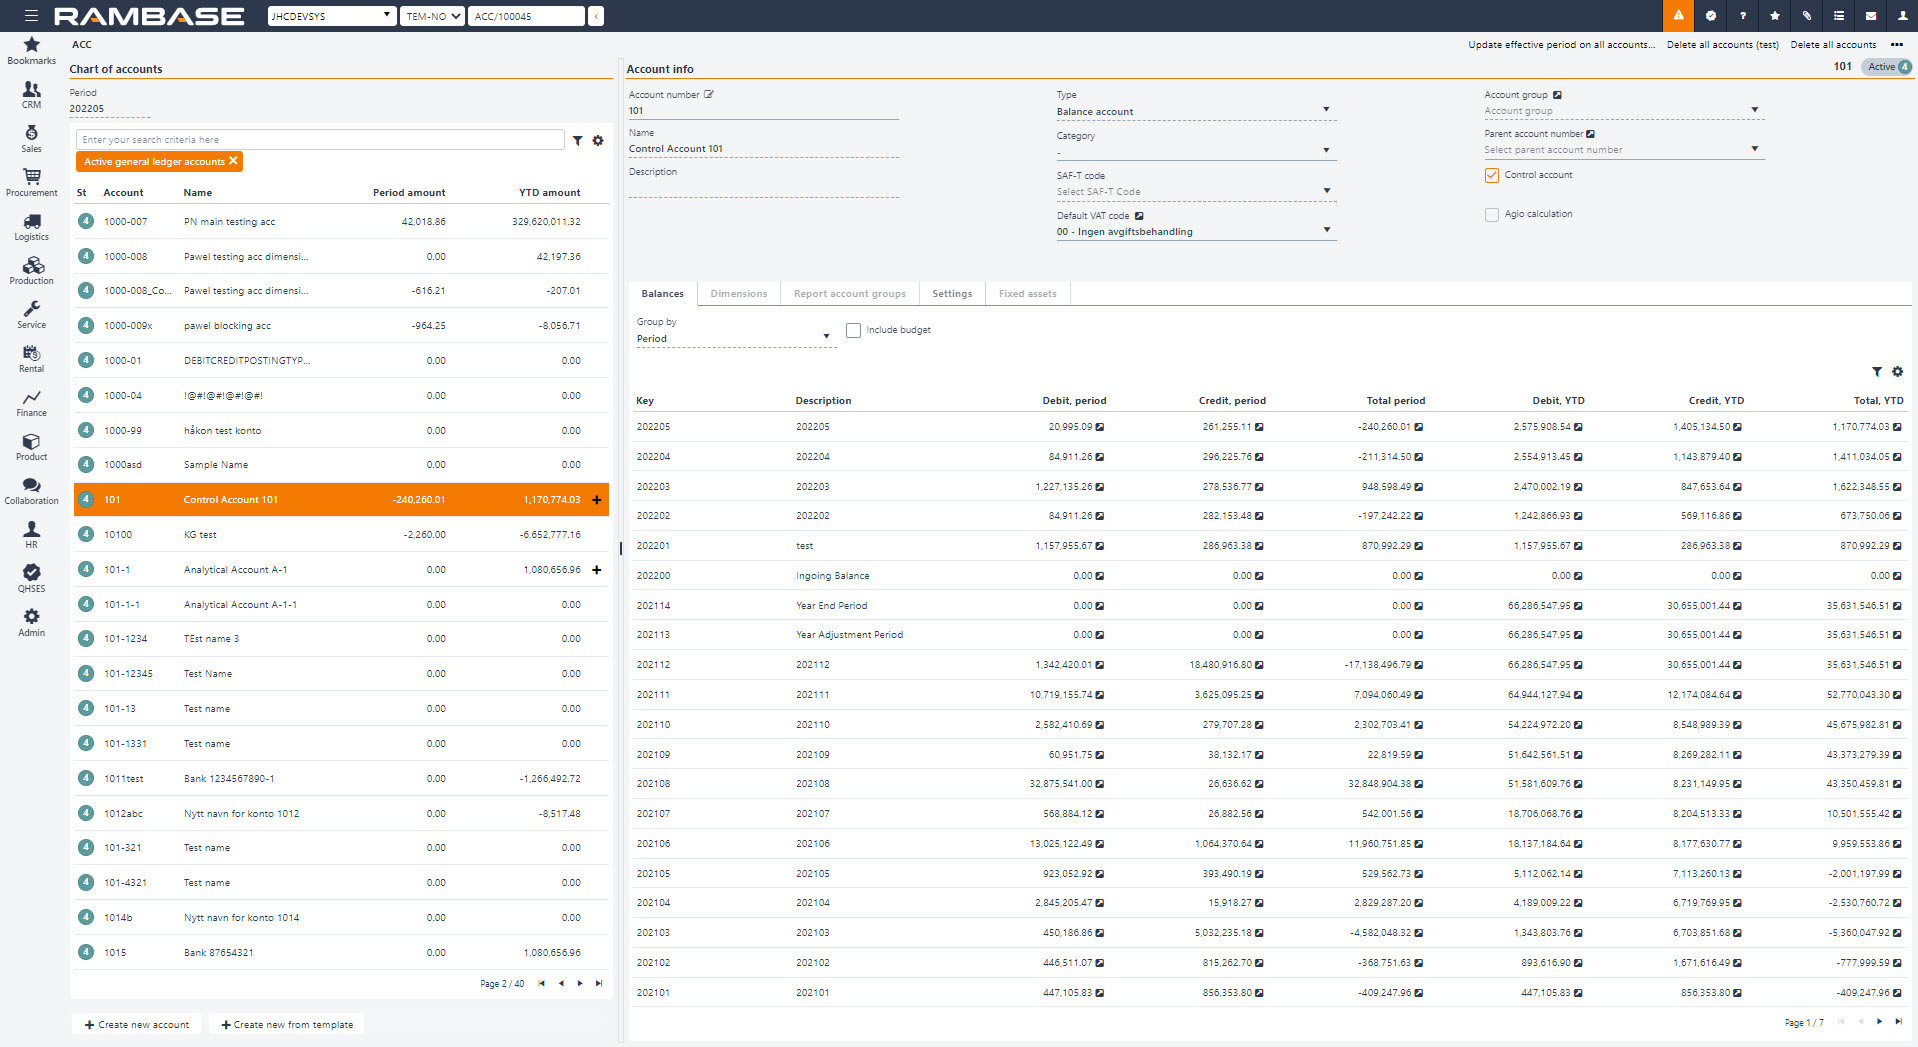
[en] To open the Chart of Account (ACC) application, find Finance in the RamBase menu and then Base registers. Click Chart of Accounts to enter the ACC application.
[en] Highlight the specific account which in not activated. The account will be in Status 1.
[en] Select the Activate account option in the context menu.
[en] The account is now activated to Status 4 in the Chart of Accounts (ACC) application.
Wszystkie nowe konta, które nie zostały jeszcze aktywowane w Planie kont, będą miały status 1. Jeśli chcesz wyświetlić listę tych kont, rozpocznij od aplikacji Plan kont (ACC) i użyj przycisku opcji Nowe. Musisz aktywować te konta pojedynczo.