Example: Customer Deviations - Repair of defect product
We can use an example to better illustrate how Customer Deviations (CDV) are handled. In this scenario the customer has a defect product that needs to be replaced. This is not a warranty issue, so the customer will be invoiced for the repair (time and replacements, if any).
Open the CDV archive by typing in CDV in the program field, or by using the RamBase menu.
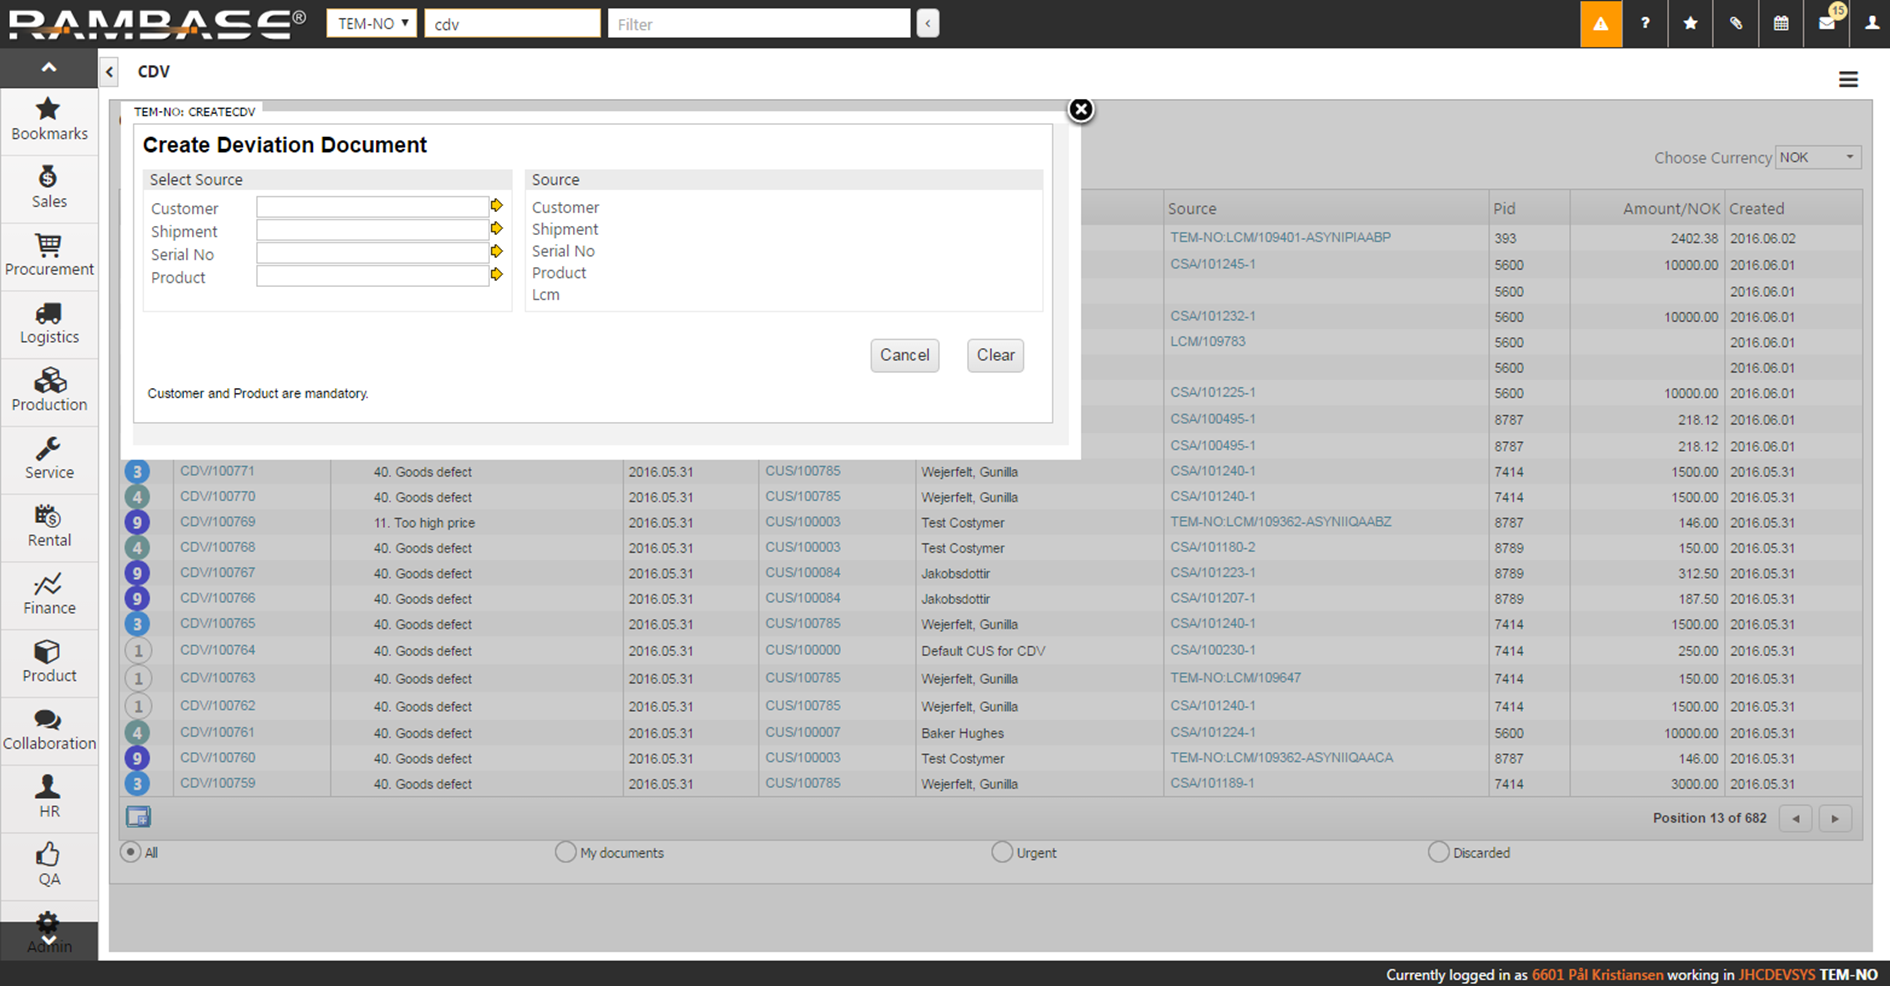
Click the Create CDV button. Customer and Product are the mandatory fields here. This information is already in the system as the company shipped the product in the first place. You can also find the specific shipping advice (CSA) using the Shipment field, which will fill the other fields. If you have the serial number on hand, this will also identify the shipment.
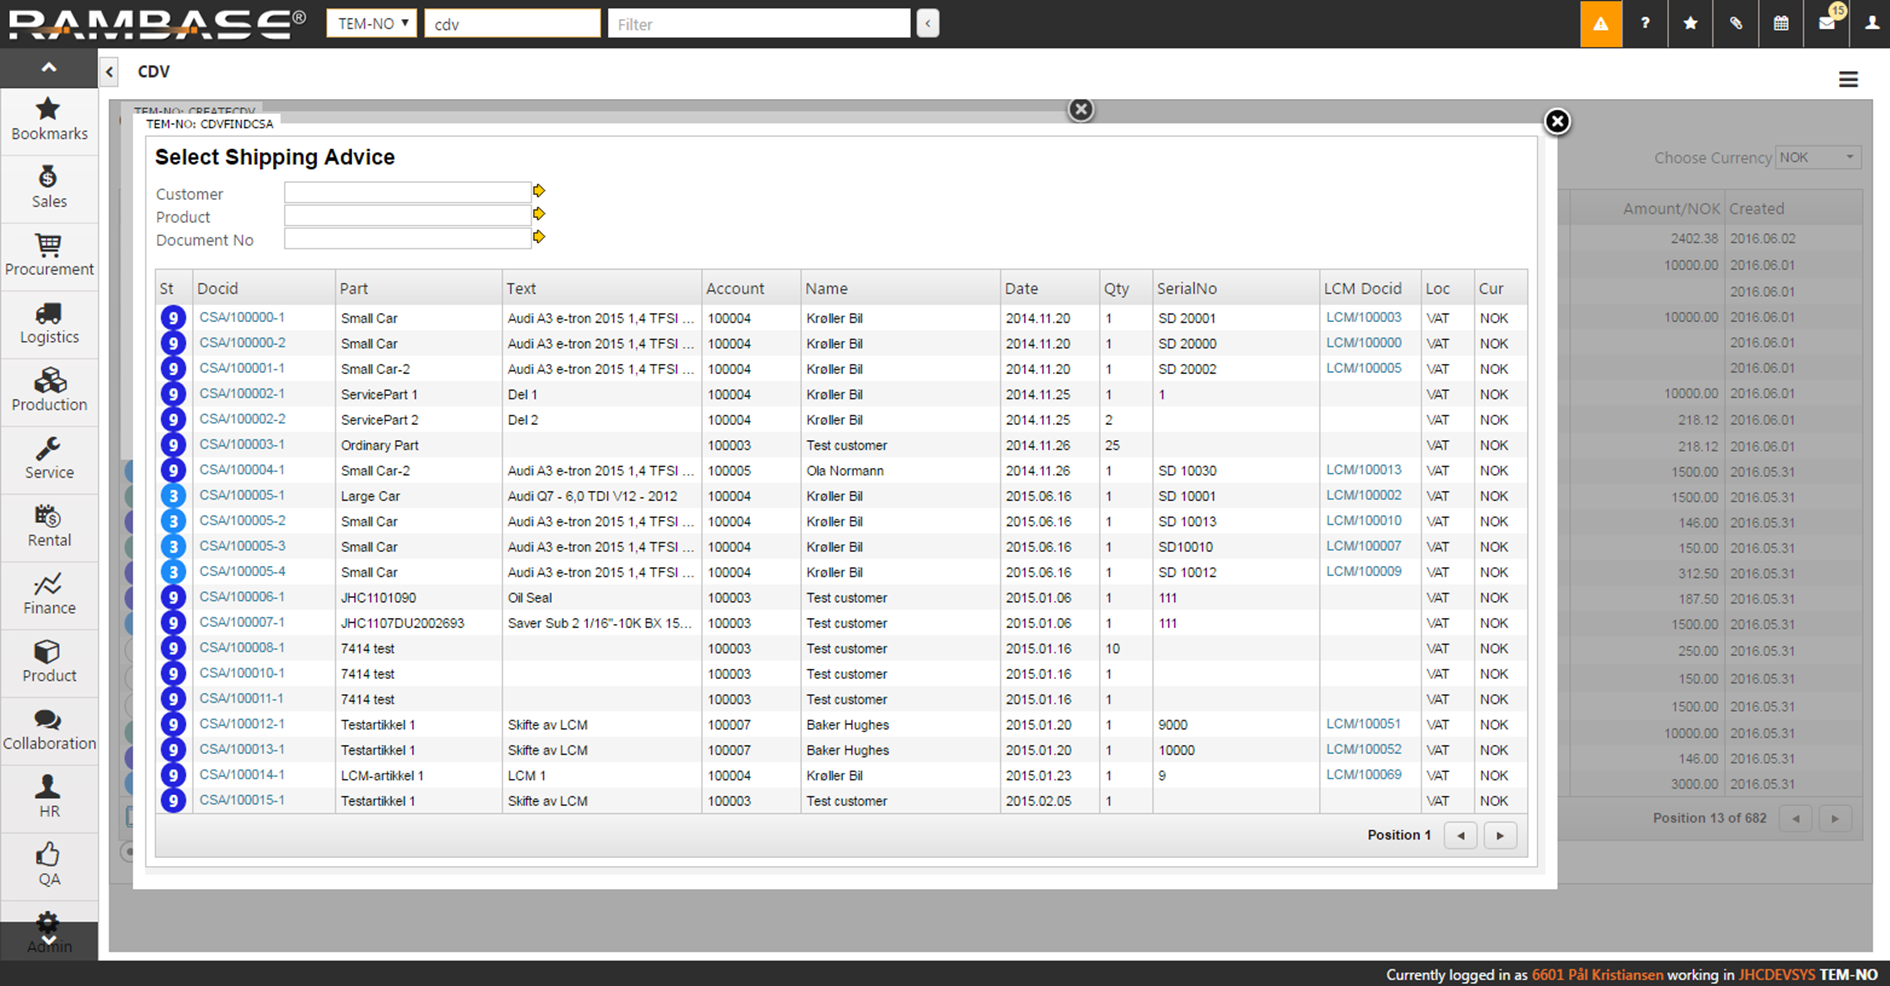
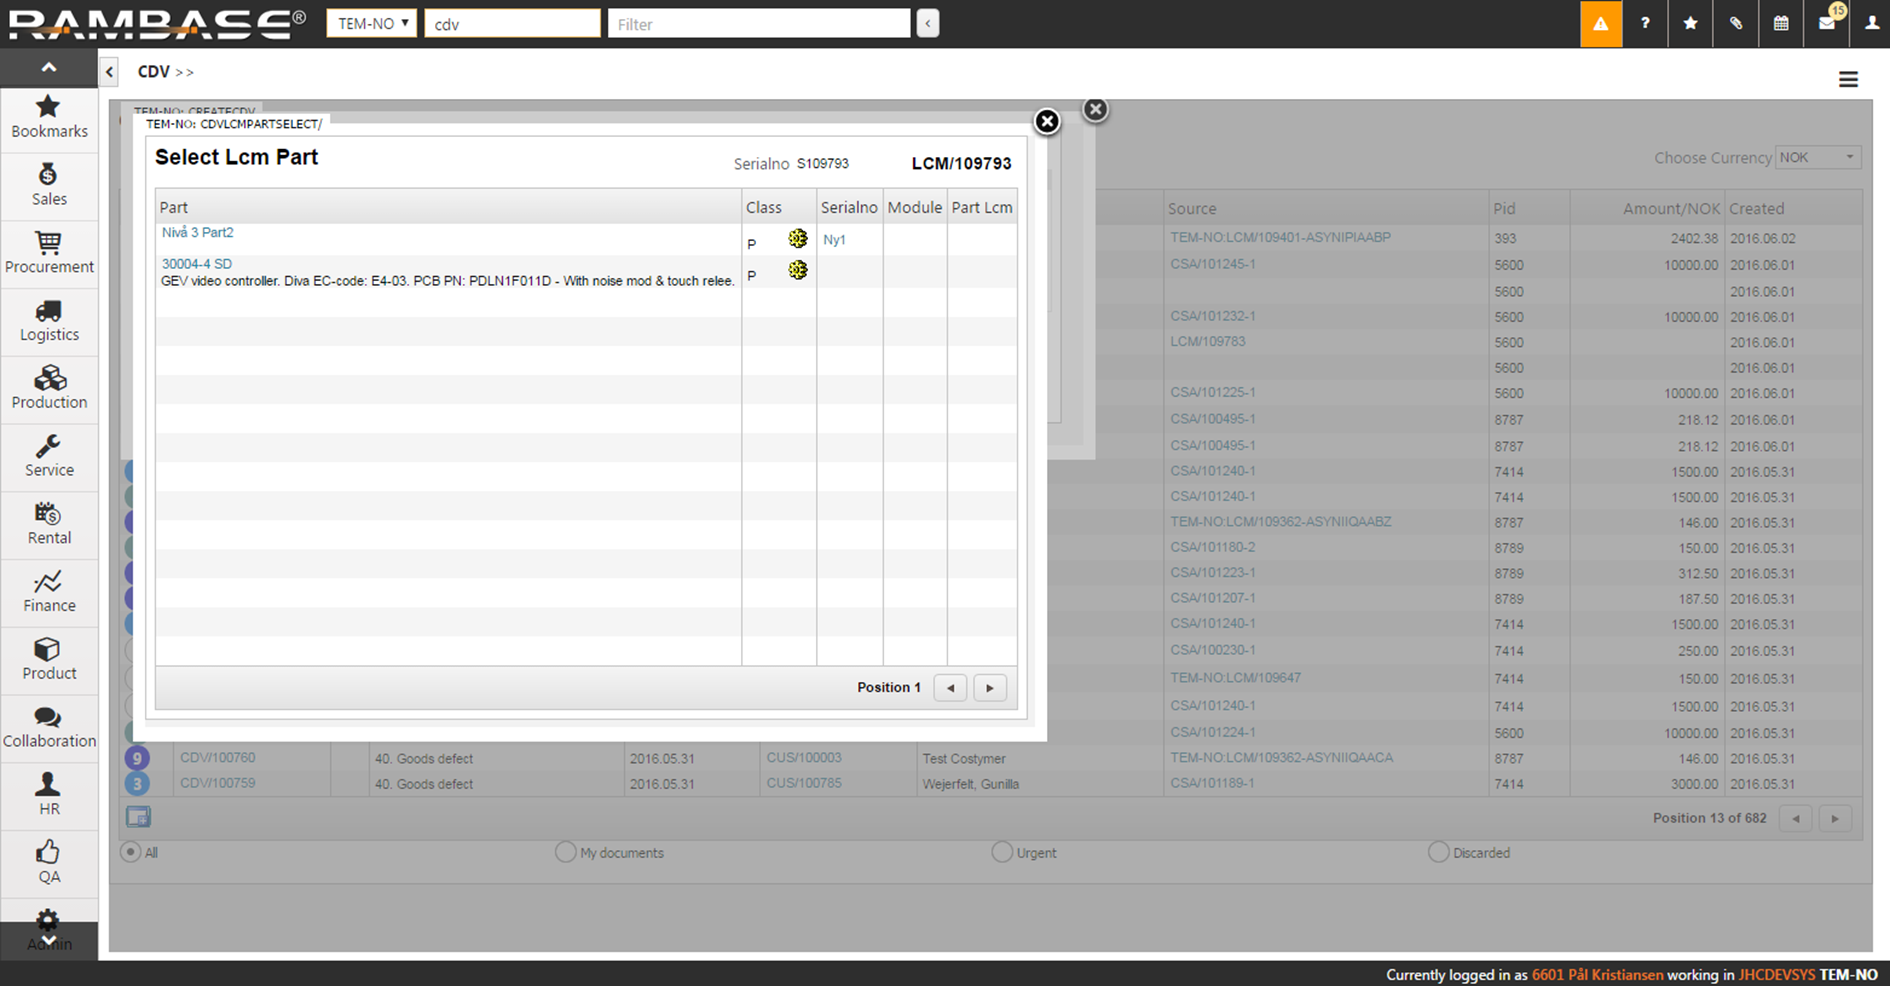
The popup you will see now asks for the serial number of the product. Choose the s/n from the list after you have clicked the yellow arrow next to the field.
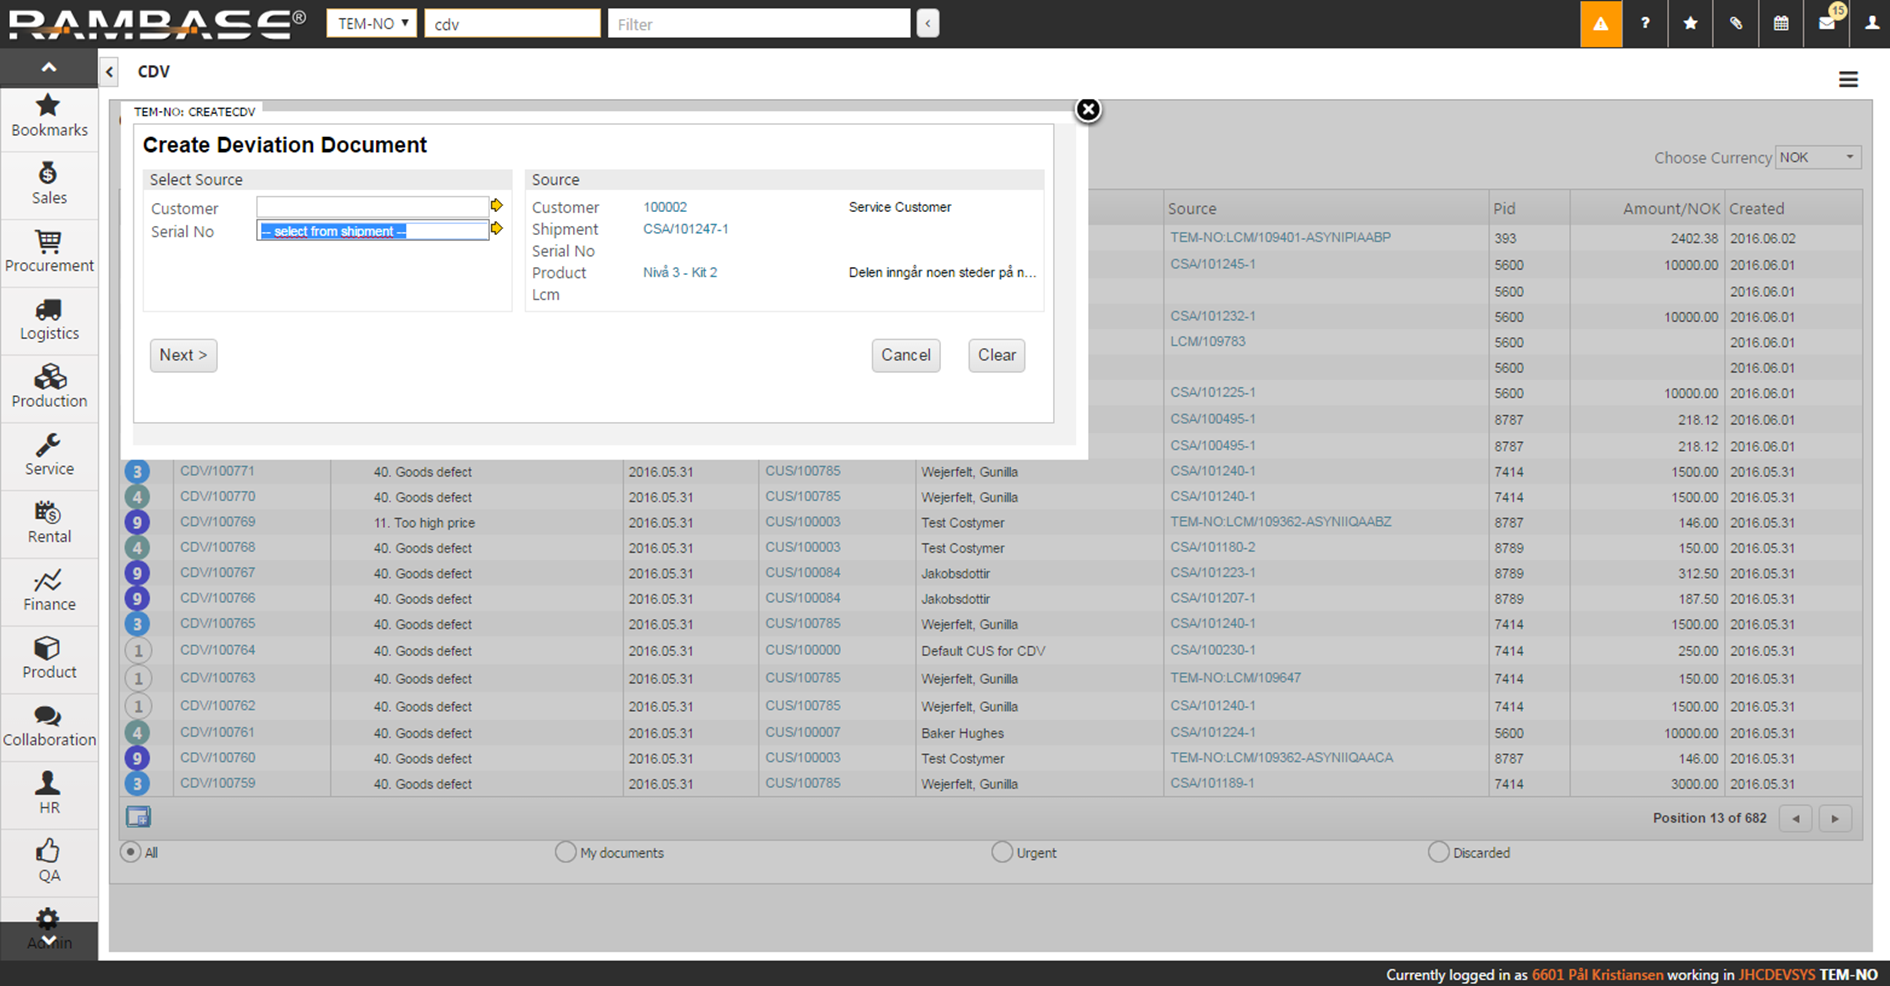
The field will then update with the related Life Cycle Management (LCM) document. You will also see that the s/n appears in the field to the right.
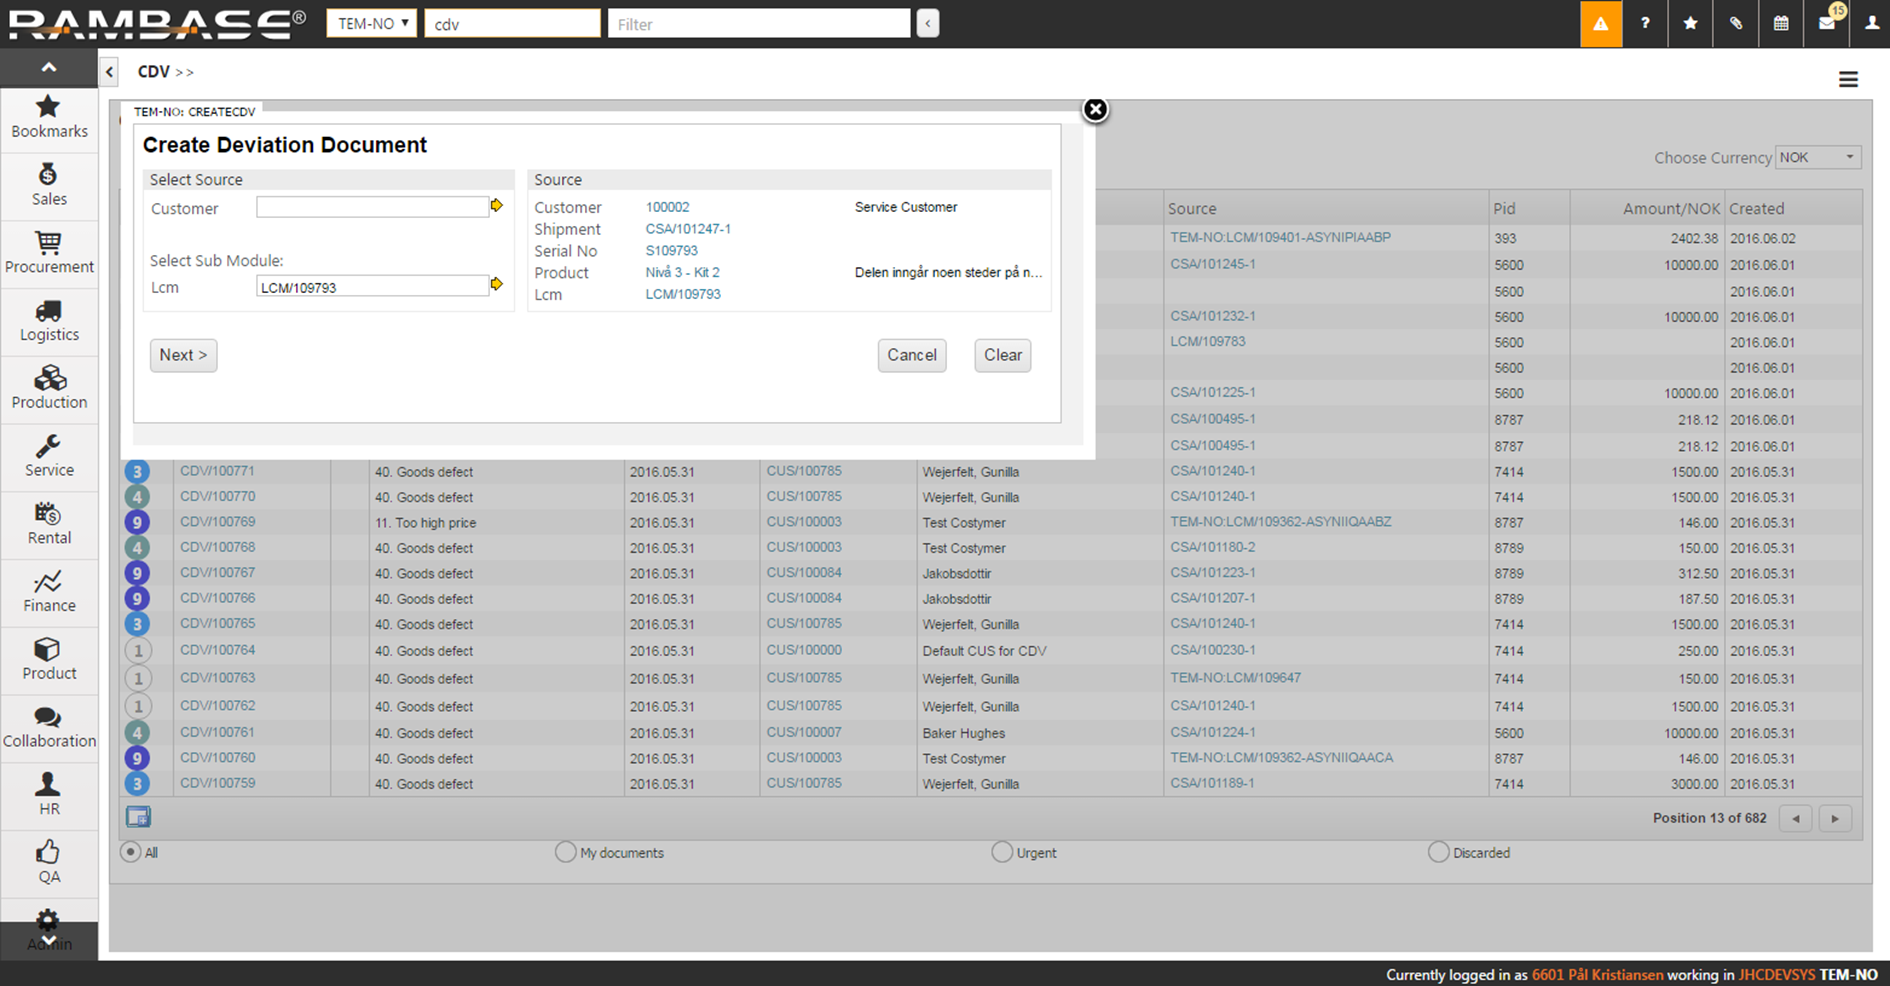
As the product is a kit, the faulty part may only be a part of the kit, so if you click the yellow arrow next to the LCM field, you can choose between the parts that make up the kit. Click the Next button when finished.
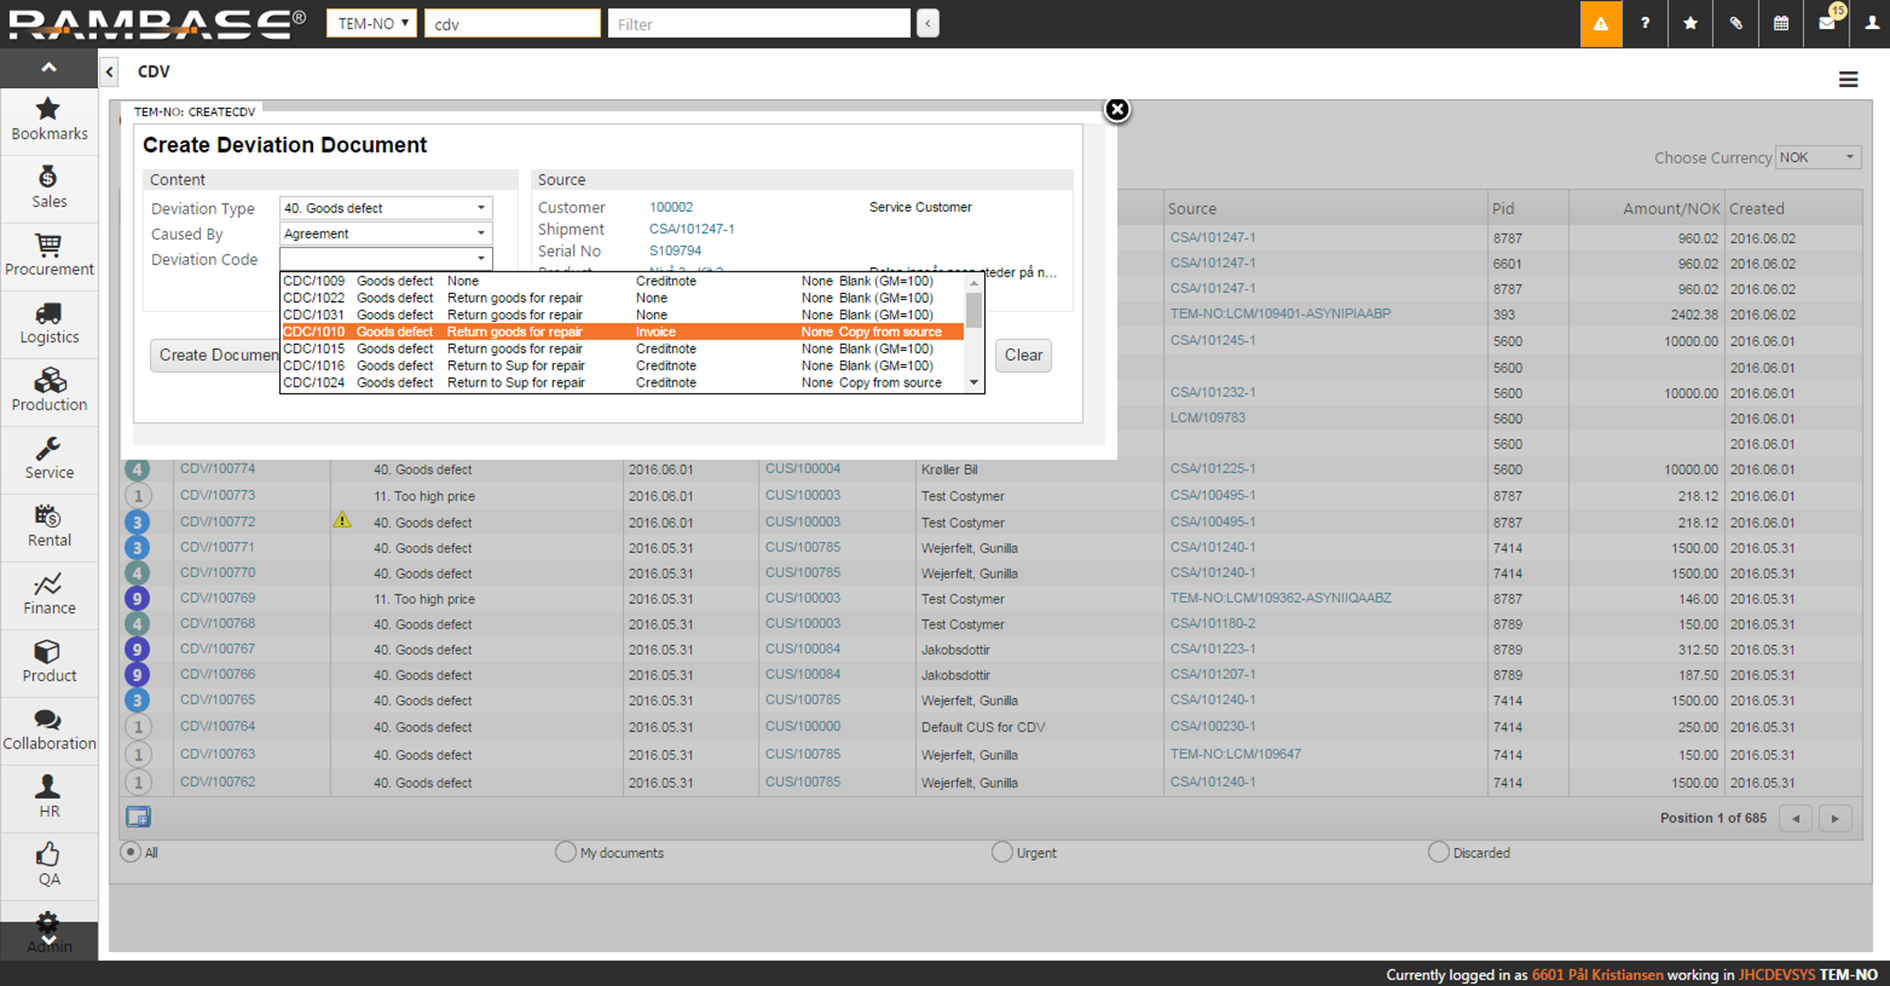
The next popup asks for the Deviation Type and what caused the problem in the Caused By field. These drop down menus contains alternatives already defined in the Customer Deviation Codes (CDC) archive. The product is defect and the customer wants to return it for repair. The choices we have made is Goods Defect in the DevType field, as the product is defect, Agreement in the Caused By field, as we have reached an agreement with the customer, and CDC code 1010 (Return Goods for Repair (Invoice)) in the CDC field.
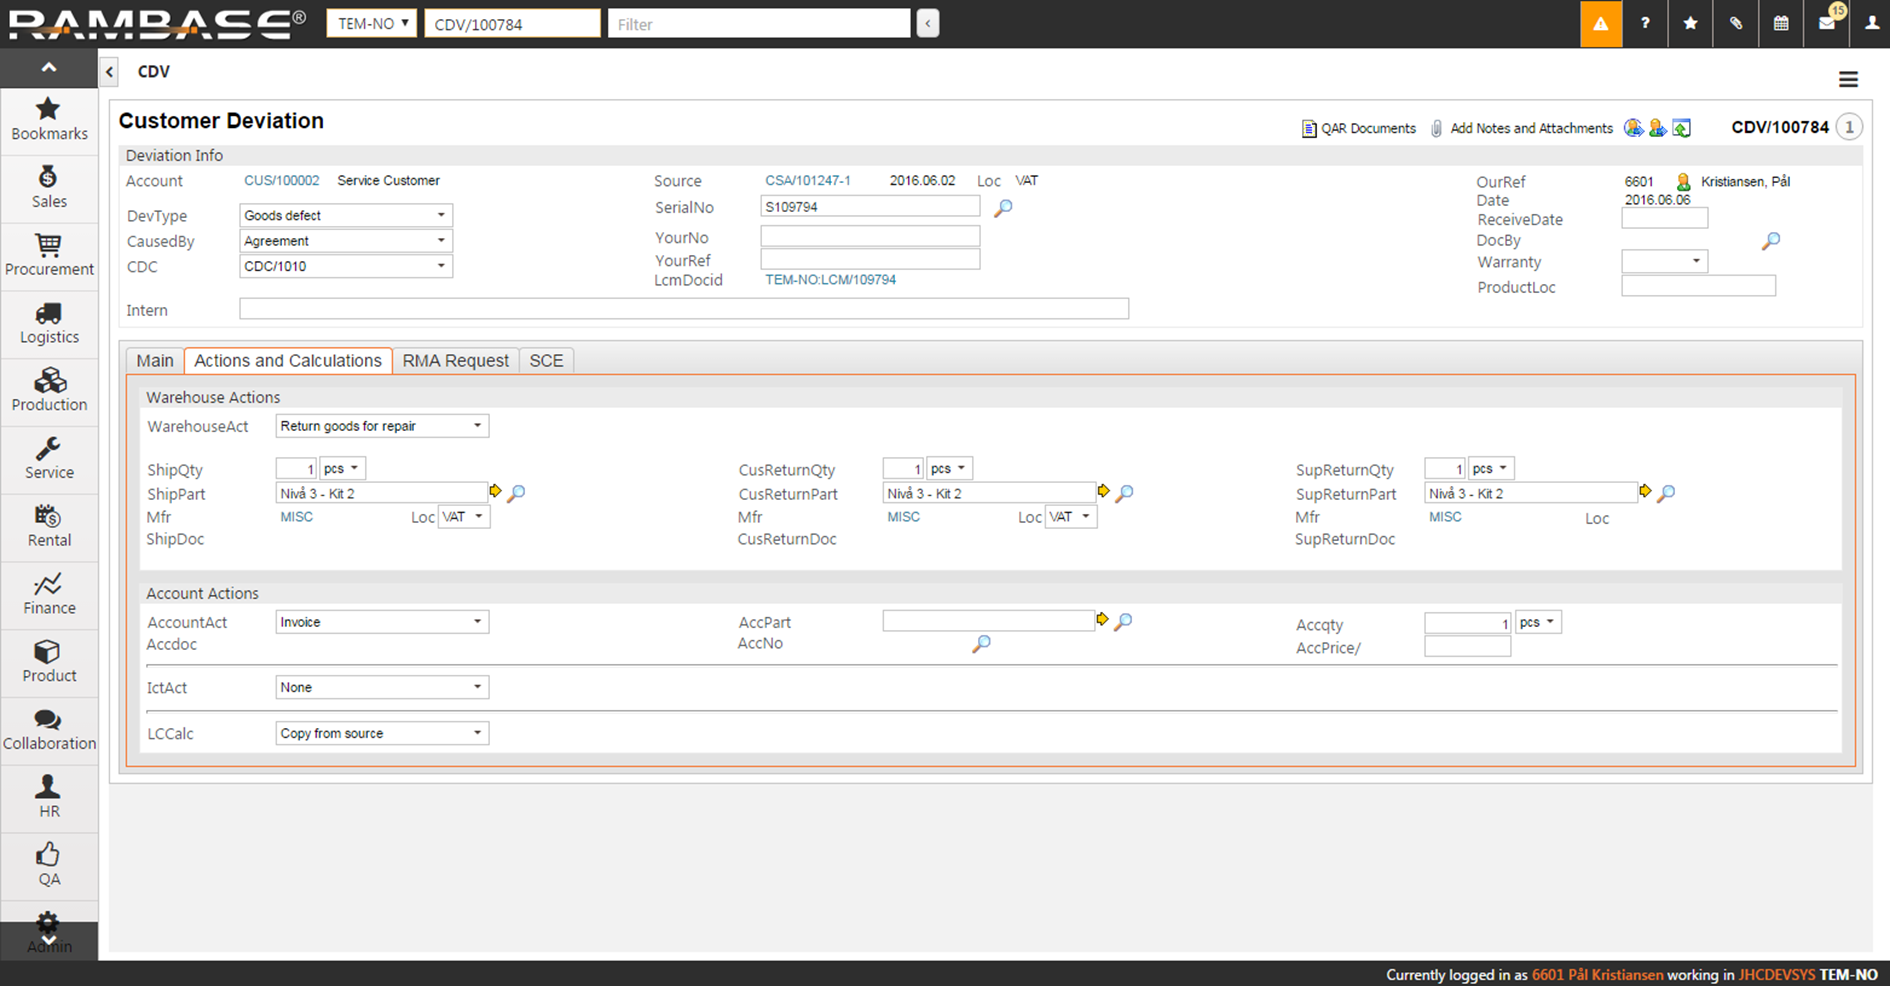
You will now see the CDV document. Look over and see that all the information is correct. Press F12 and choose the option Forward to Register to register the CDV.
The CDV is now in ST:2. The next step is to receive the defect product from the customer. Press F12 to open the action menu and choose the option Goods Received From Customer. The CDV goes to ST:3 and a Supplier Shipping Advice (SSA) has been created. Click the SSA link in the CusReturn field. Receive the goods in the SSA a normal. Return to the CDV document after the SSA has reached ST:9.
You will now have a new F12 option called Start Repair. Use this option and you will see a ship document appear in the ShipDoc field. This document is a Customer Order Acknowledgment (COA) and will contain all the costs related to the repair of the defect goods. To add the extra cost, use the plus sign next to the COA link called Add Extra cost, or click the COA link and add the extra cost using the F12 option Add Extra Cost Items. Return to the CDV document when finished.
If you need to change a part on the defect product, find the LcmDocid field and click on the LCM document link. In the LCM document, choose the item line with the part you want to change and click the Change icon represented by two overlapping sheets. This opens the Change LCM part with replacements in the item lines. Choose what happens to the replaced part, what it is caused by and other needed information. Click Confirm when finished. Return to the CDV document when finished. The replaced part is now added as a cost on the COA.
All parts that have been changed in the LCM, needs to be confirmed picked before the repair process can be completed. The PICK application can be started by clicking on the Part Change: Picking in process icon at respective line. PICK will be started with a default filter for this part, but this can be removed to confirm pick of all parts at the same time. Also if other parts have been manually added to the COA, they can be confirmed the same way. Eventually may those manually added items being confirmed picked in ordinary picking process on CSA.
When finished with the repair, press F12 and choose the option Goods Repaired. Confirm the action in the popup. The COA will go to ST:1 and the CDV to ST:4.
Enter the COA again. Press F12 and choose the option Forward to the Customer. This will set the COA to ST:8. Then press F12 again and choose the option Transport All Items. Choose the CSA in the transport alternatives popup. Click OK on the confirmation popup. You will now see the CSA document. Complete this as a normal CSA.
Go back to the CDV document and press F12 and choose the option Account Actions (Invoice) to create an invoice for the customer. This will create a new Sales Invoice (CIN) document. A link to the invoice will appear in the Account Actions box, more specifically in the Accdoc field. Enter the CIN and forward it to the customer.